Using the Restrict Content Feature in your Script Blocks
While handling your calls, agents will follow your script and input data based on the information that the caller provides. However, sometimes callers refuse to provide certain information, like their email address, which may result in the agent entering false information instead (like none@none.com). With SAS's Restrict Content feature, you can help cut down on some of that unwanted data.
In this article we'll discuss:
In this article we'll be showing you how to edit script blocks that have already been created. If you haven't yet created an Email, Phone Number or Free Text block, check out this article for instructions.
Using the Restrict Content feature within your Email block
1
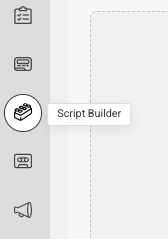
Select the Script Builder icon on the left-hand navigation menu.
2
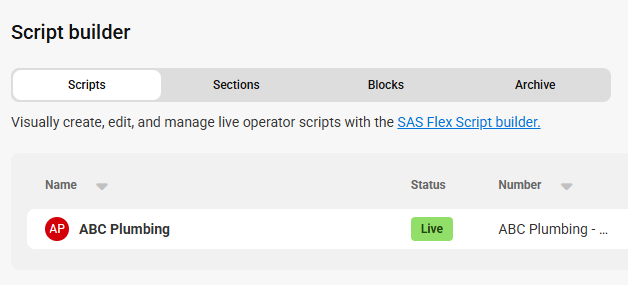
From the main Scripts page, select the script you would like to update.
3
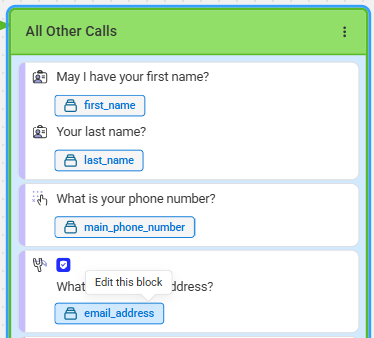
On the next page, locate the Email block you would like to update and click on the highlited email_address field as shown below.
4
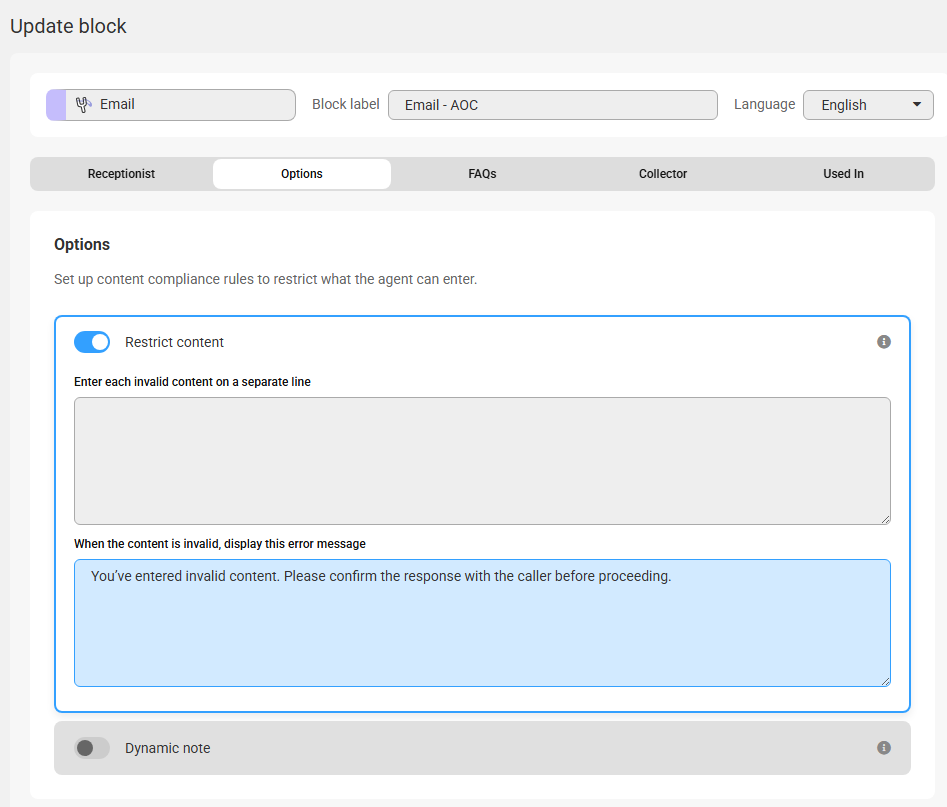
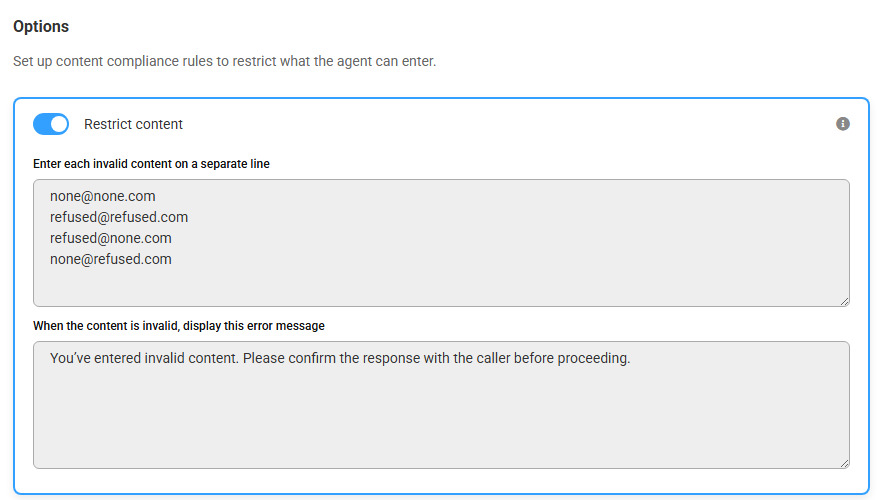
Under the Options tab, use the toggle next to Restrict Content to enable this feature.
5
Within the text box, add the content that you want restricted. In this case, we'll add a few different "no email" combinations that the agents may use if the caller refuses to provide an email. Each input must be entered on a separate line. Feel free to copy and paste the following most common "no email" combinations below into your own account!
none@none.com
refused@refused.com
refused@none.com
none@refused.com
noemail@noemail.com
noemail@refused.com
noemail@none.com
none@noemail.com
refused@noemail.com
na@na.com
refused@na.com
none@na.com
noemail@na.com
 6
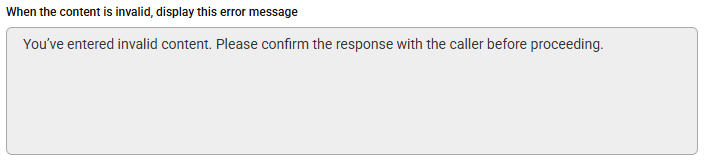
Once you've entered all of your restricted content, you can also customize the error message that will display to the agents when they try to enter data that you've marked as invalid. If you'd like, feel free to keep the default message. When you are finished, click Save.
6
Once you've entered all of your restricted content, you can also customize the error message that will display to the agents when they try to enter data that you've marked as invalid. If you'd like, feel free to keep the default message. When you are finished, click Save.
7
Depending on how many different Email blocks are being used within your script, repeat steps 3-6 accordingly. When you are finished updating your script workflow, don't forget to save!
Using the Restrict Content feature within your Phone Number block
1
Select the Script Builder icon on the left-hand navigation menu.
2
From the main Scripts page, select the script you would like to update.
3
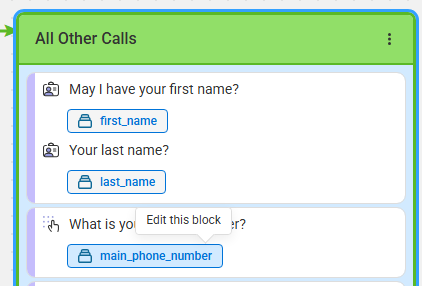
On the next page, locate the Phone Number block you would like to update and click on the highlighted main_phone_number field as shown below. If your script is using a different phone number field, like cell phone, note that you'll see cell_phone_number instead.
4
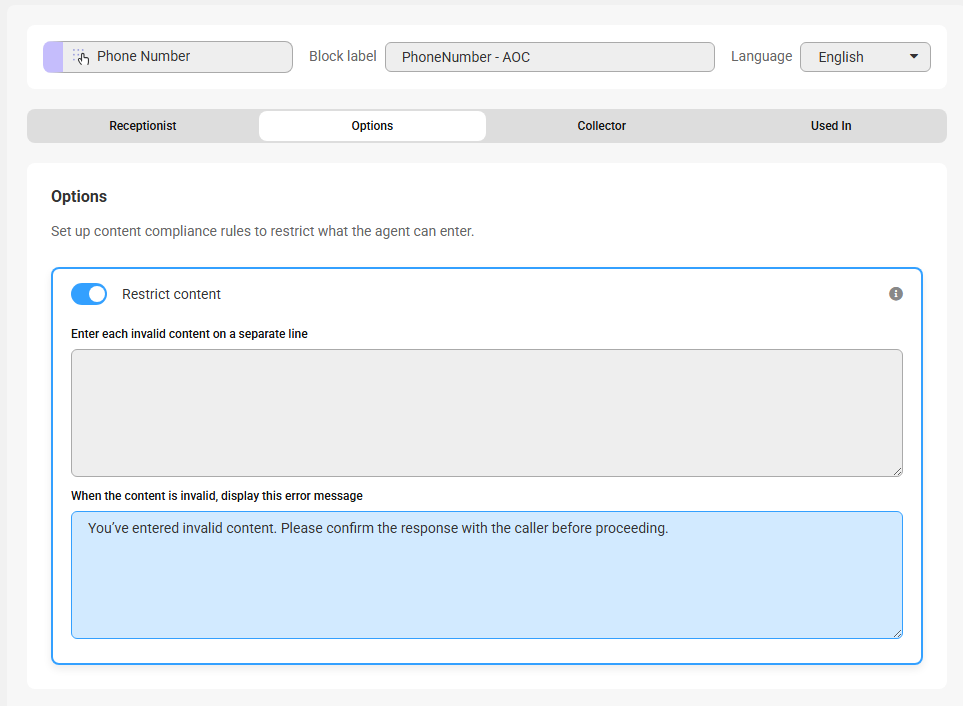
Under the Options tab, use the Restrict content toggle to activate.
5
Within the text box, add the content that you want restricted. In this case, we'll add a few different phone number combinations that the agents may enter. Each input must be entered on a separate line.
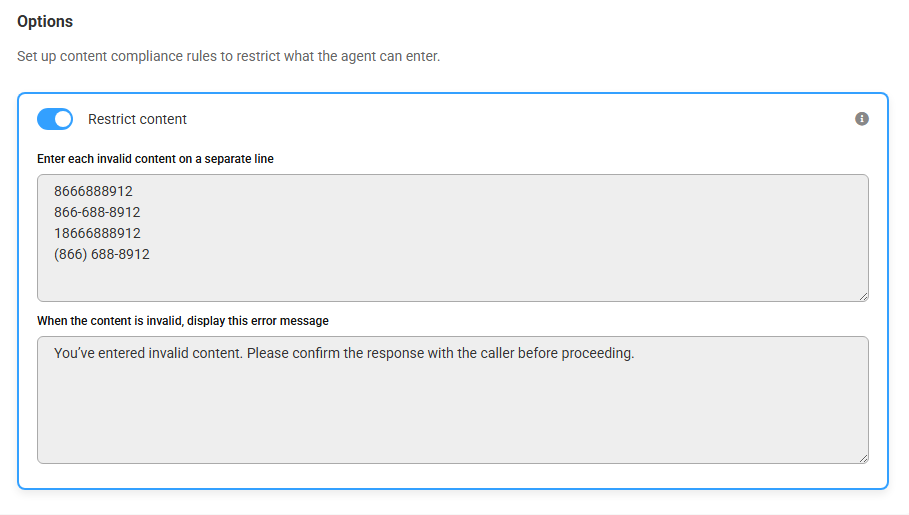
6
Once you've entered all of your restricted content, you can also customize the error message that will display to the agents when they try to enter data that you've marked as invalid. If you'd like, feel free to keep the default message. When you are finished, click Save.
7
Depending on how many different Phone Number blocks are being used within your script, repeat steps 3-6 accordingly. When you are finished updating your script workflow, don't forget to save!
Using the Restrict Content feature within your Free Text block
1
Select the Script Builder icon on the left-hand navigation menu.
2
From the main Scripts page, select the script you would like to update.
3
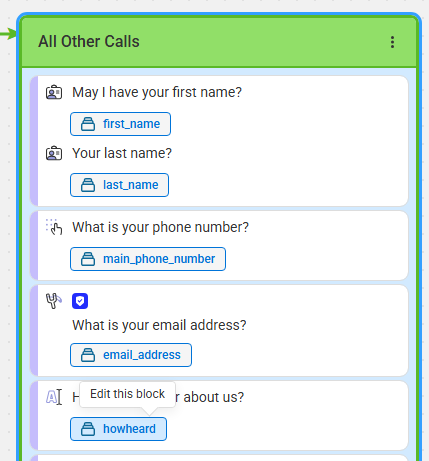
On the next page, locate the Free Text block you would like to update and click on the highlighted field as shown below.
The specific block label will change depending on how you named your block. In our case, our Free Text field is named How Heard.
4
Under the Options tab, use the Restrict content toggle to activate.

5
Within the text box, add the content that you want restricted. In this case, we'll add a few different options that relate to our How Heard block. Remember, you may be using your Free Text block for something different, so the content you add may not apply to our example. Each input must be entered on a separate line.
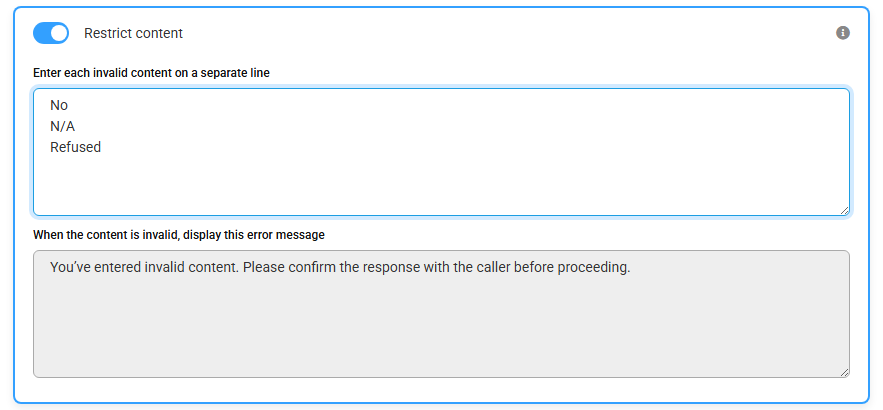
6
Once you've entered all of your restricted content, you can also customize the error message that will display to the agents when they try to enter data that you've marked as invalid. If you'd like, feel free to keep the default message. When you are finished, click Save.
7
Depending on how many different Free Text blocks are being used within your script, repeat steps 3-6 accordingly. When you are finished updating your script workflow, don't forget to save!


