How to edit an SAS Flex Advanced Reach On-Call Schedule
There may be times when you need to make an on-call change to an existing Reach schedule. This can be accomplished in just a few simple steps.
In this article we'll discuss:
Editing your Standard Reach Schedule
In a Standard schedule, the same person or group of people is on-call for the full 24-hour period from the Start time to the Stop time.
1
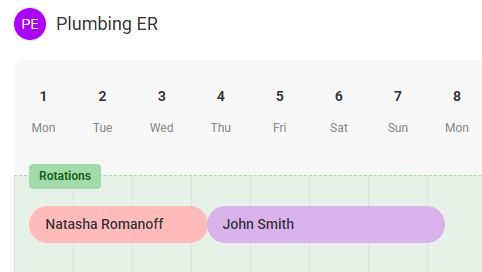
Under the Rotations section of your on-call setup, select the highlighted date range you'd like to edit. In this example, we'll edit John's rotation.
2
Click the Gear icon in the pop-up window to view and edit the calendar settings.
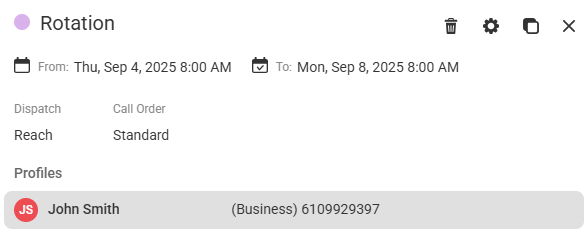
If you want to copy the the existing rotation, click the Clone icon next to the Gear icon.
3
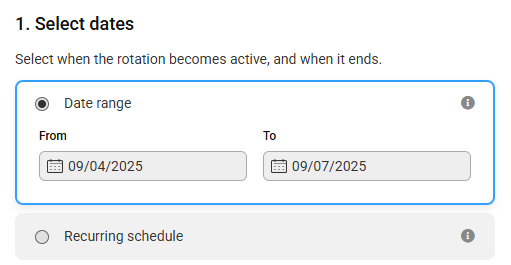
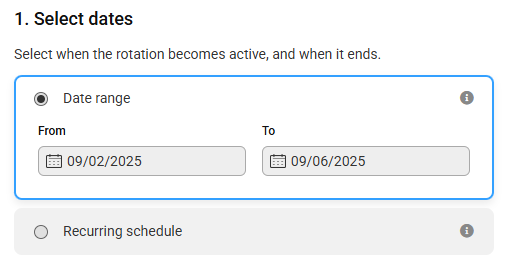
On the next page, select the date range you wish to edit. Remember, whatever you change will affect the entire date range you've selected.
For instructions on how to use the Recurring schedule option, check out this article.
4
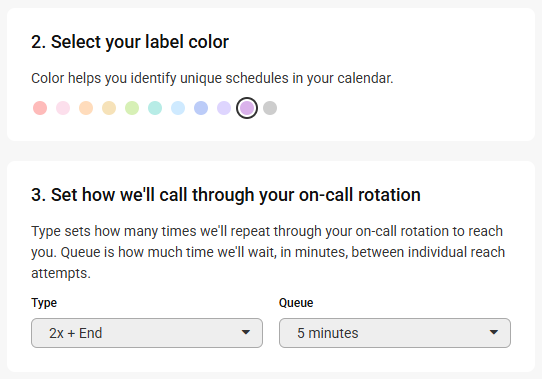
Next, select a label color, then choose a Type and Queue.
The Type and Queue will tell our system the number of times to reach out, and how long to wait in between attempts.
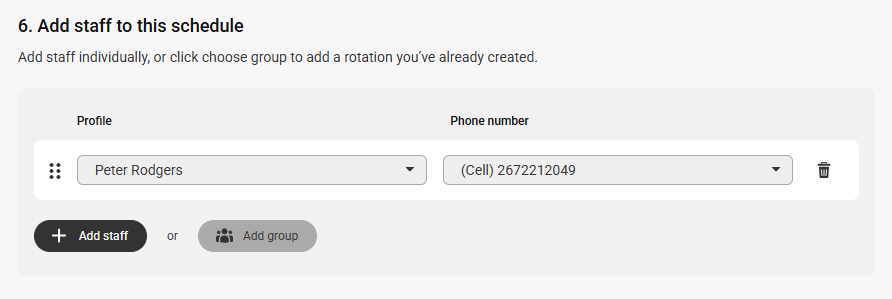
5
Finally, choose which staff member(s) you'd like us to reach out to. In our example we've removed John and replaced him with Peter.
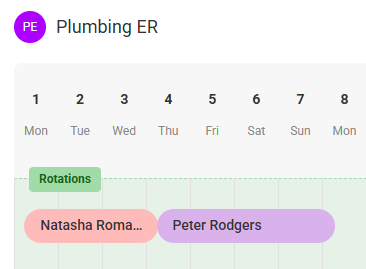
6
When you are finished, click Save. You will then be taken back to your calendar where you'll see your newly updated schedule.
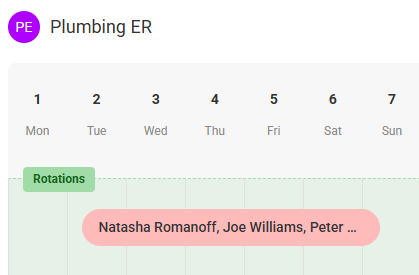
Editing your Custom Reach Schedule
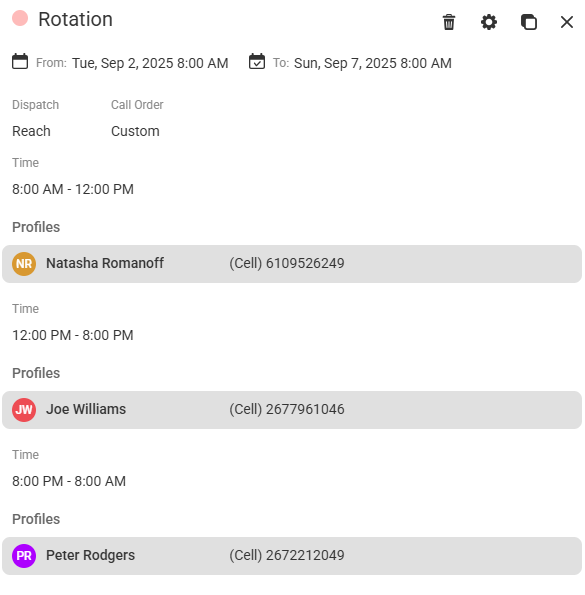
In a Custom schedule, there are different people on-call during separate blocks of time within the 24-hour period. In our example, we have Natasha on-call from 8am to 12pm, then Joe on-call from 12pm to 8pm, and then Peter on-call from 8pm to 8am the next morning.
1
Under the Rotations section of your on-call setup, select the highlighted date range you'd like to edit. In this example, we want to remove Natasha's shift and replace her with Karen.
2
Click the Gear icon on the pop-up window to view and edit the calendar settings. From this window you can also see an overview of the shifts currently scheduled.
If you want to copy the the existing rotation, click the Clone icon next to the Gear icon.
3
On the next page, select the date range you wish to edit. Remember, whatever you change will affect the entire date range you've selected.
For instructions on how to use the Recurring schedule option, check out this article.
4
Next, select a label color, then choose a Type and Queue.
The Type and Queue will tell our system the number of times to reach out, and how long to wait in between attempts.
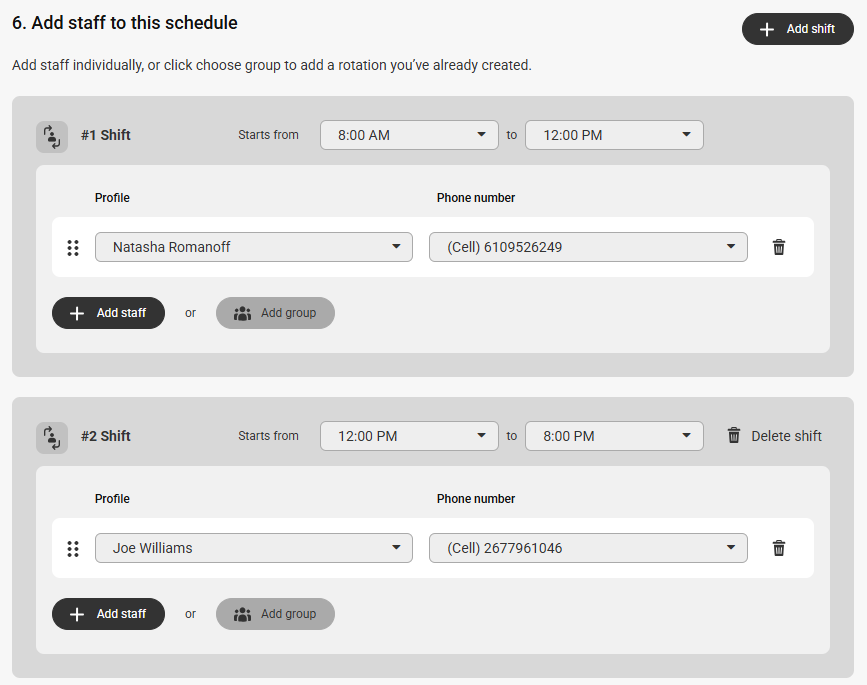
On the right-hand side of your screen, you'll see the current schedule, broken down into shifts. Depending on the type of update you want to make, you can add or remove shifts or update the people we are reaching out to. If you are adding or removing shifts, just remember that the overall time frame has to equal 24 hours based on your Start/Stop time. So, if your Start time is 8am, your first shift has to start at 8am and your last shift has to end at 8am (the following day). You can have as many different shifts as you want in between those two times.
5
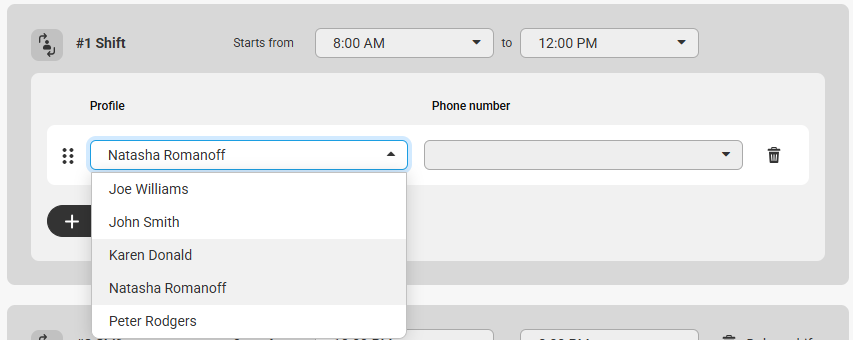
In our example, we will be updating our first shift by replacing Natasha with Karen. So, we'll choose Karen's name and number from the drop down where Natasha is currently listed.
6
When you are finished, click Save. You will then be taken back to your calendar where you'll see your newly updated schedule.

Using the Override Feature
The Override feature is used to over-write your current Rotation for last-minute or temporary on-call changes. Adding Override dates helps you see clearly which dates have been adjusted.
1
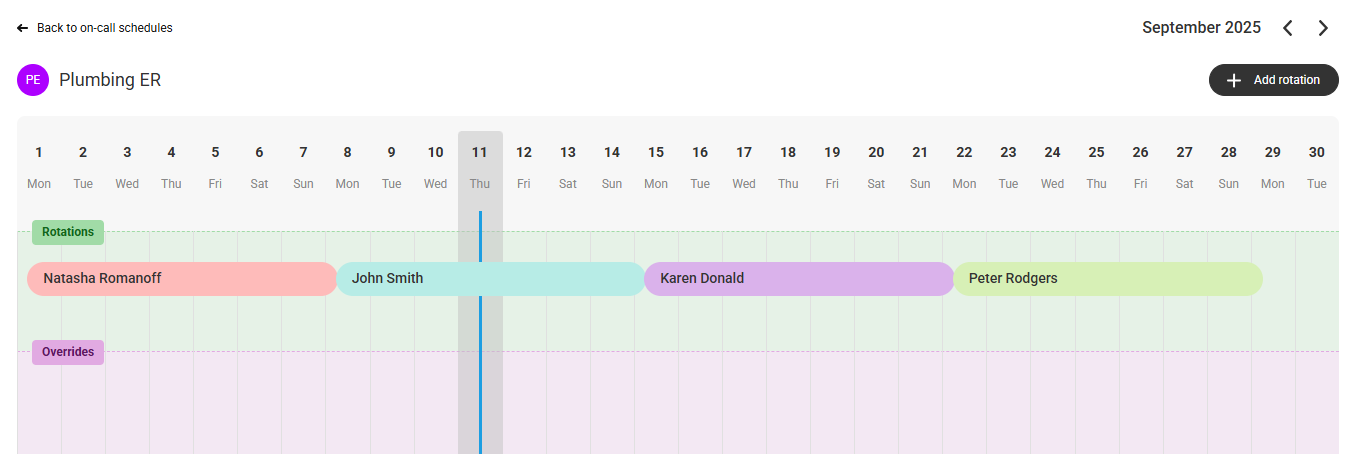
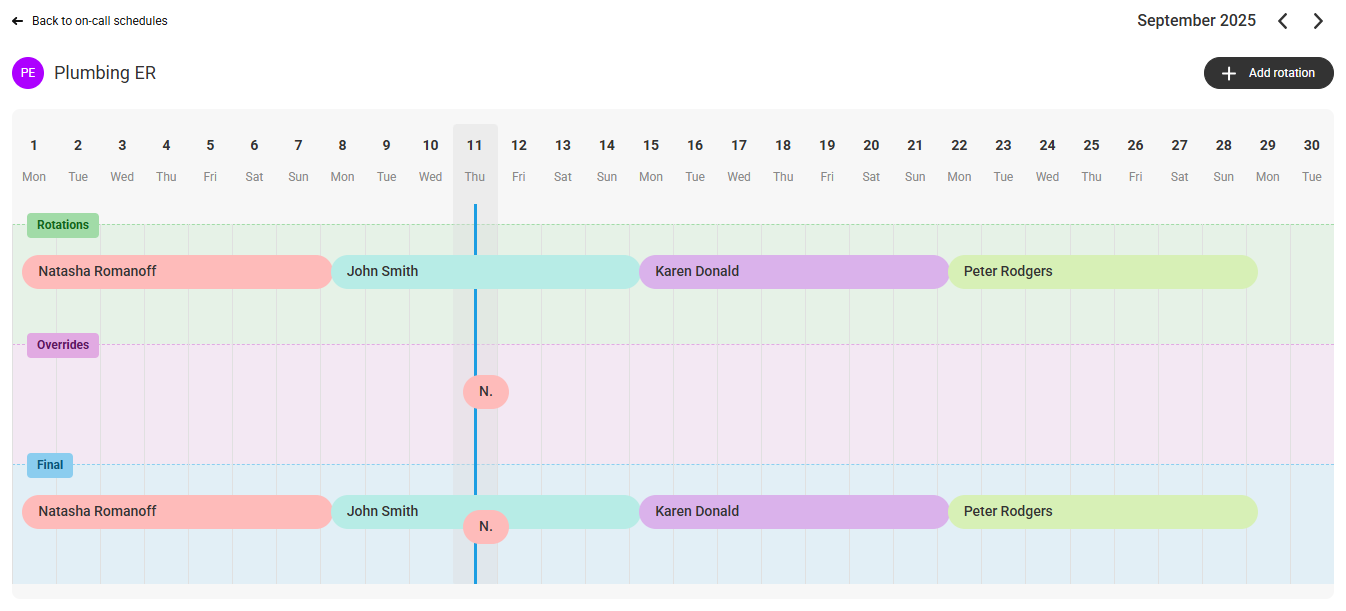
Within the Overrides section of your calendar, select or click and drag to highlight the calendar block(s) that need a temporary update. In this case, we'll be overriding the instructions for John's rotation on the 11th.
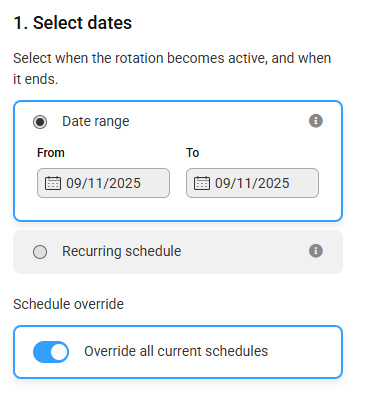
2
On the next page, confirm that your Select Dates tool is displaying the correct date range. The Override all current schedules toggle should be enabled.
3
Next, select your label color. If you're updating a Reach schedule, then you'll also need to choose your Type and Queue.
The Type and Queue will tell our system the number of times to reach out, and how long to wait in between attempts.
4
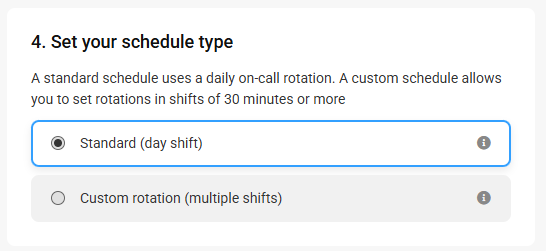
Next select either a Standard rotation or a Custom rotation depending on your needs.
5
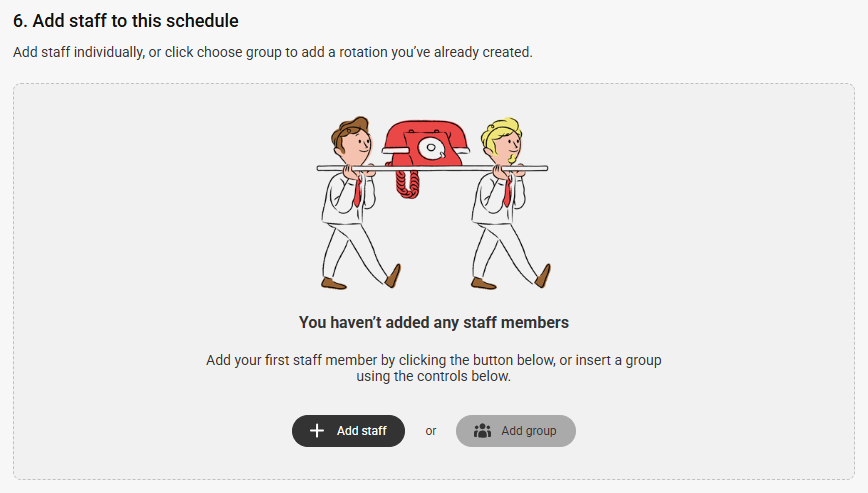
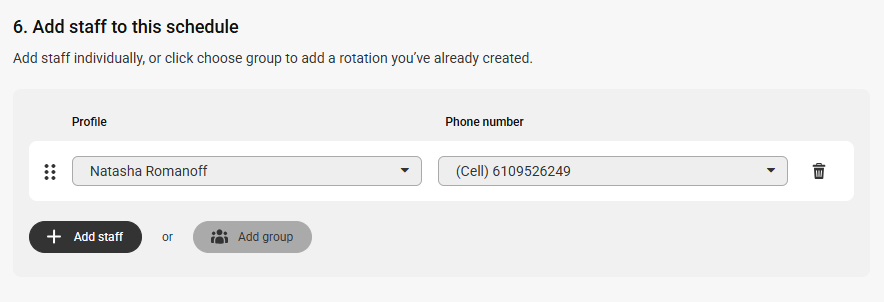
Finally, select the staff member(s) you'd like to add to the override rotation. In our example, we want to replace John with Natasha, so we'll choose Natasha's Profile from the drop down.
6
When you are finished, click Save. You will then be taken back to your calendar where you'll see your Rotations, Overrides and Final schedules.
Once you've successfully updated your on-call schedule, you can test it by calling your forwarding number directly and having the agent go through the script to trigger the on-call. Note Reaches will only work via a live call.


