Introduction to the SAS Flex Call Log
Your Specialty Answering Service Flex Portal Call Log is where messages are stored for each call our operators take on your behalf. Let's take a look at its features and functions.
Exploring the call log
Overview of the SAS Call Log
When logging in to Flex, you'll be taken directly to your call log. By default, this log will display the account activity from the last 7 days. Clicking on a call from the log opens up the full details of the call. For more information on understanding the Call Details page, check out this article.
The stats at the top of the page compare the previous month's average usage (in seconds) to the current month's average usage. So, if your average daily usage last month was 10 minutes, and your average daily usage this month was 8 minutes, there'd be a negative 22% change.

The call log defaults to 20 records per page. If there are more than 20 records to review, use the Previous and Next arrows at the bottom of the call log to navigate to the next page. To change how many calls show per page, use the page filter at the top of the call log. Here, you can change your view from 10 calls per page up to 100.
Using dates, filters, and searching through results
To see activity outside of the 7-day default, you'll need to adjust your date range. Just click the date range filter at the top left of the call log to select a pre-set range.

If the options listed don't suit your needs, use the Custom option to set specific From and To dates. Then, click Apply.

Adjusting the call filter
The selections in your call filter let you drill down and refine your call log. Click the Filter drop down menu, then select from the options provided to segment your activity by Tag, Scripts, Numbers and Outcomes. Don't forget to click the Apply button to apply your changes and show the filtered results.

How do I remove a filter?
Any filters you've applied will be displayed at the top of your call results table. To clear filters, you can either click the X next to the filter name, or click the Clear all filters link.
Can I search through my calls?
Searching is a great way to quickly locate calls in the log. Start by clicking the magnifying glass icon in the top right corner of the log, then use the search box to further filter through the calls in the log. Search will look for a match in the Name, Phone, or Outcome.
Search will not search through your entire call history, just the results already shown in the call log. To extend the search to more calls or, to refine your search to less calls, adjust the date range.
Printing and emailing your messages
From the call log, you can print or email individual messages or multiple messages at a time.
Printing your messages
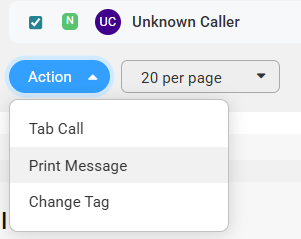
To print a message, select the checkbox on the row of any call or calls you need to print. Then, on the right side of your screen, click the Action tab and select Print Message.
Emailing your messages
To email a copy of your message data, start by selecting the checkbox on the row or rows of any calls you are emailing, then use the Action tab and select Email Message.
Emailing your messages is not an option for HIPAA compliant accounts.

Clicking Email Message will open a view like the one below where you'll be able to email the call details to the login email of your Flex users.

Opening multiple calls
If you need to view multiple calls at a time, just check the box to the left of the calls you want to open. Then, from the Action button, click the Tab Call link. This will open all of the calls as tabs in the upper area of the screen without taking you away from the Call log, so you don't need to click back and forth.

Changing Tags
Tags are a way to help identify different types of calls within your call log, and can help users prioritize call backs. For example, if you have multiple staff members that people may call in for, you can create tags for individual staff members and apply them to calls.
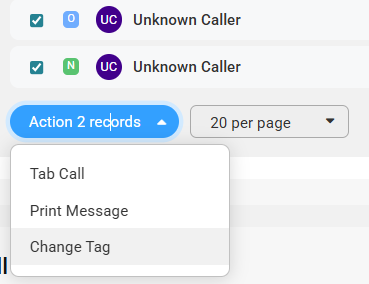
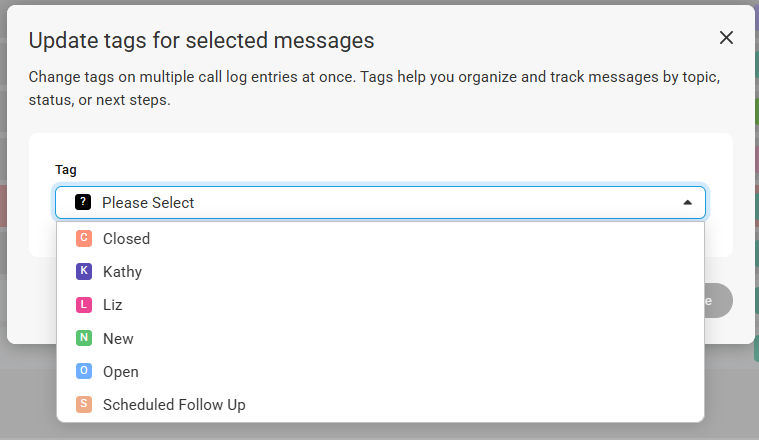
To apply a tag to multiple calls at once, simply select the calls, then from the Action drop down, select Change Tag. In the pop-up window, select the tag you wish to apply, then click Save.