Getting Started with Script Sections
Once you've finished creating the building blocks of your script, it's time to organize them into sections. Script sections are essentially the different paths, or options, an operator can take while handling your calls. For example, Appointment calls would be categorized into one section, while Emergency calls would be separated into another.
We have already created our script blocks for two sections: Calling to Schedule and Calling with an Emergency. For this tutorial, we will organize those blocks into their respective sections, and then input them into a new script. If you're working on an established script, the same practices still apply.
In this article we'll discuss:
Creating new Script Sections
1
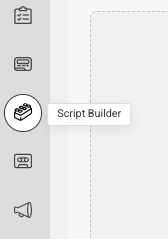
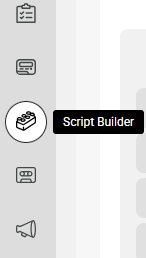
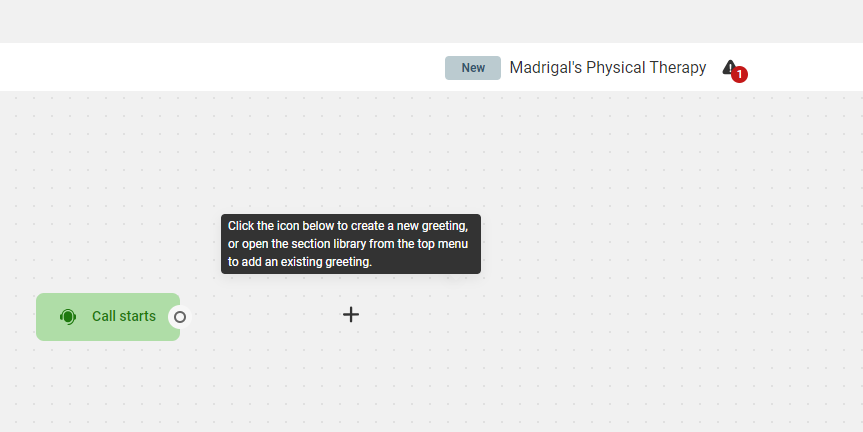
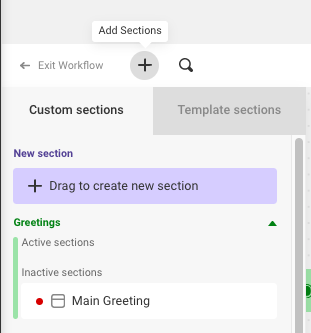
Click on the Script Builder icon on the left-hand navigation panel. Then, from the Section Library tab, click Add new section.

2
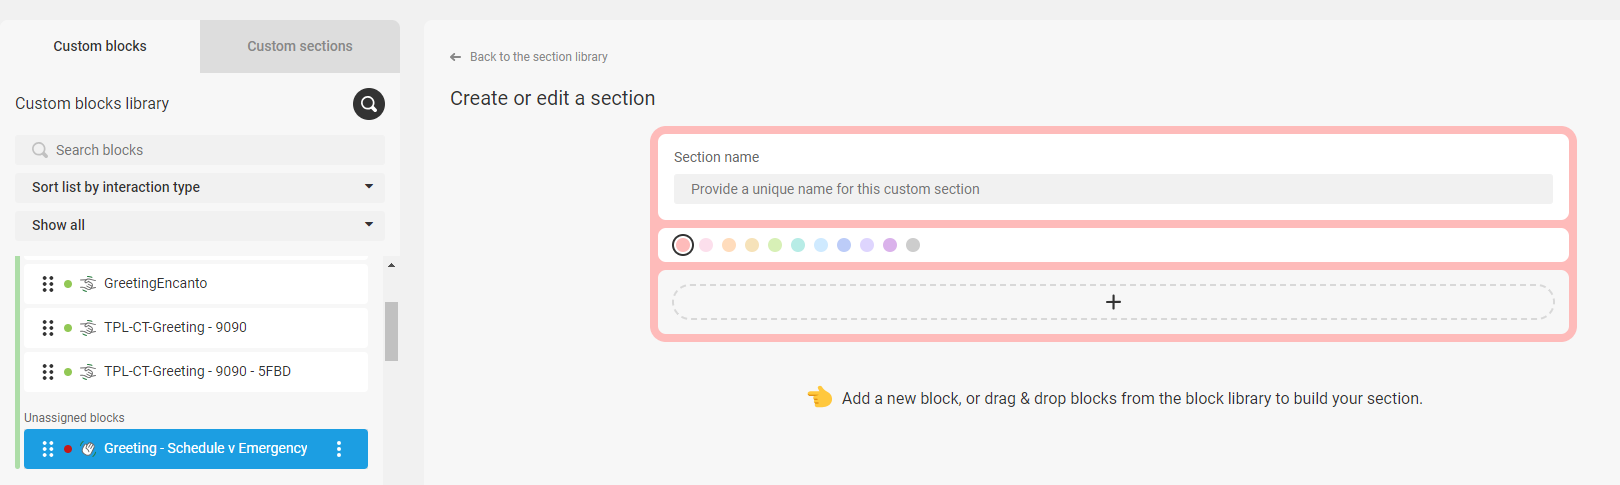
Since we're starting fresh, we'll need to create our Greeting section first. If you are working on an established script, you may need to update your Greeting block accordingly, depending on where you are adding your new section(s).
Under the Custom Blocks tab, locate your Greeting block. Then drag it over to the workspace on the right-hand side of your screen.
3
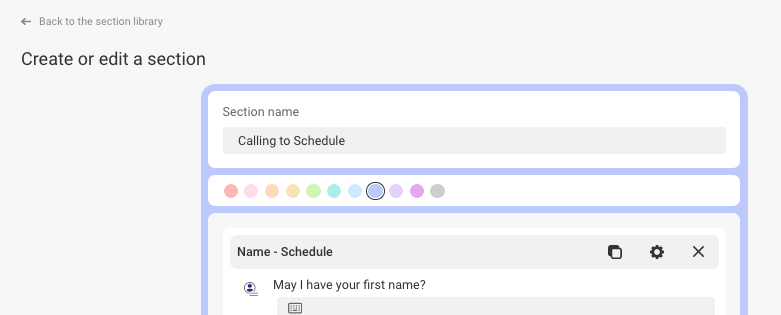
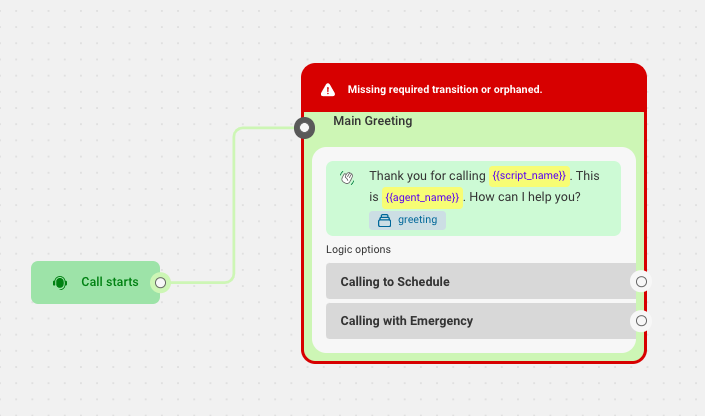
Name your Section, and choose a color if you'd like! We named ours Main Greeting. Then click Save in the bottom right-hand corner.

4
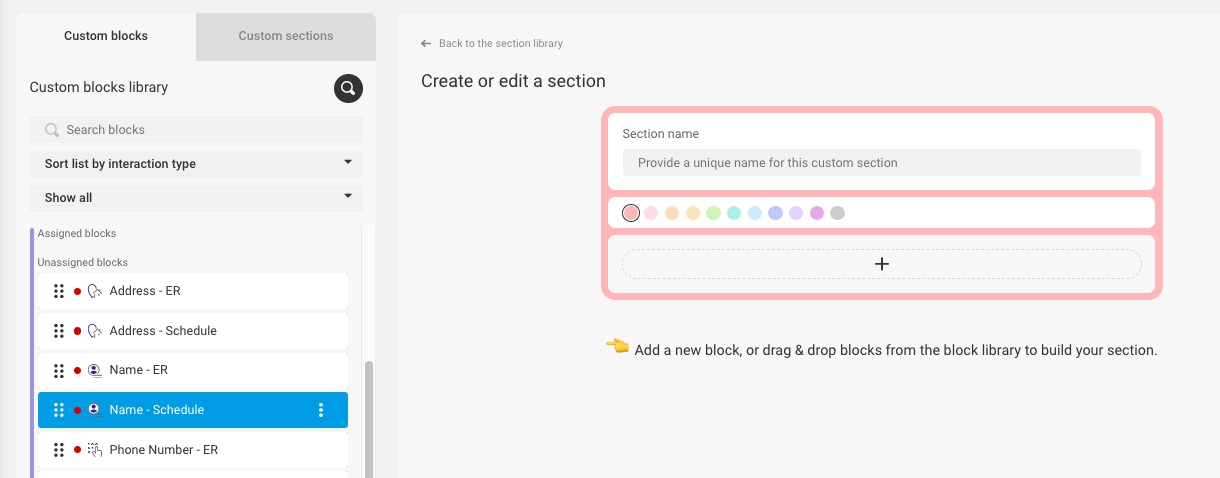
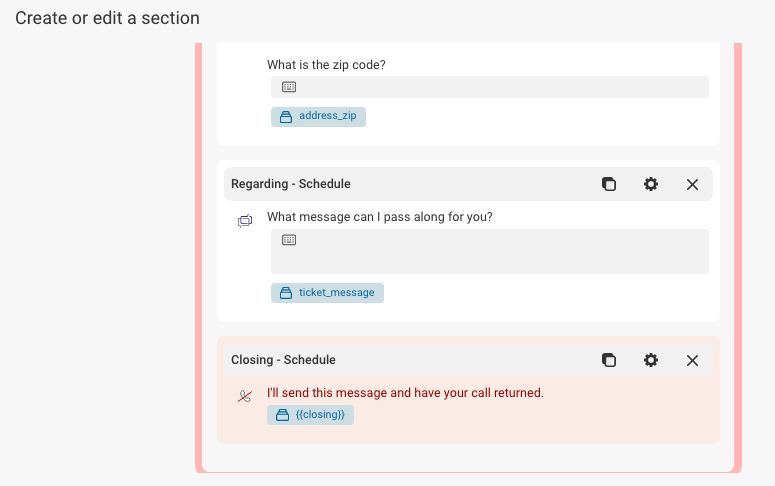
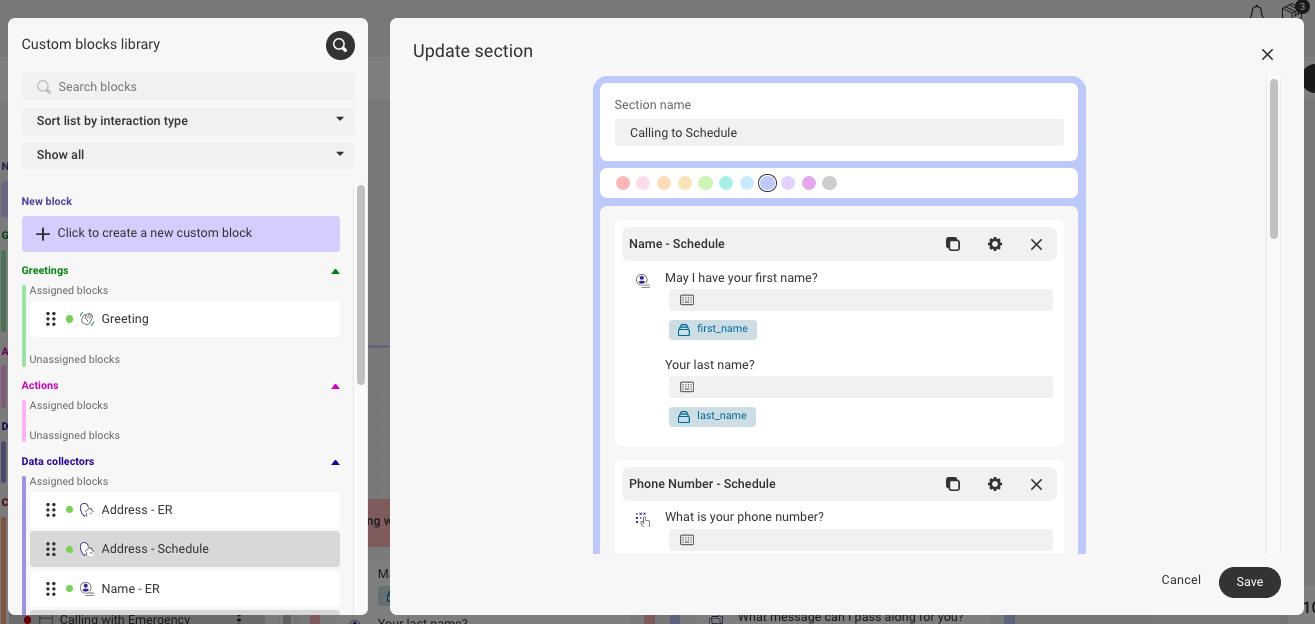
Now, let's begin organizing all of our ER and Appointment calls into their respective sections by dragging them over to the workspace. We'll begin with our Schedule blocks, starting with Name - Schedule.
5
Next we will drag our Phone Number - Schedule block and place it underneath our Name - Schedule block.
6
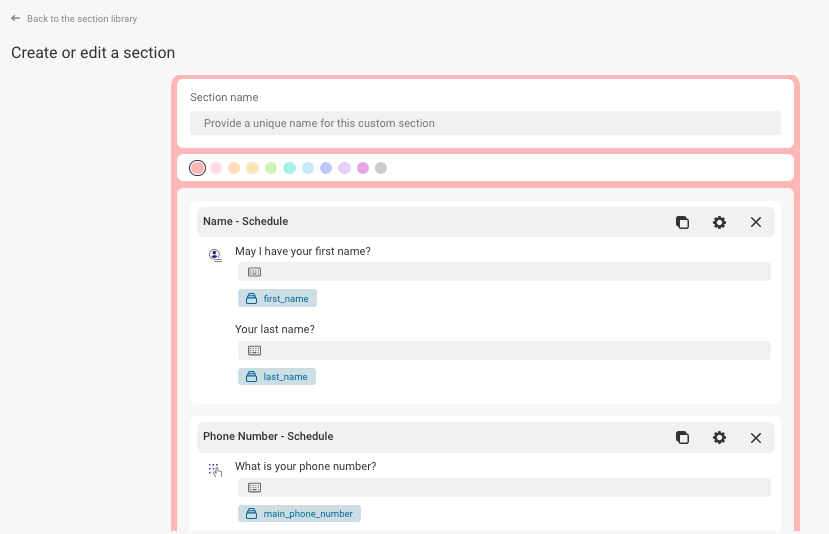
Continue dragging over the rest of the blocks you want included within this section, in the order in which you'd like the operators to gather the information from your callers.
NOTE: Only certain block types can be used to end a section. Blocks that contain logic, e.g., Warm Transfer or Logic, can close out a section. Page breaks can be used to separate one set of questions from another. And any block that ends the script, e.g., Closing or Reach, can also complete a section.
7
When you've finished moving and organizing the blocks, go ahead and name your section, choose a color (optional, but suggested!) and click Save in the bottom right-hand corner.
8
If you have additional sections left to build, repeat steps 4-7 until all of your required sections have been completed.
Adding Sections to a Script
Once all of your script sections have been built, it's time to incorporate them into your script.
1
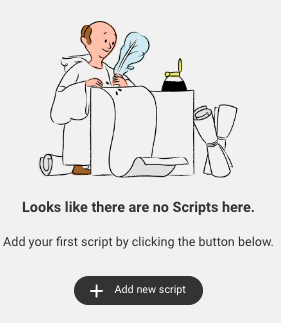
Go to the Script Builder icon on the left navigation panel. If you already have an established script, select it. In our tutorial, we will choose Add New Script and choose the Start from Scratch option.
2
Once you've accessed your script, you will be taken to your workflow. Again, if you already have an established script, yours will look a bit different.
3
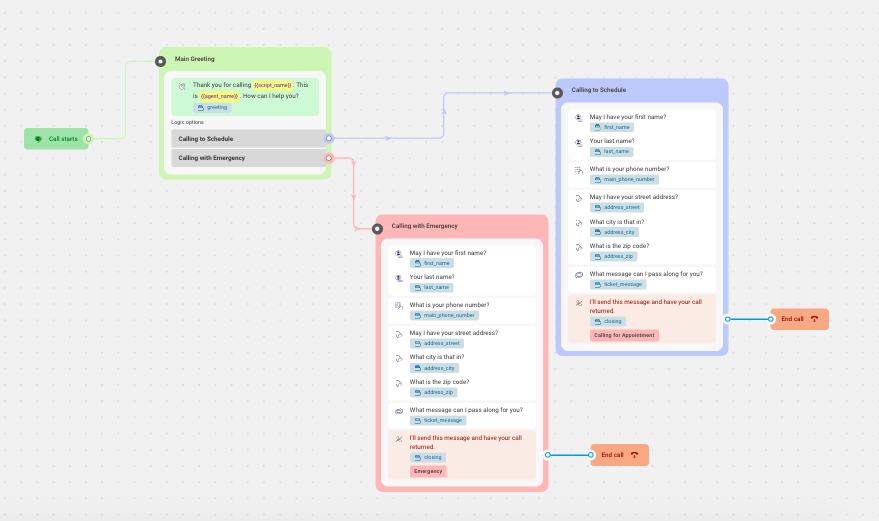
We'll start by clicking the + sign in the upper left-hand corner to start adding Sections. From the Custom Sections tab, locate your Main Greeting section and drag it over to the workspace.
4
Next we'll drag over both of our Calling to Schedule and Calling with Emergency sections, placing them near the Main Greeting section.
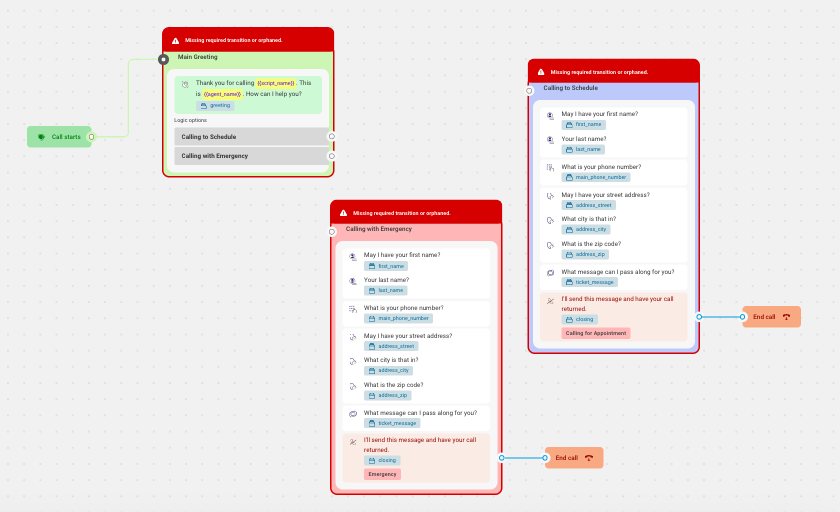
5
Link up your Greeting section to each respective new section, as shown below.
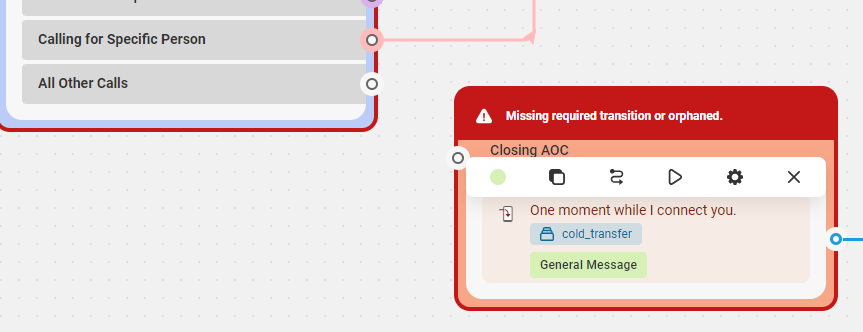
NOTE: Once a script section is fully linked, the "caution triangle" icon will disappear.
6
After you've finished editing your script, don't forget to Save your work!
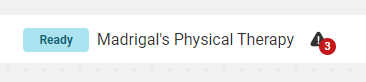
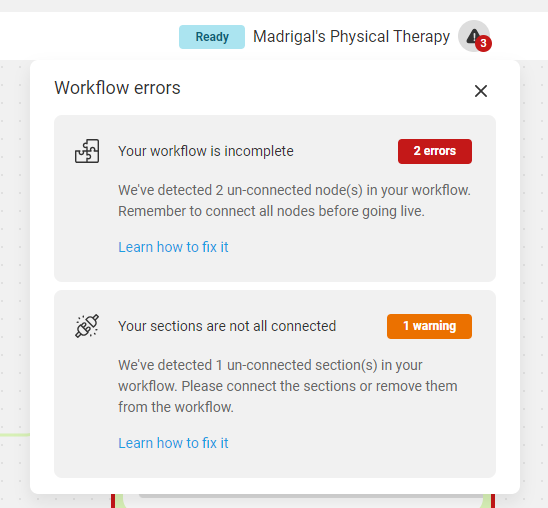
If you have any scripting errors, the alert bell next to the script title will display a red number, indicating how many errors there are. Clicking on the bell will open up a window explaining the errors and how to fix them.
Editing and Removing Script Sections
1
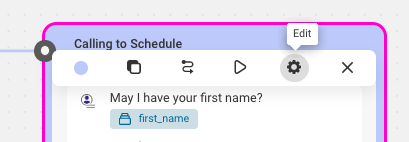
If you're already looking at your script workflow, hover over any section to bring up the editing tools, then choose the gear icon to edit, or the X if you wish to delete it. If you're not looking at your script workflow, choose Builder from the main navigation panel, then select Sections.
2
On the next screen you'll be able to edit, remove or re-organize any of the script blocks within that section.
3
When you are finished editing the section, click Save. To return to your script, click Back to Workflow.
4
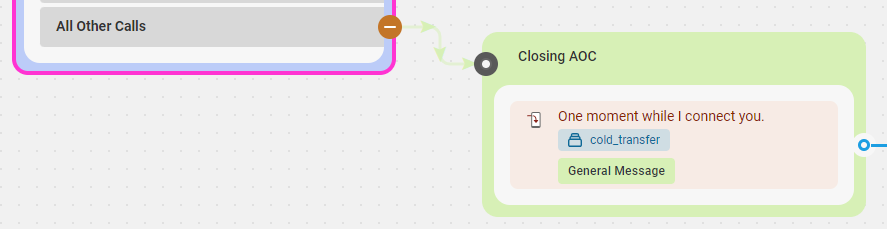
You may also want to edit sections by changing where they lead. For example, in the image below, the All Other Calls option is connected to the Closing AOC section.

5
You can easily change this by hovering over the connecting line, and clicking the - sign to remove the connection.
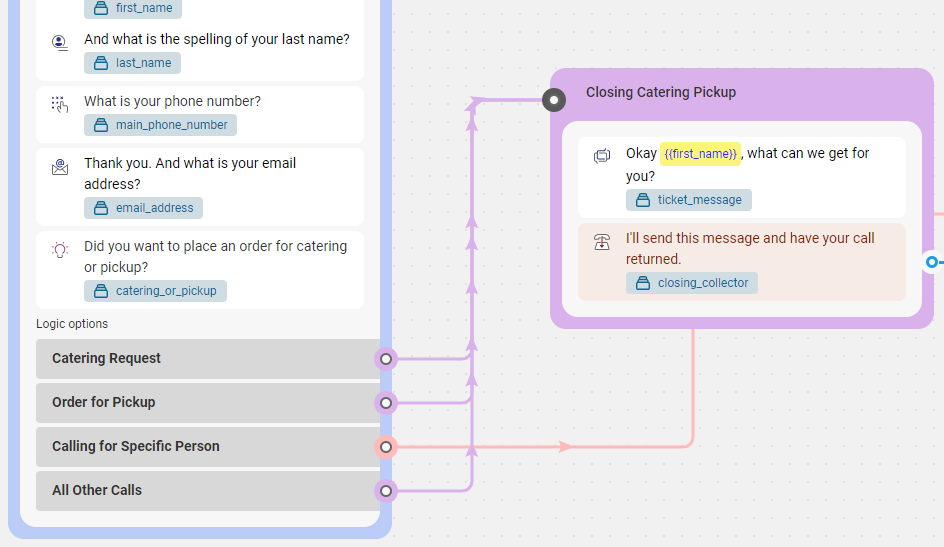
6
Then, you'll be free to re-connect it to a different section of your choosing.
7
As always, don't forget to save your work!


