Working with Page Breaks in the SAS Flex Call Script Builder
In a script that contains includes a lot of fields for agents to gather information, it's helpful to break up the script into smaller Sections that agents can page through. This is where Page Break Blocks come into play.
In this article we'll discuss:
How the Page Break Block Can be Used
- Splitting up Long Sections: If a script Section includes a lot of questions without any breaks, agents may be more prone to accidentally skipping over questions. Using a Page Break Block will help break up bigger script Sections and will prompt the agent to move to the next page when documenting caller information.
- Using Workflows: If a script is utilizing any automatic workflows, Page Break Blocks will need to be used because workflow Blocks are required to be contained within their own Sections in order for them to operate successfully.
- Accessing Websites: If agents are accessing your website to schedule appointments or submit forms, using a Page Break Block can help us easily plug in caller information without having to ask them to repeat themselves. For example, if an agent documents a caller's name, number and email, once they move to the next script Section, that information will automatically populate in the instructions the agent will use to navigate your site and notate the applicable information.
In any script section where an agent accesses an external website, call recording will automatically turn off once the agent reaches that section. It will remain off for the duration of the call.
Tips Before Getting Started
Before making updates to your live script, it's a good idea to make a copy of your script to make the desired updates. Then, once the updates are completed, you can make the copied script live. This will ensure there are no issues with calls that agents are actively handling.
1
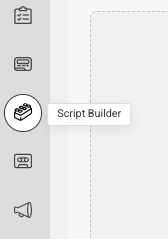
Select the Script Builder icon on the left-hand navigation menu.
2
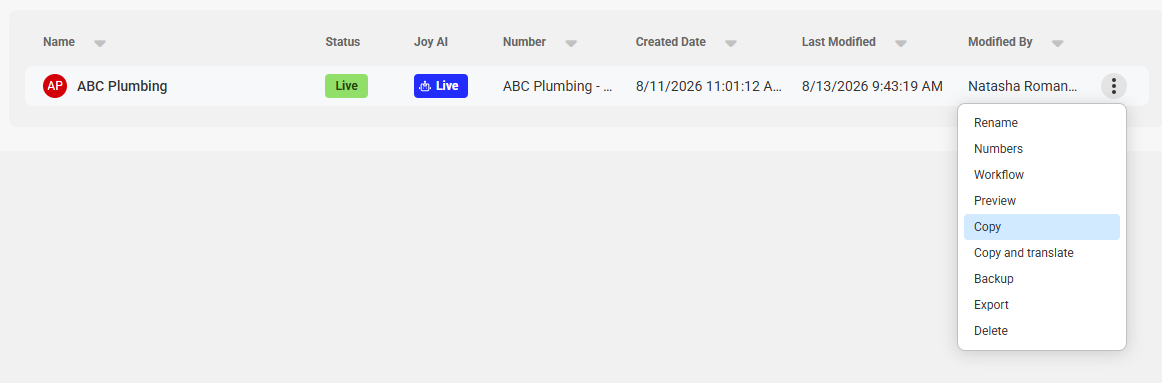
Click the 3-dot menu icon next to the script you wish to update, and select Copy.
3
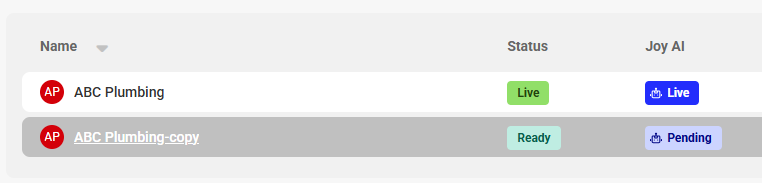
Next, select the script labeled Copy to begin editing.
Adding a Page Break into a Script
1
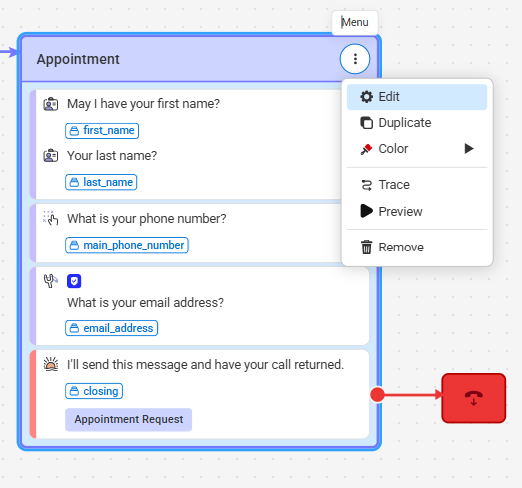
In the script workflow, locate the script Section you want to add a Page Break Block to. Click the 3-dot menu icon within the Section and select Edit. In our example, we'll edit our Appointment Section.
2
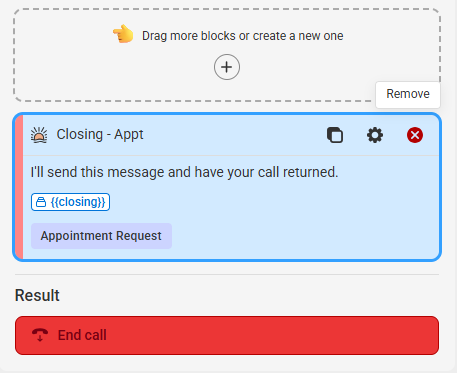
Our current Appointment Section ends with a Closing. However, we want to replace the current Closing Block with a Page break Block to continue gathering information. Within with the Section editor, scroll down to the bottom and click Remove next to the Closing.
3
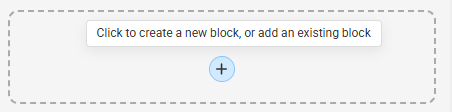
Next, click the + sign to create a new block.
4
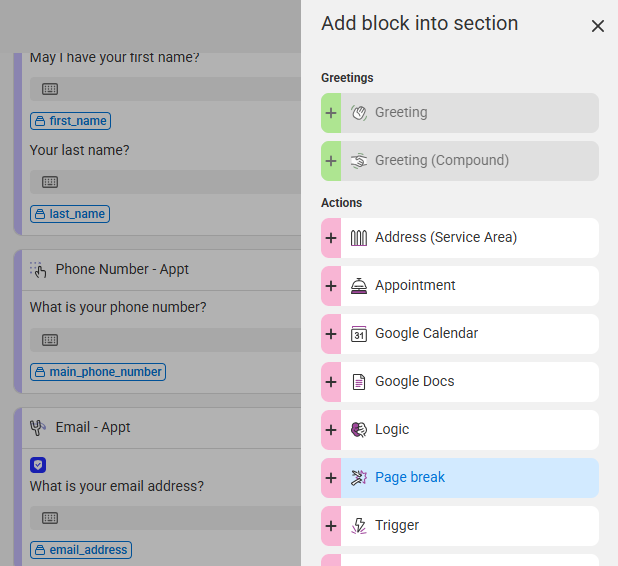
From the expanded Block menu, locate and select Page break.
5
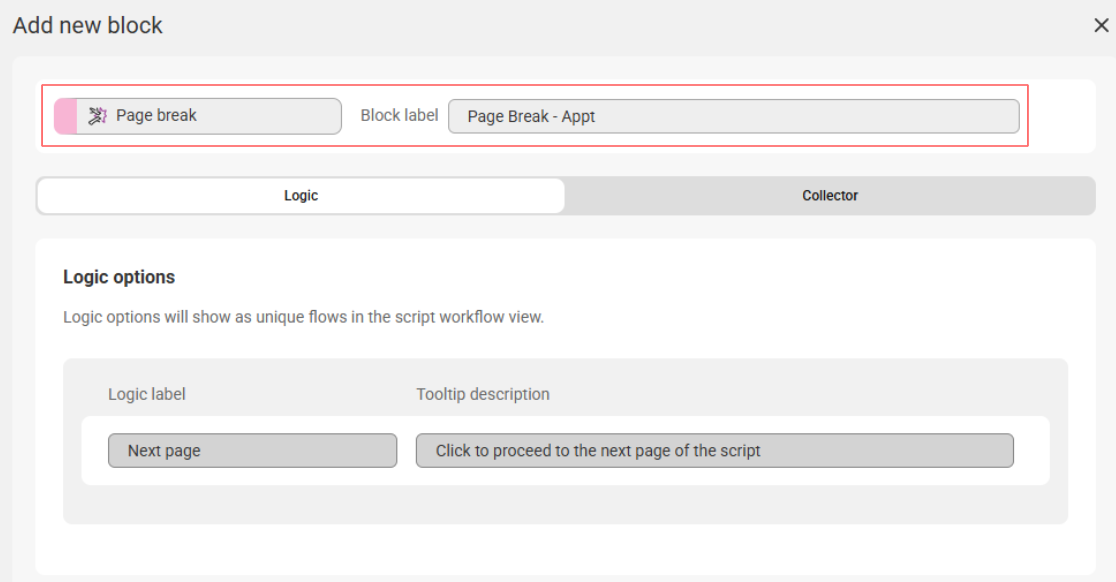
Once the block populates on your screen, you'll see the Block Type along the top of the block, and a space to add a Block Label next to it. Block Labels will help us identify the Block within the system later on. We named ours Page Break - Appt to match the other labels within this Section.
6
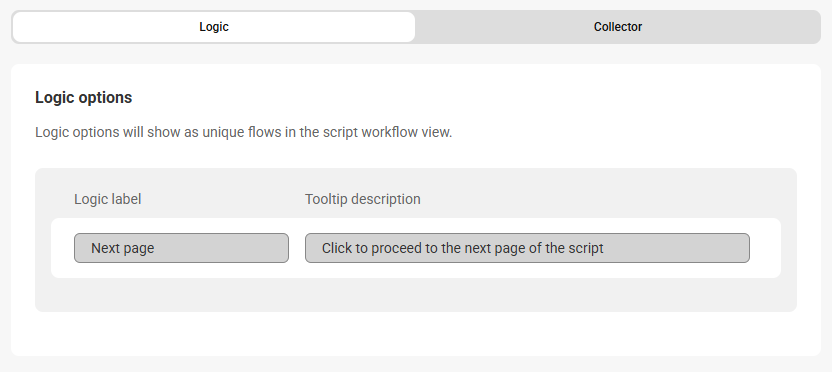
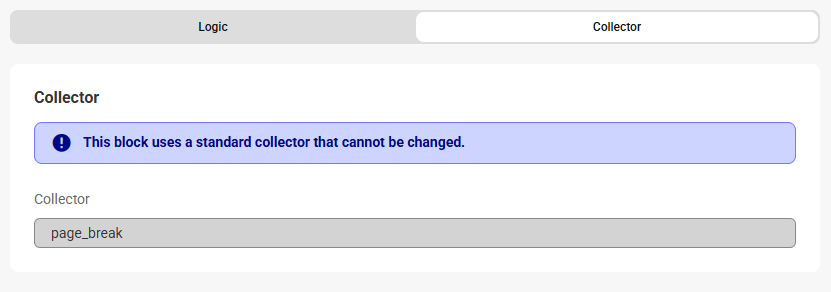
Both the Logic and Collector tabs will have pre-set data that cannot be changed.
7
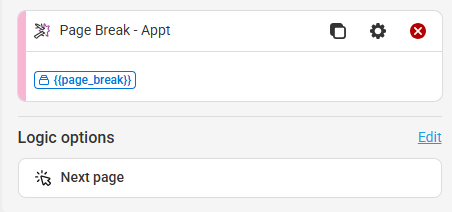
Click Save in the bottom right-hand corner. You'll see your new Page break Block where your old Closing block was. Click Save again in the bottom right-hand corner to go back to your script workflow where you'll see your newly updated Section.
8
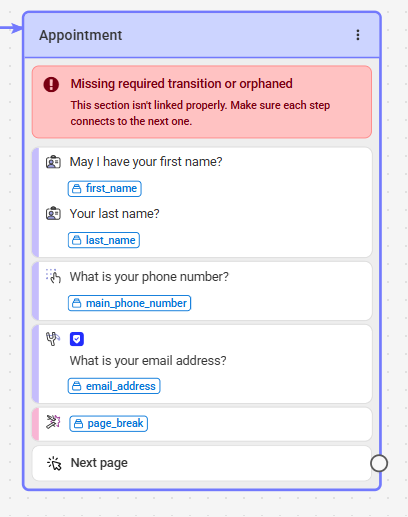
Back on the script workflow page, you'll notice that your script Section is now incomplete. This is because we replaced our Closing Block with a Page break Block to continue gathering details.
Depending on what your next steps are, you'll need to configure those Blocks and Sections accordingly. In our example, we'll have agents continue gathering information, then go to a closing. However, you can create whatever fits your business needs!
9
In the upper left-hand corner of the script workflow page, click the + sign to expand the Section menu.
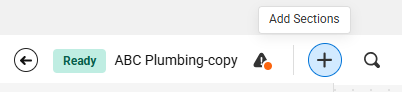
10
Once the Section menu has expanded, select the Drag to create new Section option, and drag it over to the Section you were previously editing. In this case, it will be our Appointment Section. 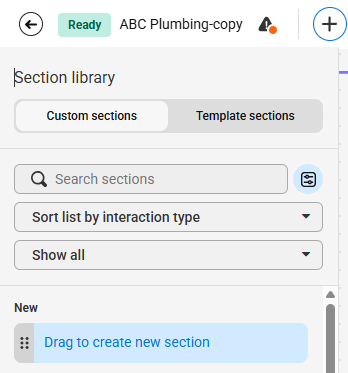
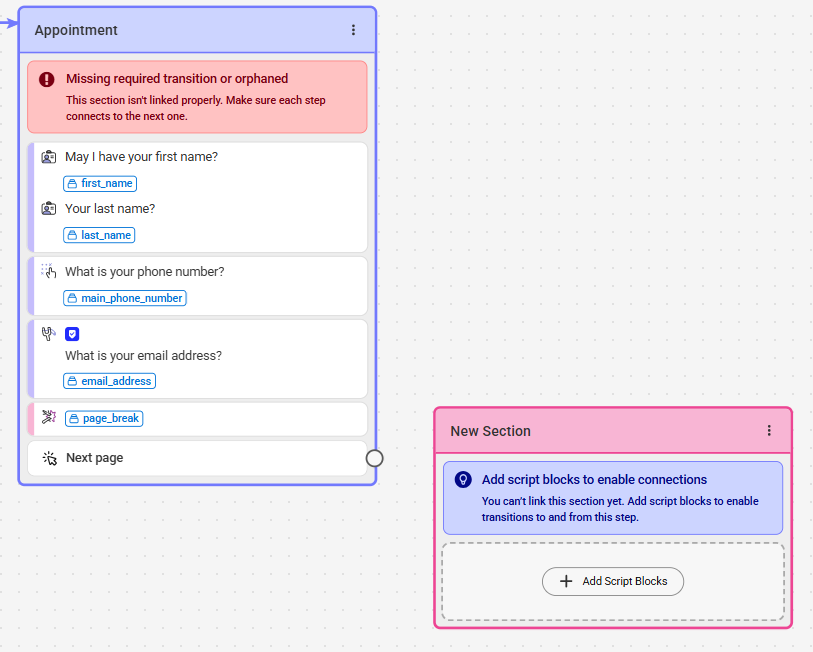
11
Within the new Section, click Add Script Blocks to begin building out your new Script Section.
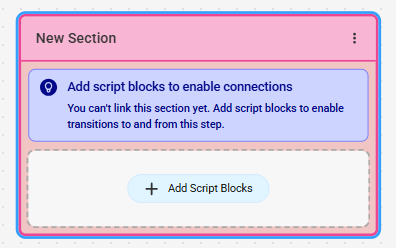
12
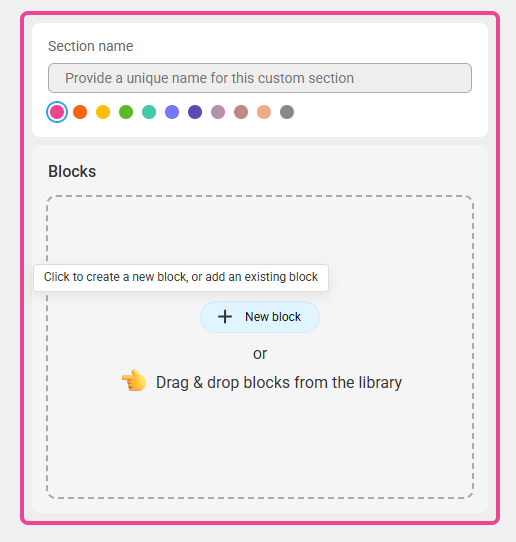
On the next page, click the New Block button to begin adding Blocks to your new Section.
13
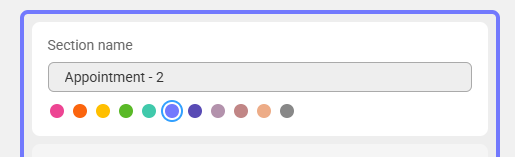
In the Section Builder, add a name to your Section, and select a color. We named ours Appointment - 2 since it's a continuation of our original Appointment Section.
14
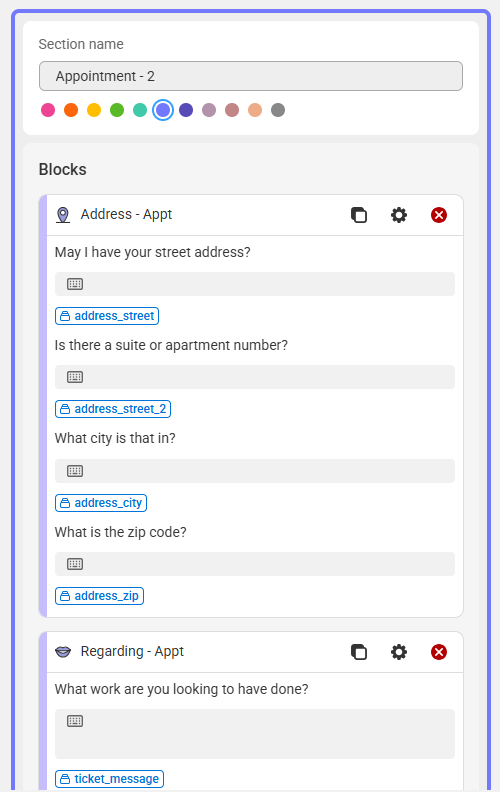
Next start adding your desired Blocks. Again, depending on your needs your setup may look different from ours. In our example, we'll be adding an Address and Regarding Block, as well as our original Closing Block. When you are finished, click Save.
15
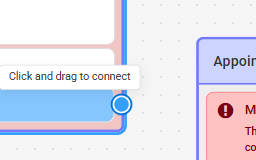
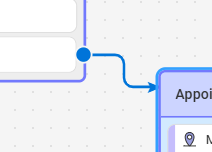
Once your new Section has been created, we need to link it up to our original Section. At the bottom of your original section, click the empty circle, and drag the connecting line to the new Section.
16
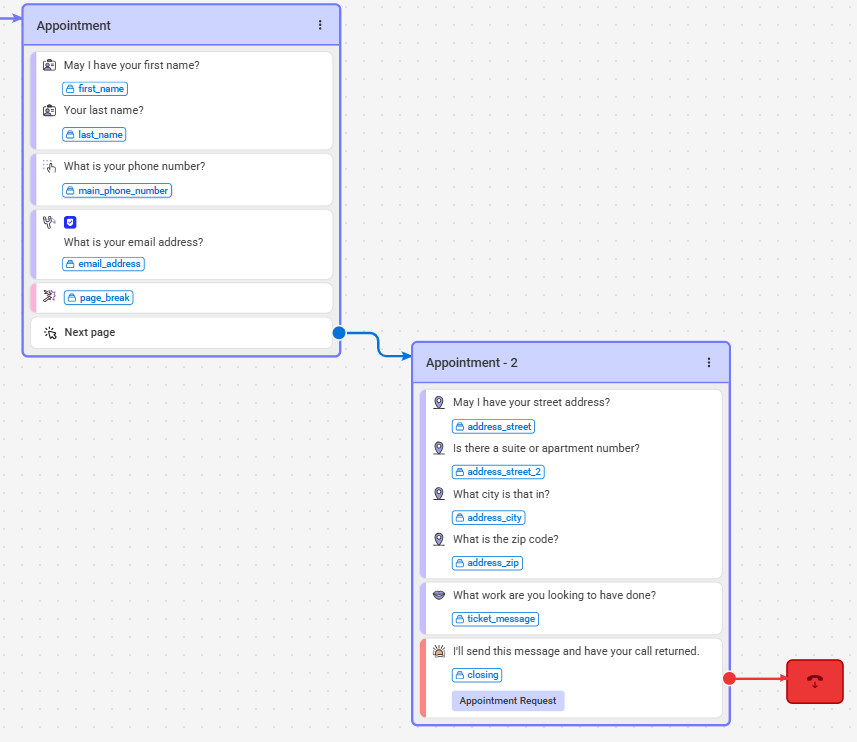
Your finished workflow should look something like the image below. When you are finished editing your workflow, click Publish live script in the upper right-hand corner.
Next Steps
If you chose to make a copy of your script before making changes, we'll show you how to re-assign your SAS number to the new script and delete the original. If you didn't make a copy of your script before making updates, you can disregard this section.
1
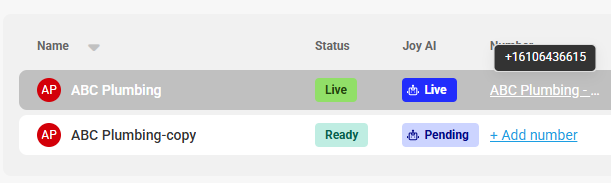
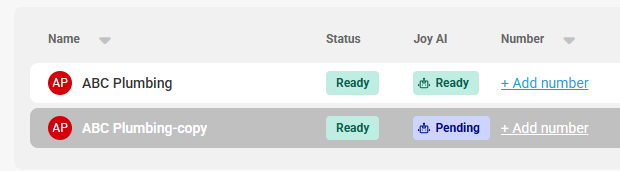
On the original script, select the Number Alias under the Number column.
2
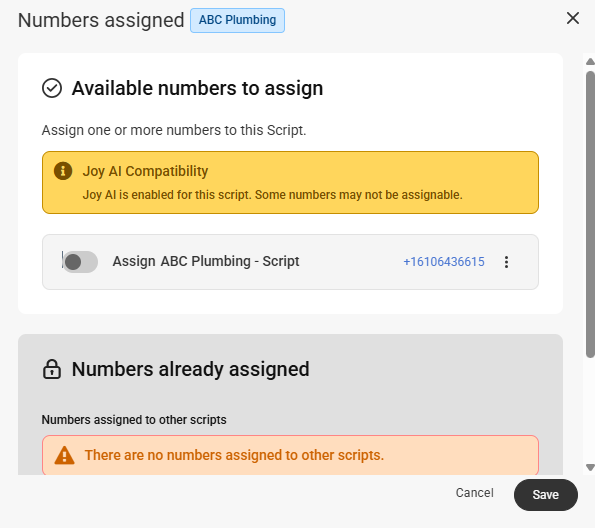
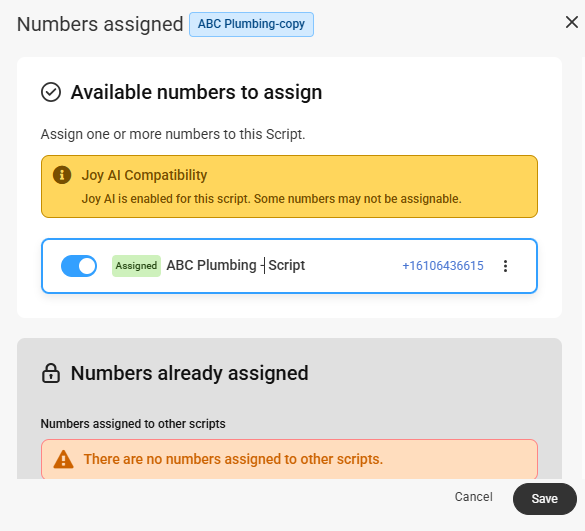
In the Numbers pop-up window, use the toggle to un-select the number assignment from this script. Then click Save.
3
Next, select the Number Alias under the Number column for the new script, and use the toggle to assign the SAS number to the new script. Then click Save.
4
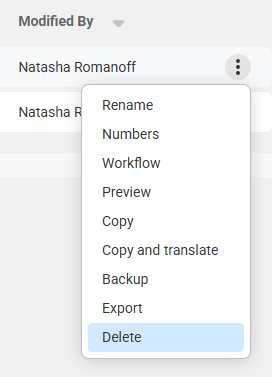
Now that the new script is live, we can delete the old script. Click the 3-dot menu icon next to the old script, and click Delete.
Note that deleted scripts will be Archived and can be restored at any time.
5
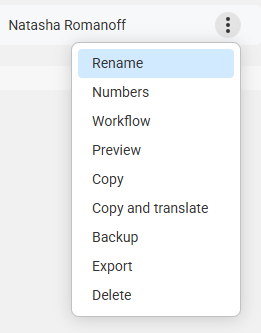
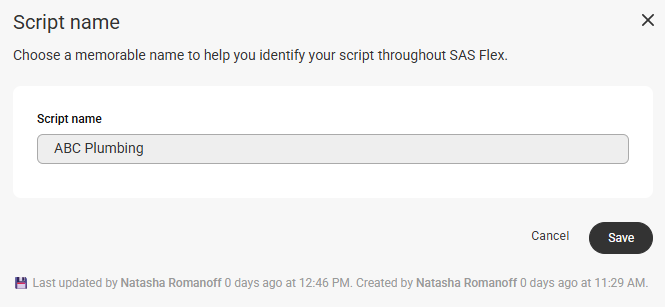
Finally, let's edit the name of our new script to remove the "copy" label. Next to the new script, click the 3-dot menu icon and select Rename. In the pop-up window, edit the name to remove the "copy" label. Then click Save.
Note that if Joy AI was enabled on the original script, it will have to be re-enabled on the new one.

