Configuring a Workflow (Path) Script Block
While most of the script blocks in SAS Flex are used to gather information from callers, workflow blocks help automatically alter the flow of the script depending on the variables you’ve programmed in.
In this article we'll discuss:
When to Use a Workflow (Path) Script Block
There are a few different reasons you may want to use a Workflow (Path) block within your script. For example:
- Multiple locations: If your business has multiple locations, using a Workflow (Path) block will allow you to configure different call handling options based on the location that was selected. For example, calls for one location may result in scheduling an appointment on a specific calendar while calls for another location may result in a warm transfer or a message.
- Specific people: If your business has multiple staff members that callers may ask to speak with, using a Workflow (Path) block will allow you to configure different call handling options based on the specific person that has been selected. For example, calls for a sales team member may result in a warm transfer, whereas calls for the CEO may result in just a message being taken.
- Multiple call types: If your script is set up with multiple call options, you may find that you want a lot of the same information gathered, and then have the paths break off into different outcomes depending on the call type. Instead of having to create multiple blocks for each path gathering the same information (like name, number, email, etc.), using a Workflow (Path) block will allow you to create one set of initial questions, and then have each respective path follow it's own outcome afterwards.
In our example, we'll be asking callers which location they are calling for, and then have the script deviate based on the chosen location after the initial primary information has been gathered.
How to Create a Workflow (Path) Script Block
1
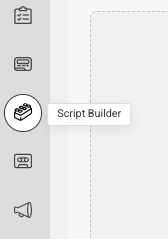
Select the Script Builder icon on the left-hand navigation menu.
2
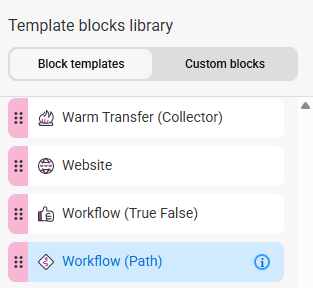
On the next page, click the Blocks tab, then select Add new block. From the Blocks list under Block Templates, locate and select the Workflow (Path) block.

3
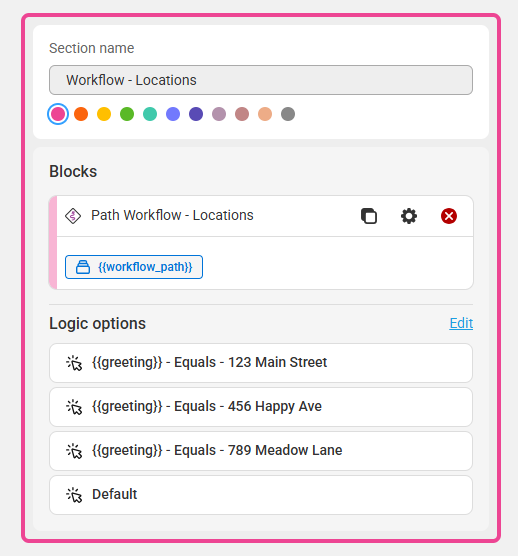
Once the block populates on your screen, you'll see the Block Type along the top of the block, and a space to add a Block Label next to it. Block Labels will help us identify the block within the system later on. We named ours Path Workflow - Locations, since we want this block to differentiate call handling based on the business location.

4
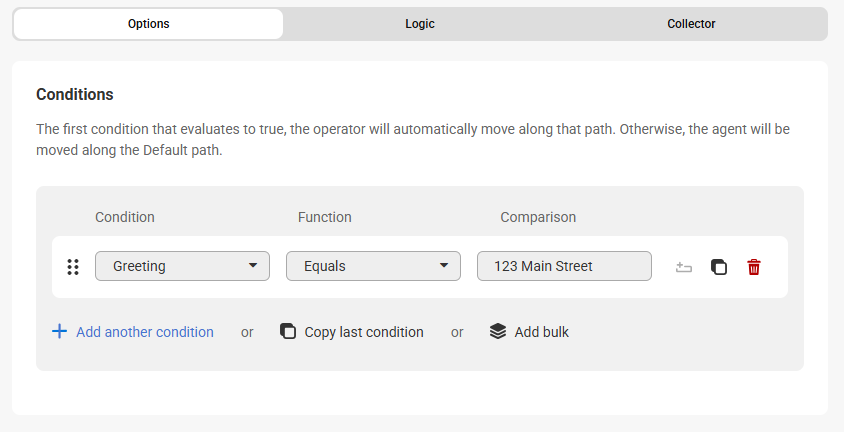
Under the Options tab, you'll need to add your conditions and comparisons. In this example, we'll add our various locations. In order for this workflow to be successful, we'll need to input the locations that have already been used in a previous block. In our example, our Greeting block provides the initial location options. So, we'll choose Greeting from the Condition drop down, Equals from the Function drop down, and then add our first property in the Comparison column.
5
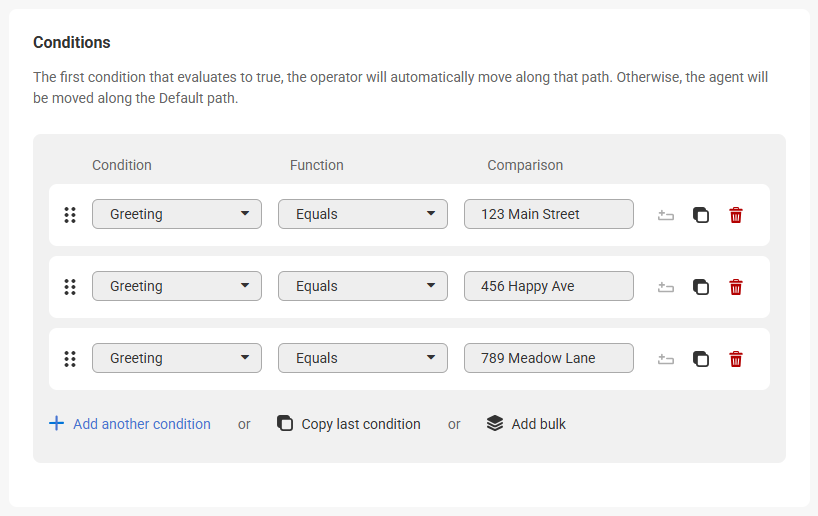
Repeat these steps until all of your Conditions and Comparisons have been added. Then click Save in the bottom right-hand corner of your screen.
Adding a Workflow (Path) Script Block to your Script
1
To replace the Closing block with a Page Break block, hover over the applicable section (in this case it'll be the All Calls section), and select the Gear icon to edit.
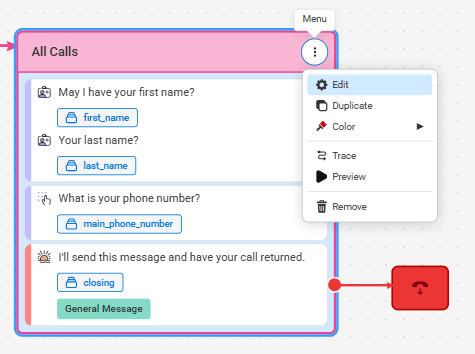
2
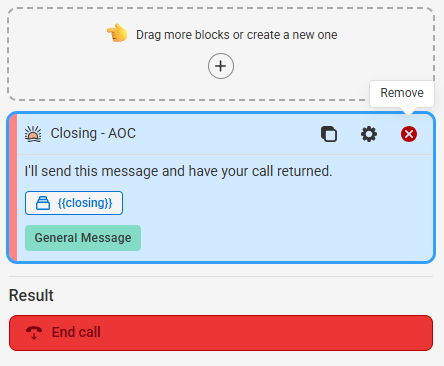
On the next page, scroll down to the bottom of the section and click the X button to remove the current Closing block.
3
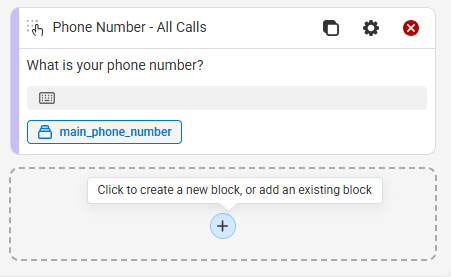
Next, click the + sign to add a new block.
4
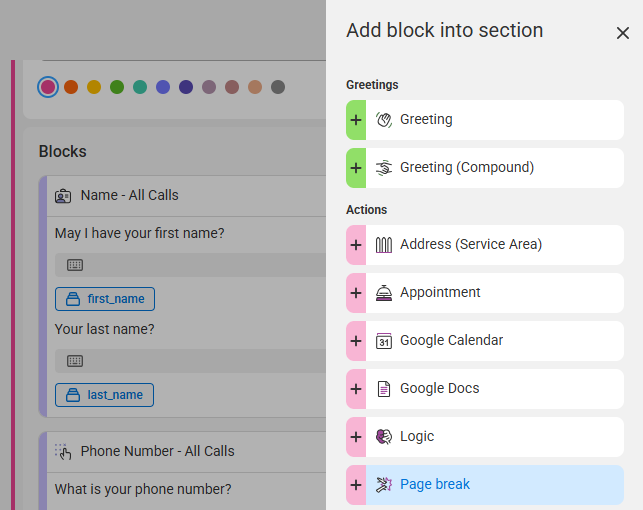
From the pop-up window, select the Page Break block option.
5
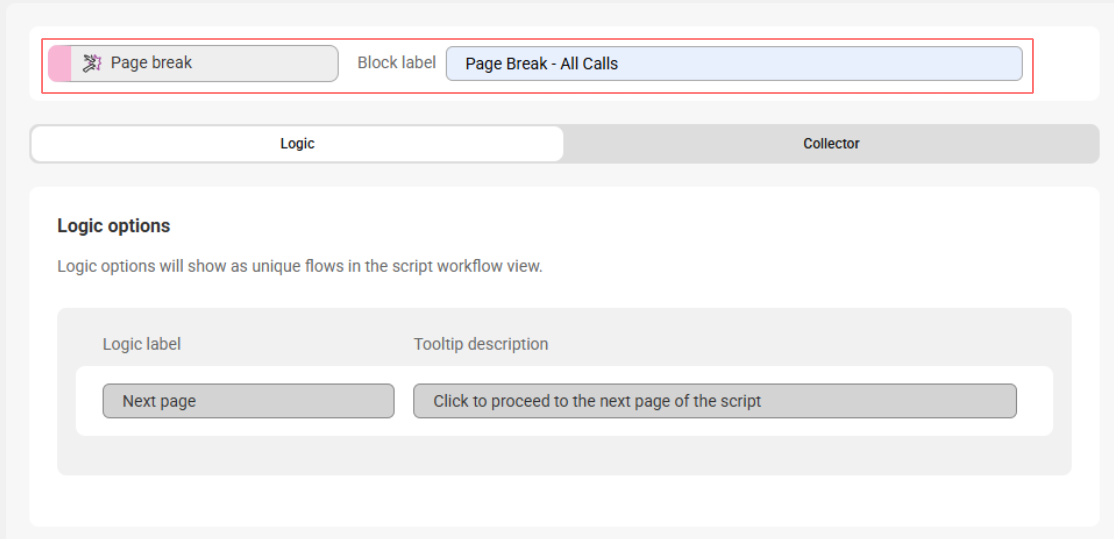
Once the block populates on your screen, you'll see the Block Type along the top of the block, and a space to add a Block Label next to it. Block Labels will help us identify the block within the system later on. We named ours Page Break - All Calls.
Both the Logic and Collector tabs will have pre-set data that cannot be changed
6
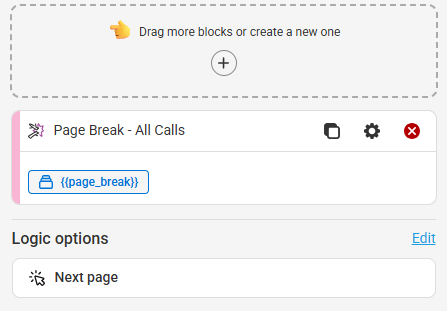
When you are finished editing, click Save in the bottom right-hand corner. You will see the new block where the Closing block used to be. Click Save again to be brought back to the script workflow.
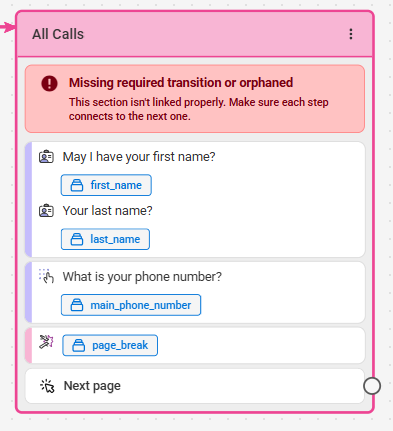
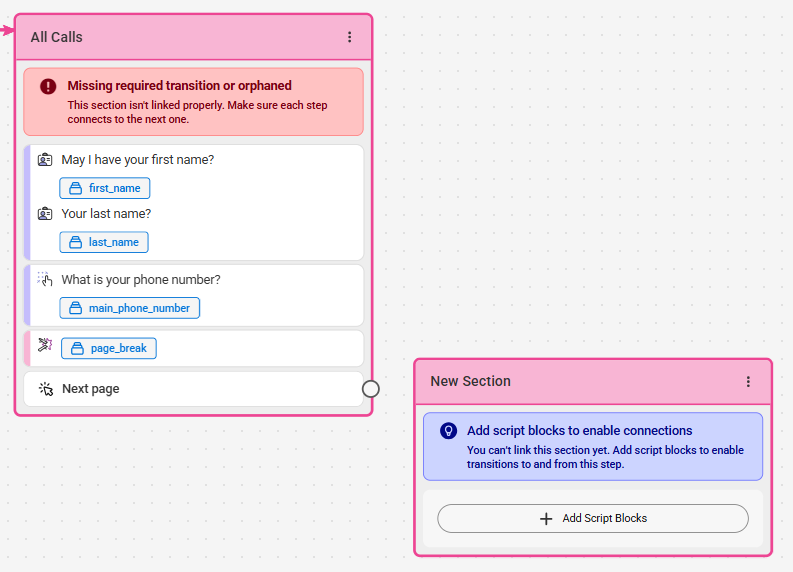
You will now notice that the script section we just edited is showing as incomplete. This is because the Page Break block broke up the section. We'll now need to create a new section for our Workflow (Path) script block.
7
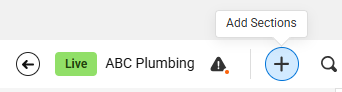
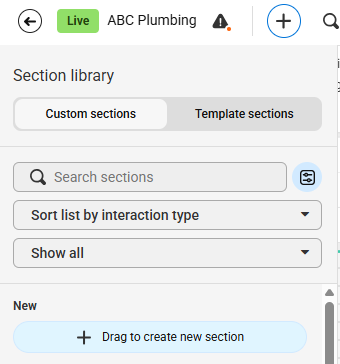
In the upper left-hand corner of your page, click the + sign to add a new section.
8
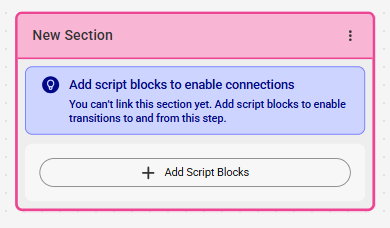
Click the Drag to create a new section button and drag it into your script workflow, preferably next to the section you are updating.
9
Hover over your new section, and click the + Add Script Blocks button.
10
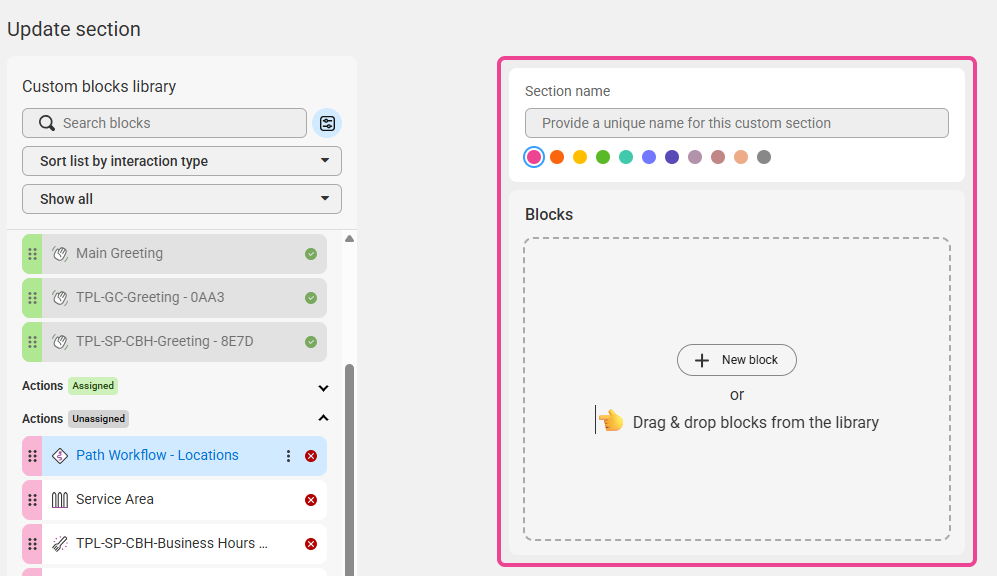
From the Custom Blocks library on the left-hand side of your screen, locate the Workflow (Path) block you've already created, and drag it over to the designated area within the section builder.
11
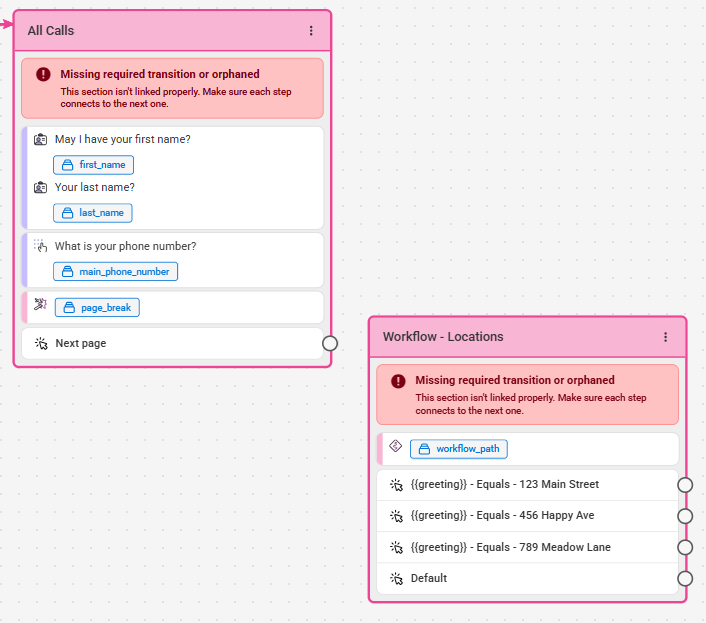
Name your section, choose a color, then click Save in the bottom right-hand corner. We named ours Workflow - Locations.
You will now see your new section as shown below. As you can see, the sections are still showing as incomplete. This is because we need to link up our first section (All Calls), to our new section (Workflow - Locations).
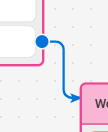
12
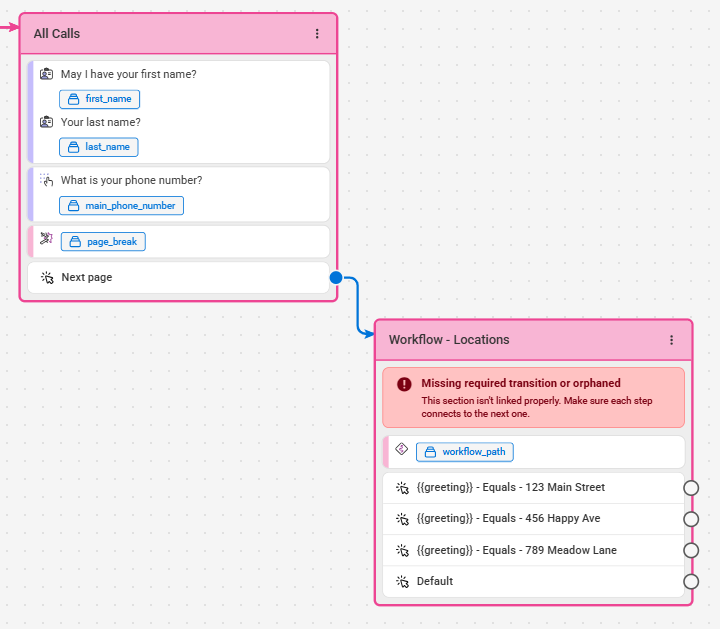
To link up your sections, click the open circle in your first section, and drag it over to the open circle within your second section, as shown below.
Our All Calls section is now showing as complete, but our Workflow section is still incomplete. To fix this, the Workflow section will need to be linked to a subsequent section or sections, as the system will need to know what to do after a selection has been made. Depending on your specific needs, this next step may vary.
13
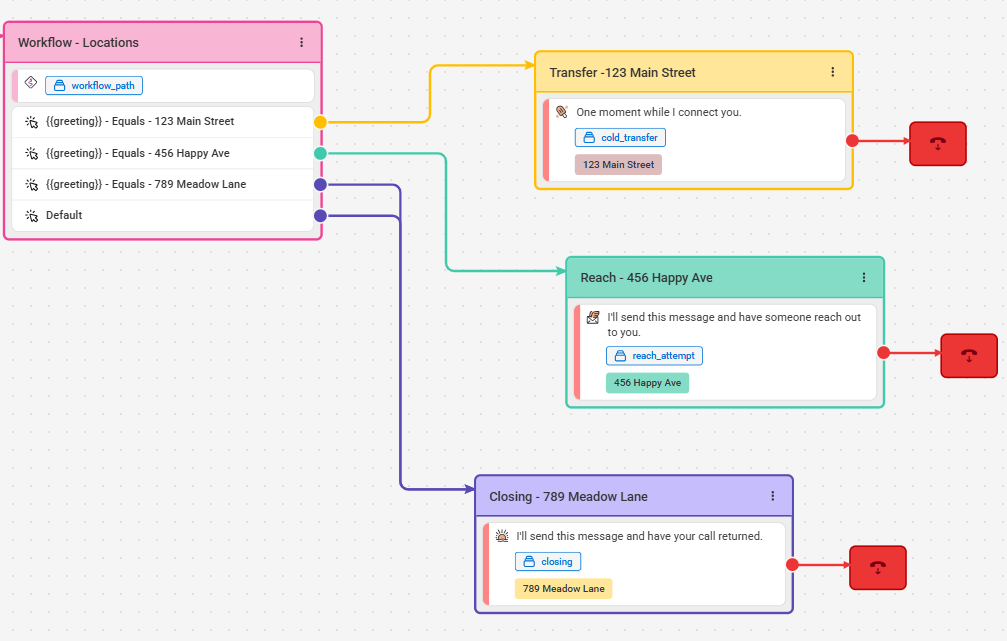
In our example, we'll create new sections based off what we want to happen for each specific location. One location will result in a Cold Transfer, one location will result in a Reach, and the other location will result in a General Closing. Again, depending on your needs, your next steps may differ.
14
When you are finished editing your script, click Save in the upper right-hand corner.


