How to integrate SAS Flex with Zapier
Not sure how to transfer your call data from SAS to your third-party software? The SAS Zapier app can help! Zapier is an online platform designed for workflow automation, application integration, and artificial intelligence orchestration. If your business uses Zapier, you can connect the SAS Zapier app to a Zapier webhook, which acts as a "go-between," instantly transferring call details from SAS to any platform that Zapier supports!
In this article we'll discuss:
Connect Zapier with your SAS Account
1
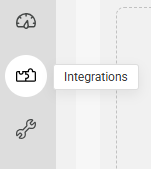
Click the Integrations tab from the left side menu.
2
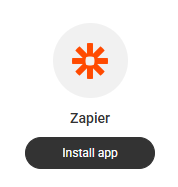
From the Apps screen, click the Install app button below the Zapier logo.
3
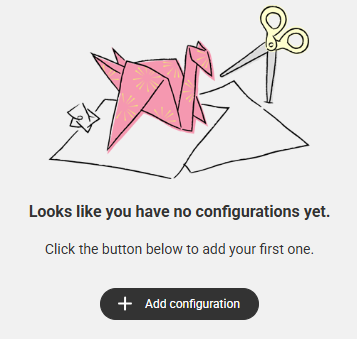
On the next screen, click Add configuration to begin the setup.
4
Next, name your configuration, and add your Endpoint URL from Zapier.
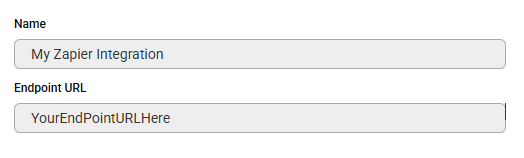
If you have not already set up your Zapier webhook, please refer to the Setting up a Catch Hook instructions below.
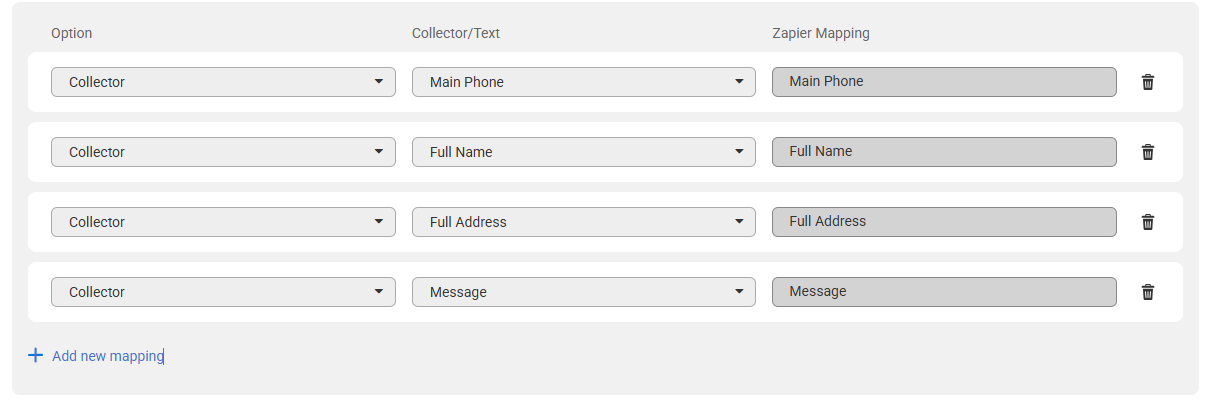
Configure Custom Mappings
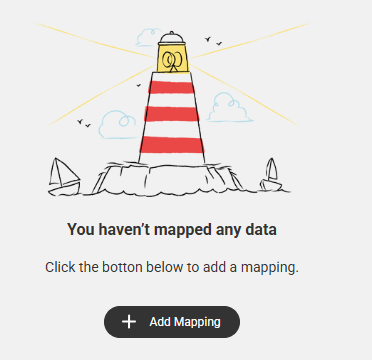
Once your Zapier account has been connected, we can begin adding Custom Mappings.
1
To begin, click Add Mapping.
2
In the first dropdown box, select either Collector or Text.
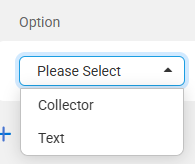
Collector will allow you to use specific SAS script variables to populate Zapier fields. If you select Collector, use the dropdown in the second column to select a script variable.
Text gives you the option to type your own data rather than using SAS variables. If you select Text, the second column will be a blank box where you can type specific information.
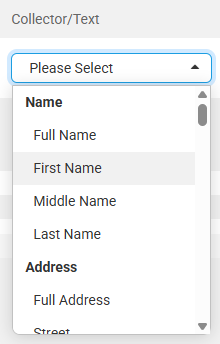
3
In the second dropdown, choose your Collector.
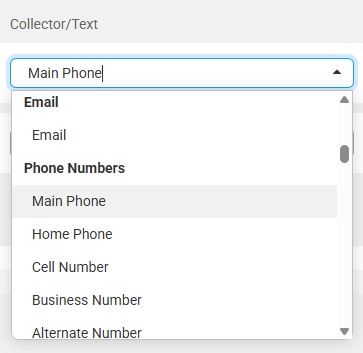
4
Depending on the Collector you choose, the Mapping will autopopulate.

5
Click Add new mapping to continue adding your custom mappings.
6
When you are finished, click Save.
Setting up a Catch Hook in Zapier
In Zapier, a Catch Hook is a trigger within the "Webhooks by Zapier" app that provides a unique URL to receive incoming data (a "hook") from another application, instantly starting a Zap with that data. As a courtesy, we've included instructions below to help you set up a Catch Hook in Zapier.
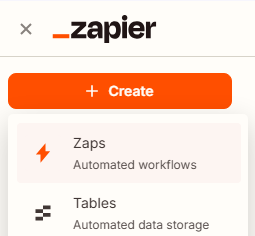
1
In Zapier, click Create and select Zaps from the menu.
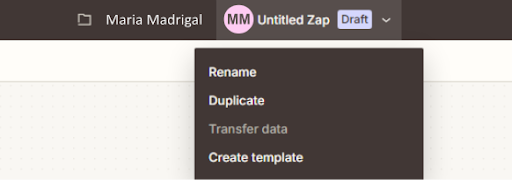
2
Once the Zap workflow opens, click to Rename the Zap.
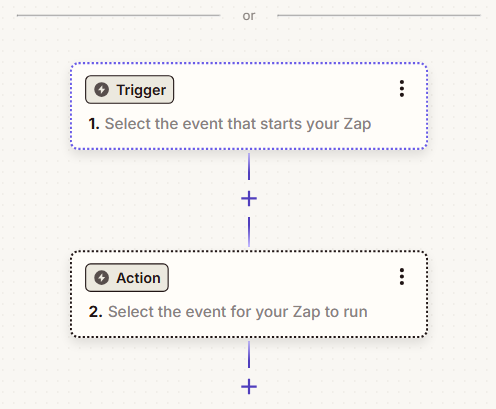
3
From the workflow, begin by clicking to set up a Trigger.
4
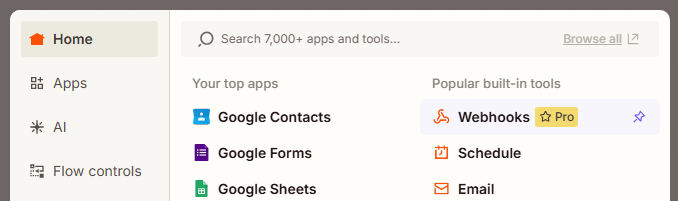
From the apps library, select Webhooks under Popular built-in tools.
5
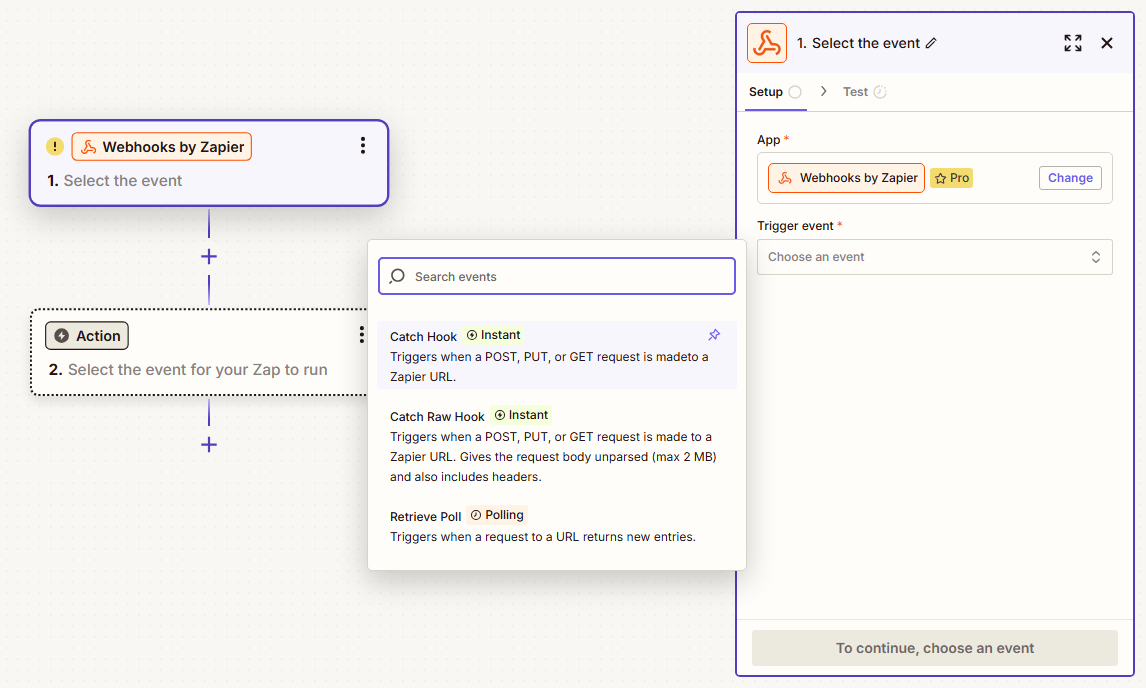
Then, click the Trigger event dropdown list, select Catch Hook, and click Continue.
6
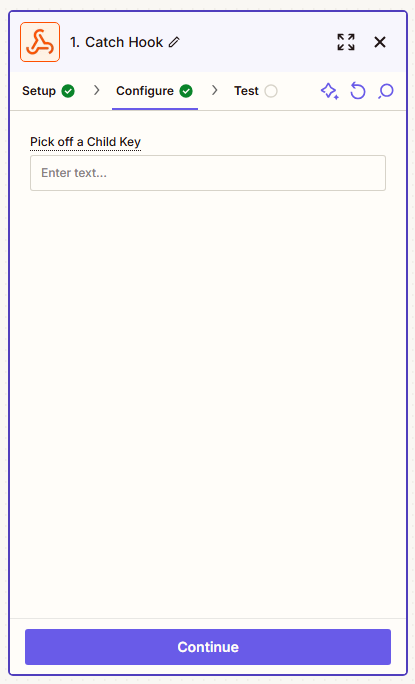
On the next screen, click Continue again to bypass the Child Key option.
7
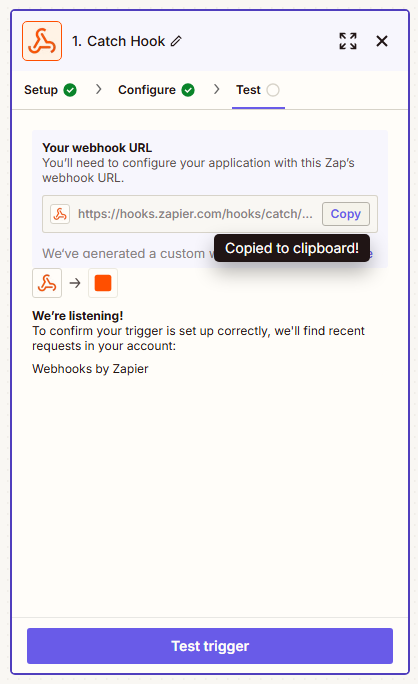
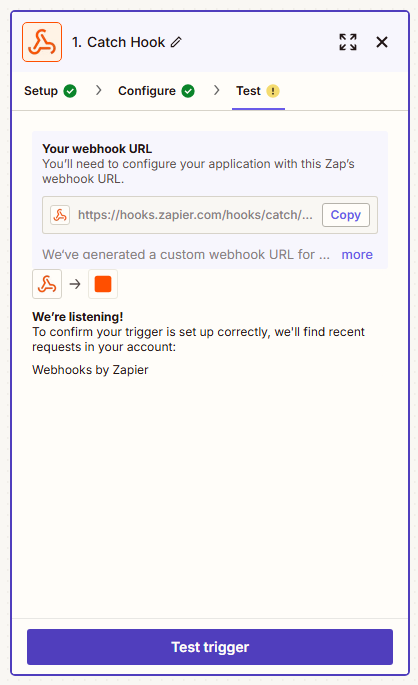
At the top of the setup window, you will see Your webhook URL. Copy this to your clipboard.
8
Next, from your SAS Flex portal, open the Zapier app and paste the copied link into the Endpoint URL box. Click Save.
9
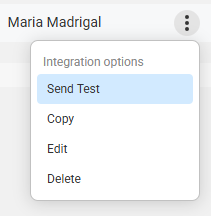
After you Save the configuration, click the 3-dot icon to the right of the configuration name, and select Send Test.
10
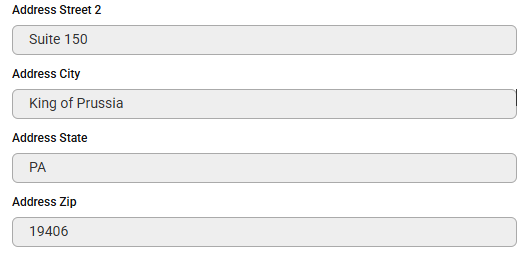
Enter test data into the fields listed, then click the blue Test your request button at the bottom.
11
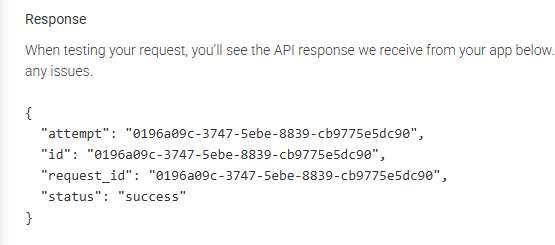
If it worked, the API Response will say "success." This means that your SAS Zapier app test data has been sent to Zapier!
12
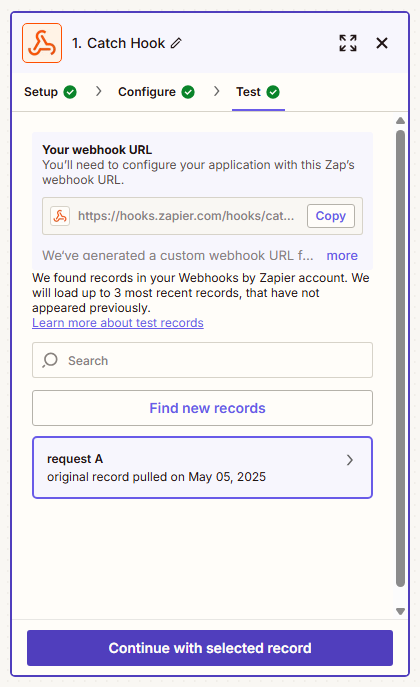
Return to Zapier and click the Test trigger button.
13
Your test record will be highlighted. Click Continue with selected record.
14
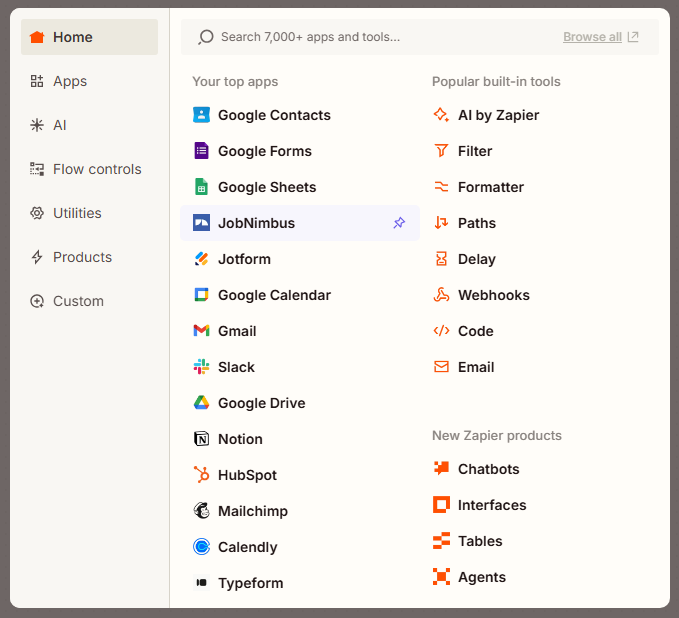
Next, you will be prompted to set up your Action step.
Search for and select the platform that will receive call data.
15
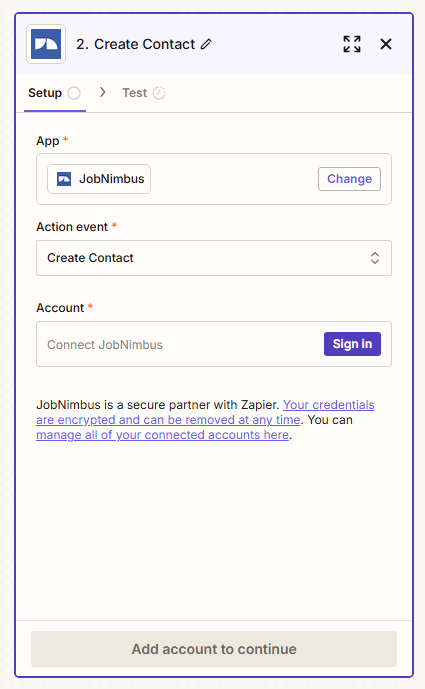
Click the Action event dropdown, and select the specific action that you want the Zap to perform.
In this example, we selected Create Contact.

16
Click Sign in, and connect Zapier to your platform.
Instructions or requirements may be different depending on the platform you are using.
17
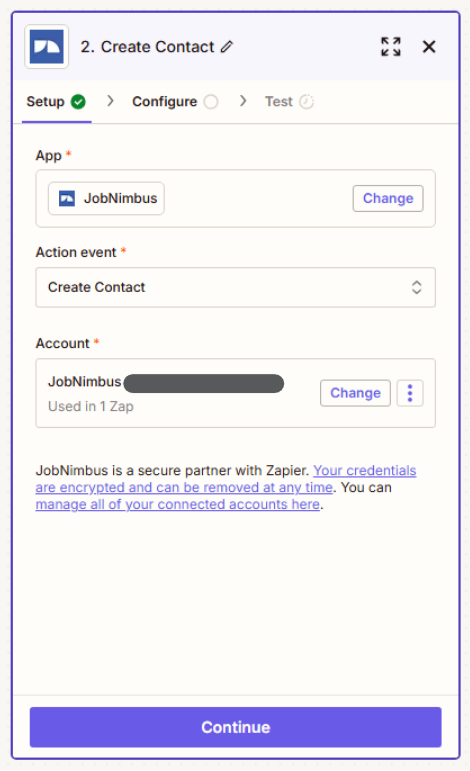
After linking your account, click the Continue button to configure your Action step.
18
Now, you will need to create the Variables that Zapier will use to match your SAS script data to your platform's fields.
In the bottom left corner of the workflow, click the Variables button (globe icon).
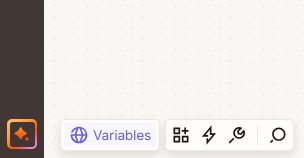
Then, click Create variable.

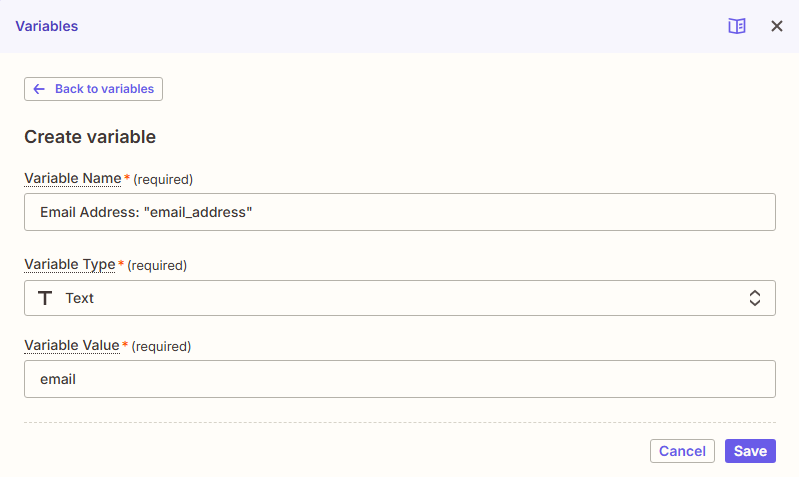
Variables consist of three elements: Variable Name, Variable Type, and Variable Value
Variable Name
Enter the name of your variable followed by a colon, space, and the name of the corresponding SAS script collector in quotation marks.
Do not include the braces symbols { } that you see in your SAS script.
Variable Type
Leave this as Text
Variable Value
Enter your platform’s field name for the variable. These will differ depending on the platform you are using and must match exactly.
19
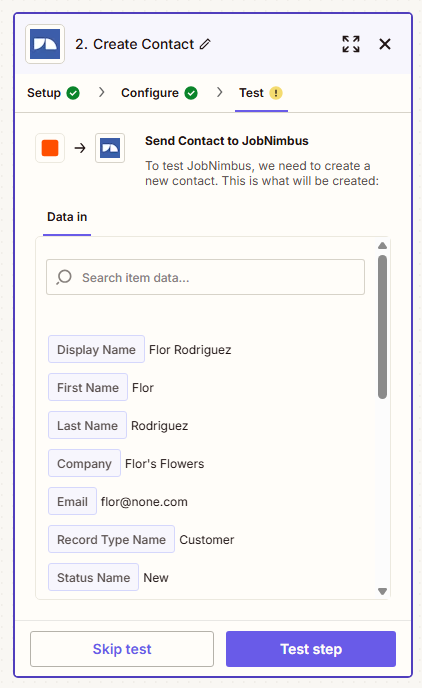
Zapier will display each variable alongside the data from your previous SAS Zapier app test.
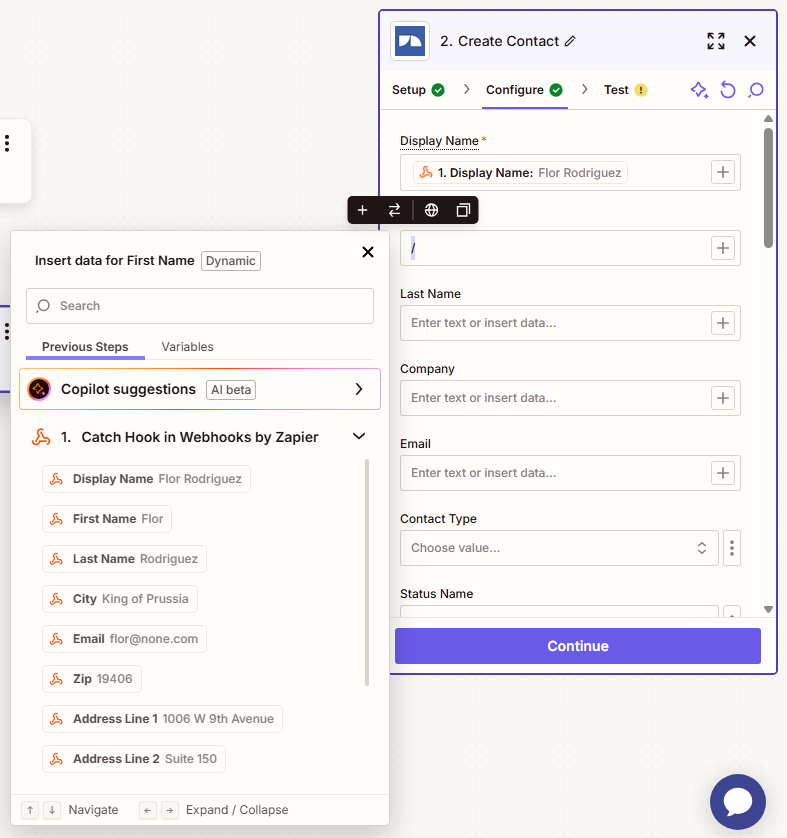
In this example, we will type the forward slash symbol / into the Create Contact box, select the matched data to complete each field, and then click Continue.
Depending on the platform and Action, setup steps may differ.
20
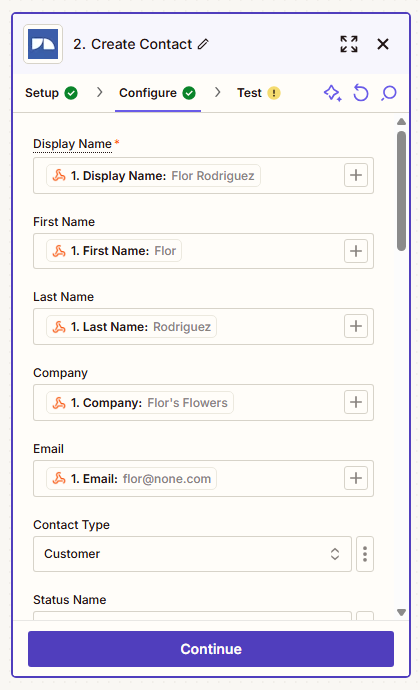
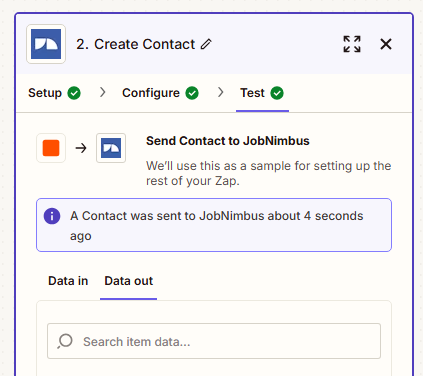
If everything looks right, click Test step.
If the integration was a success, you will see a message indicating that data was sent to your connected platform.
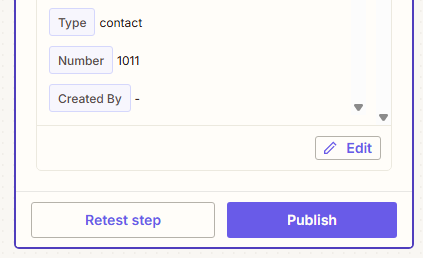
21
Check your platform to ensure that the data was received. Then, return to Zapier and click Publish.
Integrate Zapier into Your Script
When all of your integration settings are complete, contact SAS at service@specialtyansweringservice.net to add the integration into the appropriate block in your SAS script, or follow these instructions to integrate the app yourself.
If you've disconnected and reconnected your configuration at any point, you'll need to re-integrate it into your script.


