How to Configure an Address (Service Area) Block
The Address (Service Area) script block is used in conjunction with our Google Maps integration.
Once the SAS agent enters the caller's address, they can determine if the caller is in your designated service area via the integration.
In this article we'll discuss:
How to Configure an Address (Service Area) Block
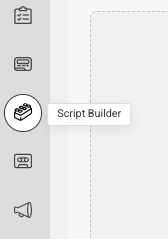
1
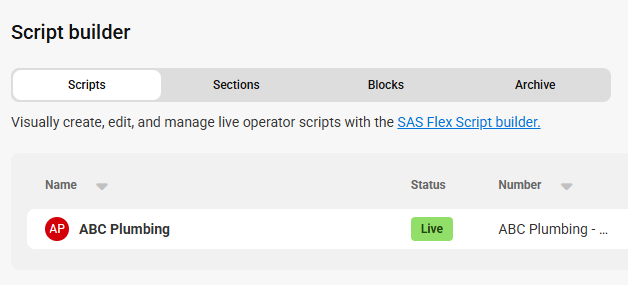
Select the Script Builder icon on the left-hand navigation menu.
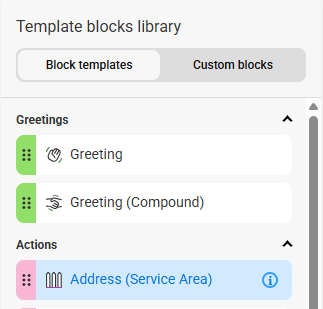
2
On the next page, click the Blocks tab, then select Add new block. From the Blocks list under Block Templates, locate and select the Address (Service Area) block.

3
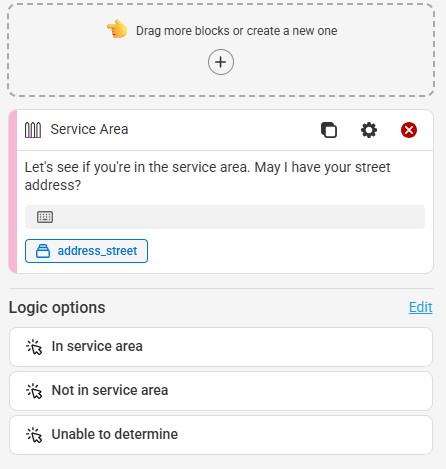
You'll see the Block Type along the top of the block listed as Trigger, and a space to add a Block Label next to it. Block Labels will help us identify the block within the system later on. We named ours Service Area.
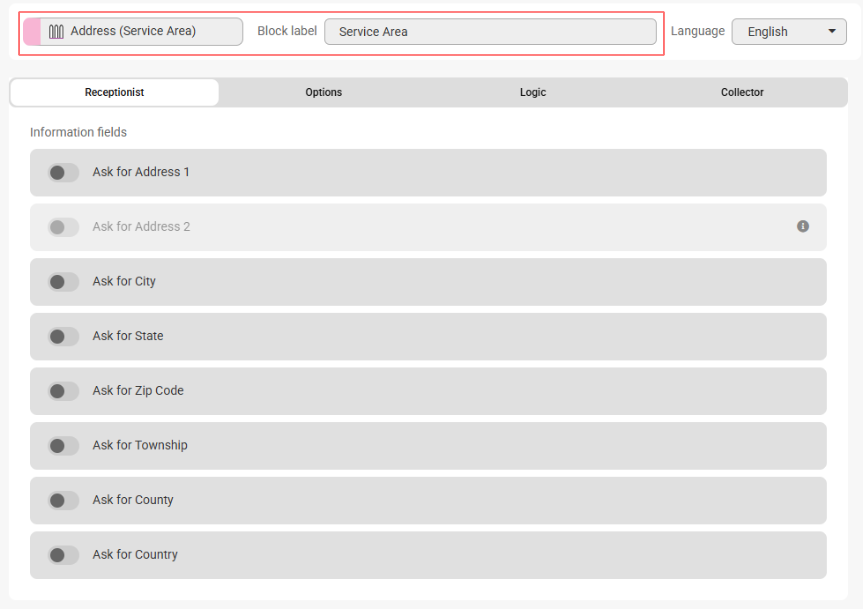
4
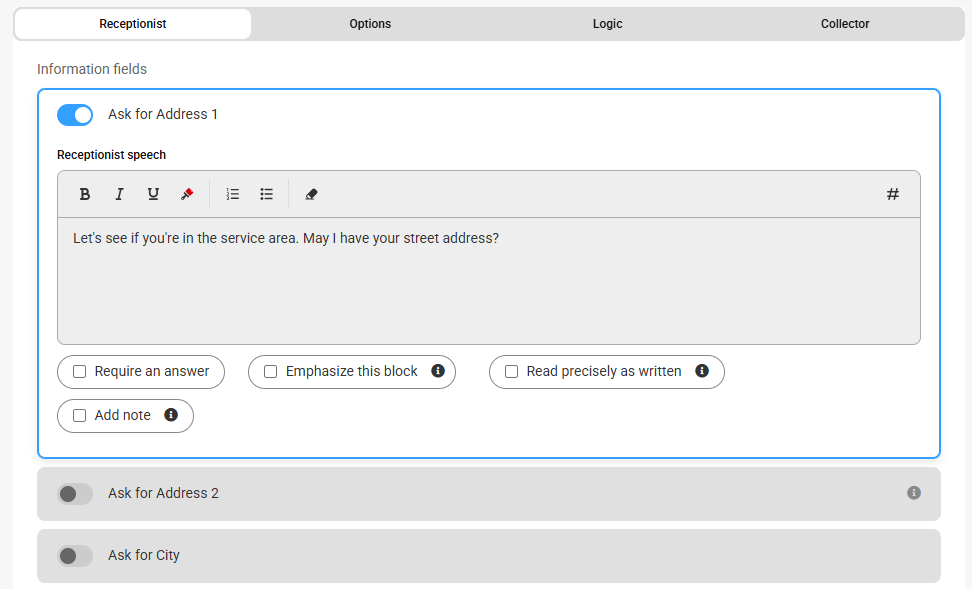
Under the Receptionist tab, use the toggles to determine the information that our agents will gather from your callers. Default text will appear, but feel free to update the text as you see fit.
5
6
Both the Logic and Collector tabs will have pre-set data that cannot be changed, so once you are finished editing your block, click Save in the bottom right-hand corner.
Adding an Address (Service Area) Block into your Script
Once your Address (Service Area) block has been created, we'll need to add it to the appropriate script section.
1
Select the Script Builder icon on the left-hand navigation menu.
2
On the next page, select the script you would like to edit.
3
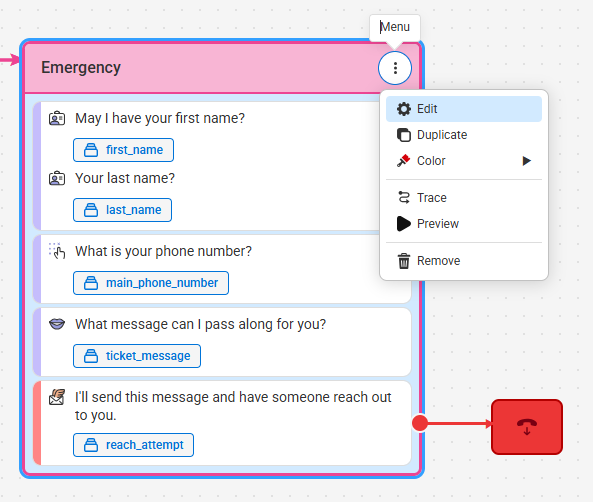
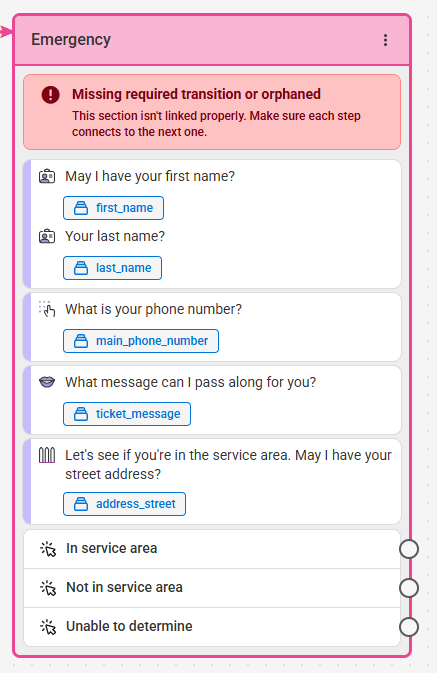
Within the script workflow, locate the script section you wish to add the Address (Service Area) block to and click the 3-dot menuicon and click Edit as shown below. In our example, we'll be adding it to our Emergency section.
4
Scroll down to the existing Closing block and click Remove.
5
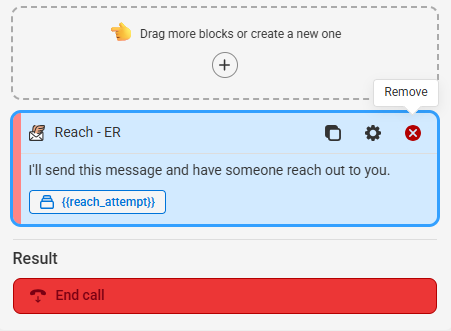
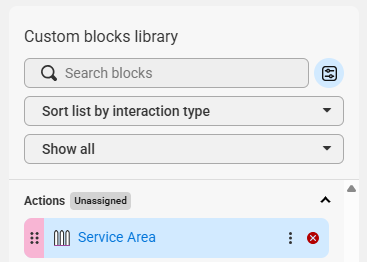
Locate your newly created Address (Service Area) block under Custom blocks library, and drag it over to add it to the section.
6
When you are done, click Save in the bottom right-hand corner. You'll be taken back to the script workflow where you'll see your newly updated section, which will now be imcomplete. To fix this, the Workflow section will need to be linked to a subsequent section or sections, as the system will need to know what to do after a selection has been made. Depending on your specific needs, this next step may vary.
7
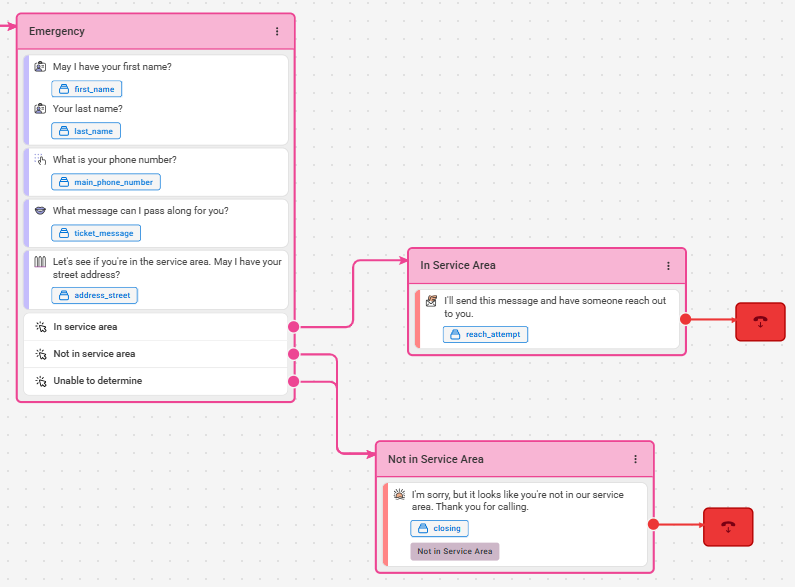
In our example, we'll create new sections based off what we want to happen for each option. If a caller is in our service area, we'll have calls result in a Reach. For callers not in our service area or if the system is unable to determine, we'll have calls result in a regular Closing. Again, depending on your needs, your next steps may differ.
8
When you are finished editing your script, click Save in the upper right-hand corner.


