Working With Data Collectors in Joy AI
Data collectors allow Joy AI to ask questions and document caller responses, just like a live agent would. Standard data collectors include gathering the caller's Name, Number, Email, Address, Company and Message. However, users can create custom data collectors as well depending on their business's needs.
In this article we'll discuss:
Adding Standard Data Collectors
1
Within the Joy AI builder, hover over the data collector section you want to edit and select the Gear icon.
2
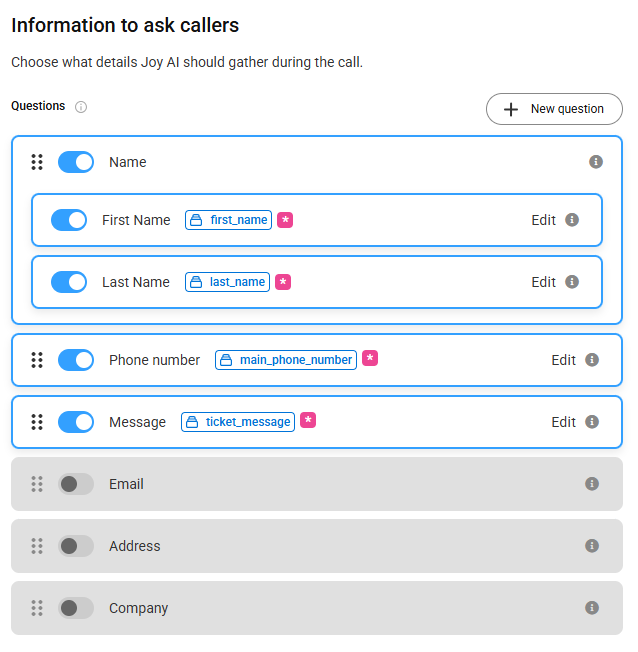
A bump-out will appear on your screen displaying all of the available standard data collectors. Active data collectors will already be toggled on, but feel free to activate or deactivate accordingly.
3
Clicking on the Edit button within each data collector will expand the editing window. Standard data collectors will include default text, but feel free to customize this. When you are finished editing each specific data collector, click Update question.
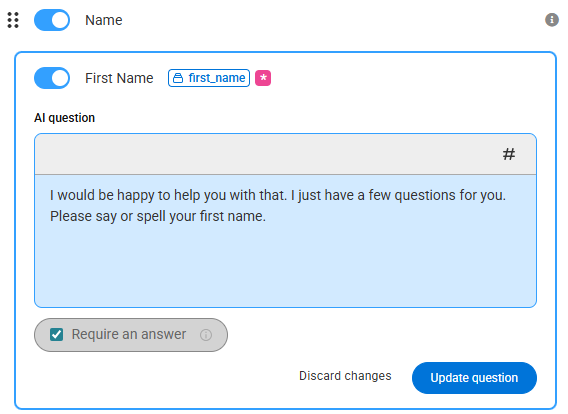
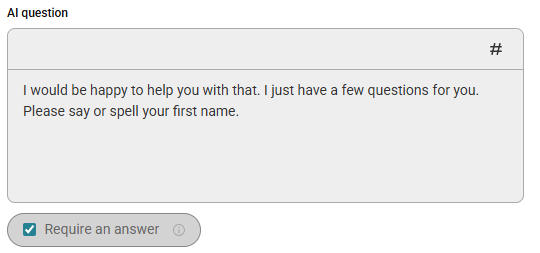
If you want to make any questions required, check the Require an answer check box. If a caller refuses to provide an answer, the Joy system will automatically transfer the call to a live agent to continue gathering information. Note that First Name and Phone Number will always be required.
5
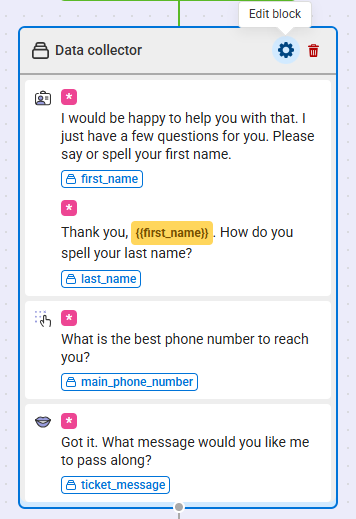
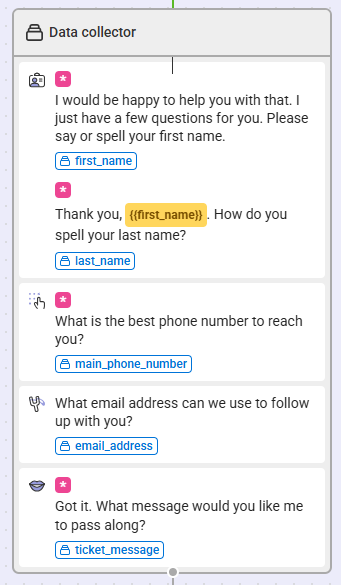
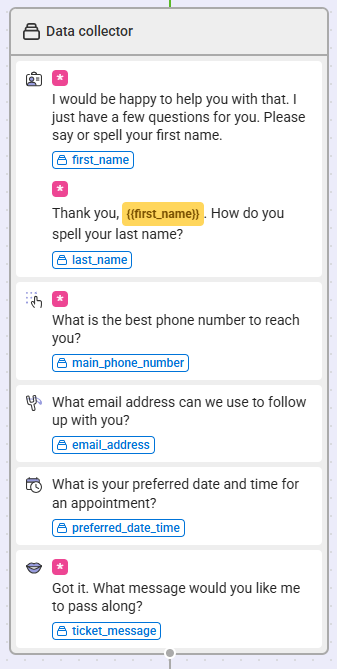
Once you've added all of your data collectors, click Save. You'll be taken back to your Joy AI workflow, where you'll see your new Data collector section, as shown below.
6
When you're finished updating your Joy AI workflow, don't forget to publish your changes in the upper right-hand corner.
Adding Custom Data Collectors
1
Within the Joy AI builder, hover over the data collector section you want to edit and select the Gear icon.
2
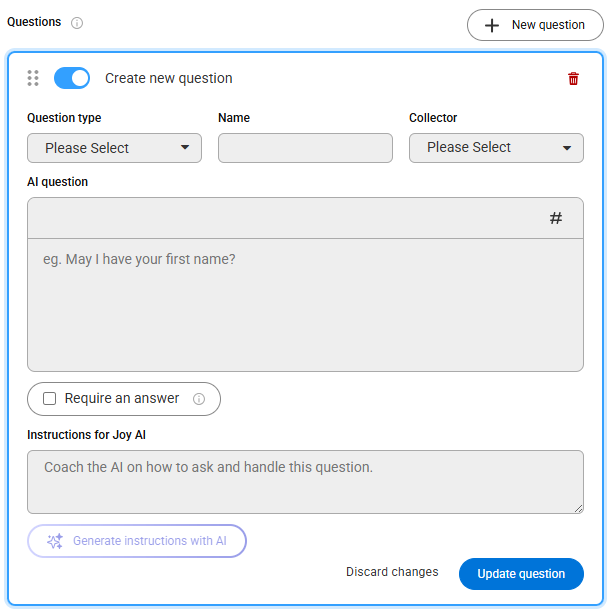
From the Data Collector block, click the New question button.

3
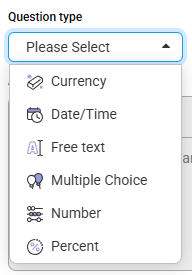
From the Question Type drop down, choose from one of the available options:
- Currency: Use this option if you want Joy to ask callers for a currency value (i.e., how much is owed on your loan?)
- Date/Time: Use this option if you want Joy to ask callers for a specific Date and Time (i.e., what is your preferred date and time for an appointment?)
- Free Text: Use this option if you want Joy to ask callers a customized question based off your business (i.e., what is the name of your shift supervisor?)
- Multiple Choice: Use this option if you want Joy to ask callers a multiple choice question.
- Number: Use this option if you want Joy to ask callers for a numerical value (i.e., what is the serial number on the back of your device?)
- Percent: Use this option if you want Joy to ask callers for a percentage value.
4
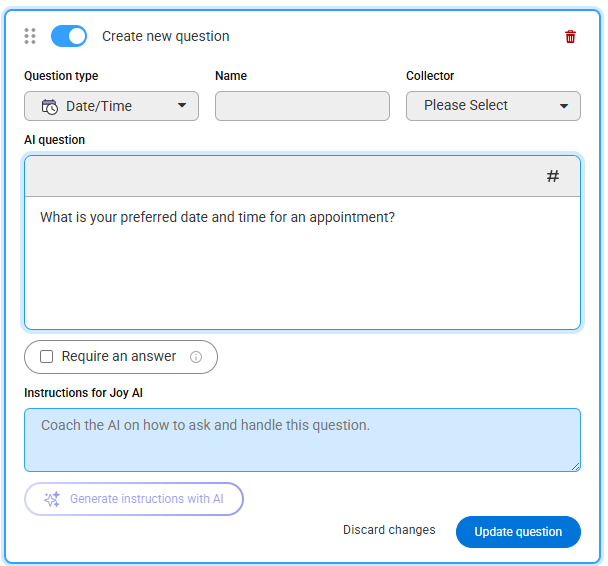
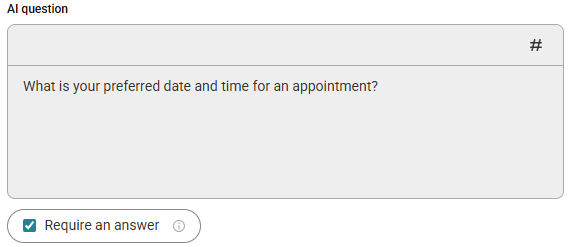
Once you've chosen a question type, enter in the text you want Joy to read to your callers. In our example, we chose Date/Time and will be asking callers for their preffered date and time for an appointment.
5
In the Name field, name your script block so that it can be easily identified later, if needed. We named ours Preferred Date Time. In the Collector field, select the applicable collector which is where data from this block will be stored.

If you want your question to be required, select the Require an answer check box. If a caller refuses to provide an answer, the Joy system will automatically transfer the call to a live agent to continue gathering information.
6
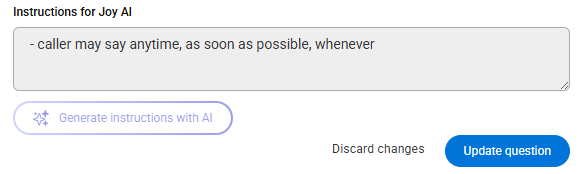
Below the AI question text box, you'll see another text box labeled Instructions for Joy AI. If Joy is struggling with a specific question, you can use this text box to coach Joy on how to handle these types of calls going forward. For example, callers may respond with "anytime" when asked their preferred date and time.
7
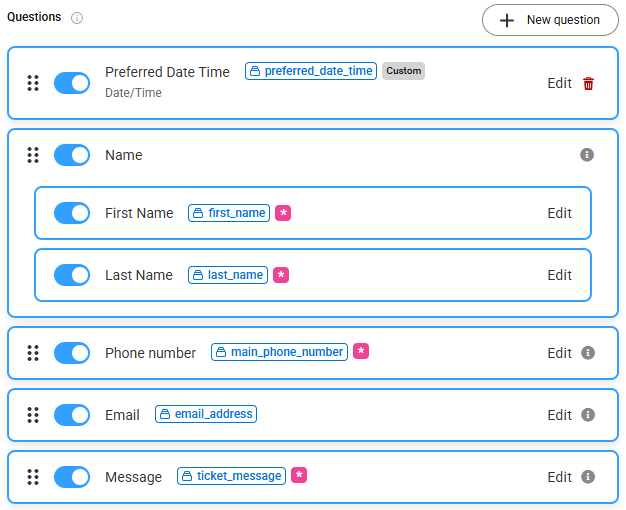
When you are finished editing your block, click Update question. You'll then see your newly created question listed first among the standard questions.
8
If you want to re-order the questions, click the 6-dot icon next to the data collector and drag it to the spot you want it. Then click Save.
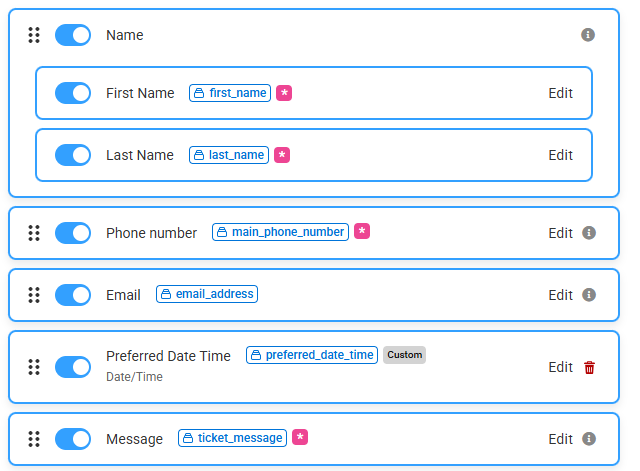
Your newly updated section will look something like the image below.
9
When you are finished making updates to your Joy AI workflow, don't forget to publish your changes in the upper right-hand corner.


