Building a Rotating Cold Patch Schedule in SAS Flex
In this article we'll discuss:
Creating a new Rotating Schedule
1
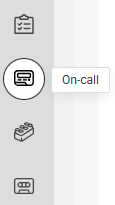
Select the On-Call tab on the left-hand navigation menu.
2
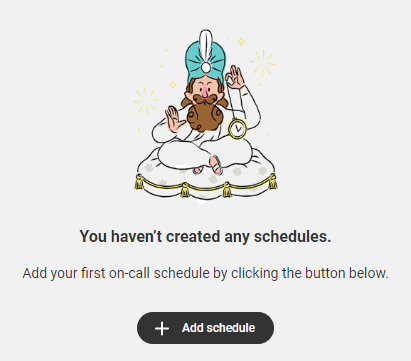
Then, click the Add Schedule button as shown below.
3
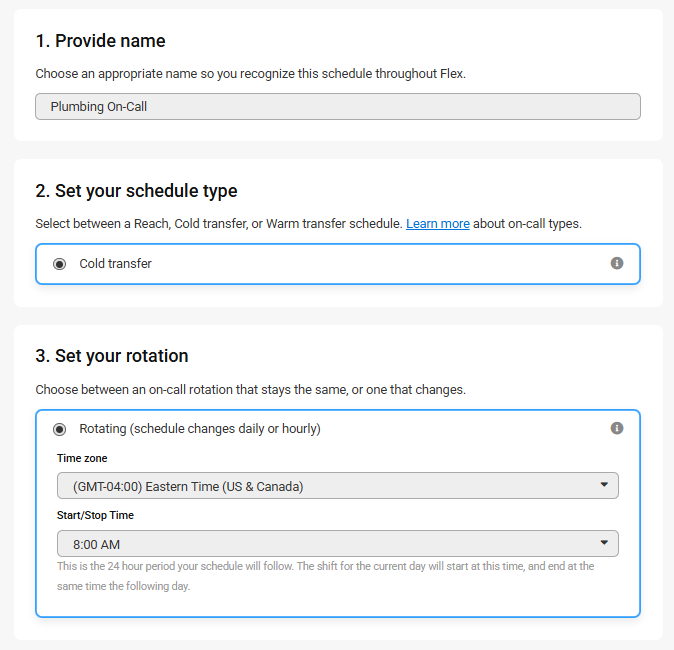
On the next page, complete the parameters as outlined below:
- Name: The name of your on-call schedule (i.e, Plumbing).
- Schedule Type: Select Cold Transfer as the Type.
- Set your Rotation: Select the Rotating option.
- Time Zone: Select the time zone in which your business is located.
- Start/Stop Time: Choose when you want your on-call schedule to change. Check out this article for more information on start/stop times.
4
Once you are done, click Save.
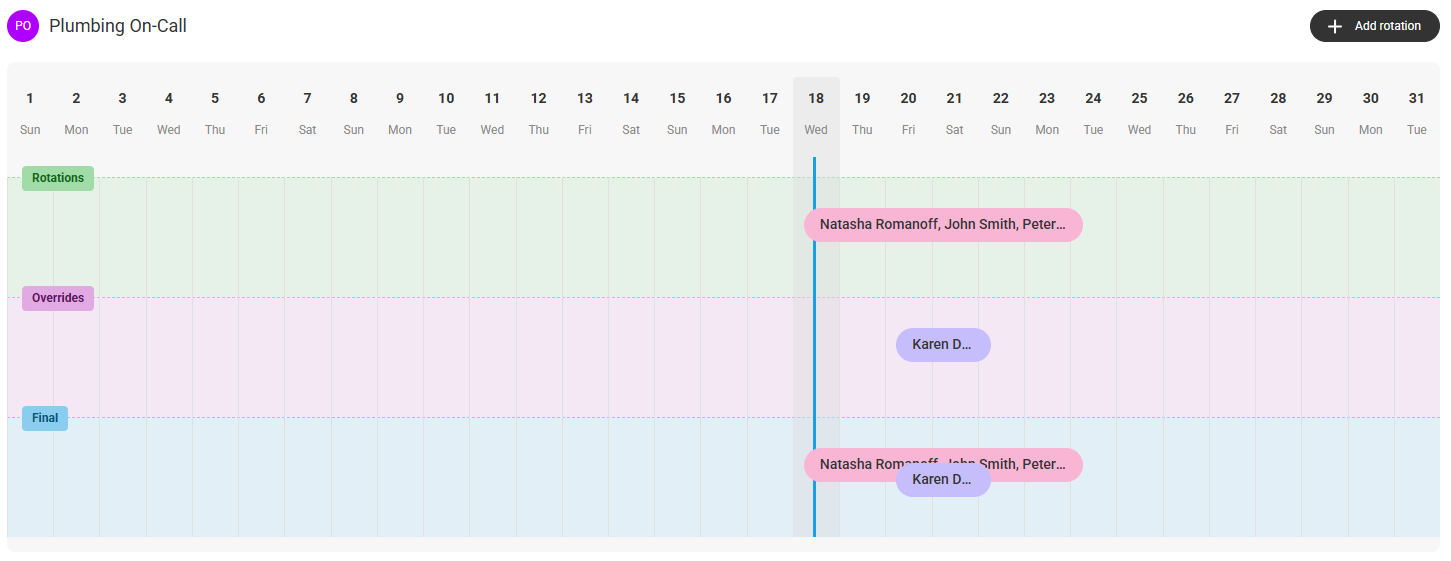
Now that you've created the shell of your rotating schedule, you'll be taken to a new page where we can start making updates. On this page, you will see 3 sections, all of which make up one final schedule. Below is a break down of what each section represents.
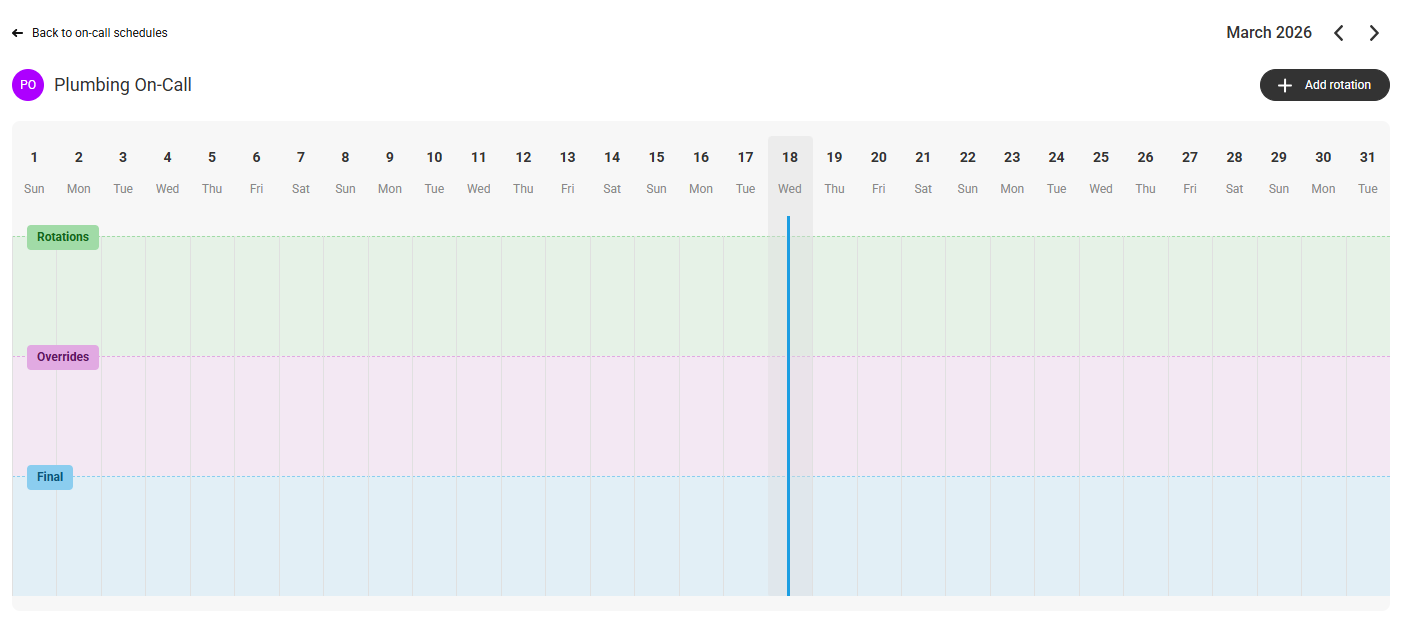
- Rotations This is your standard rotation.
- Overrides: If you want to make any updates to your regular on-call schedule, you will add the updates to the Overrides section to reflect the new changes.
- Final: This is your final schedule, comprising the data from both your standard Rotation and Override schedules.
1
To add data to your on-call schedule, select Add rotation on the right-hand side of your screen.

2
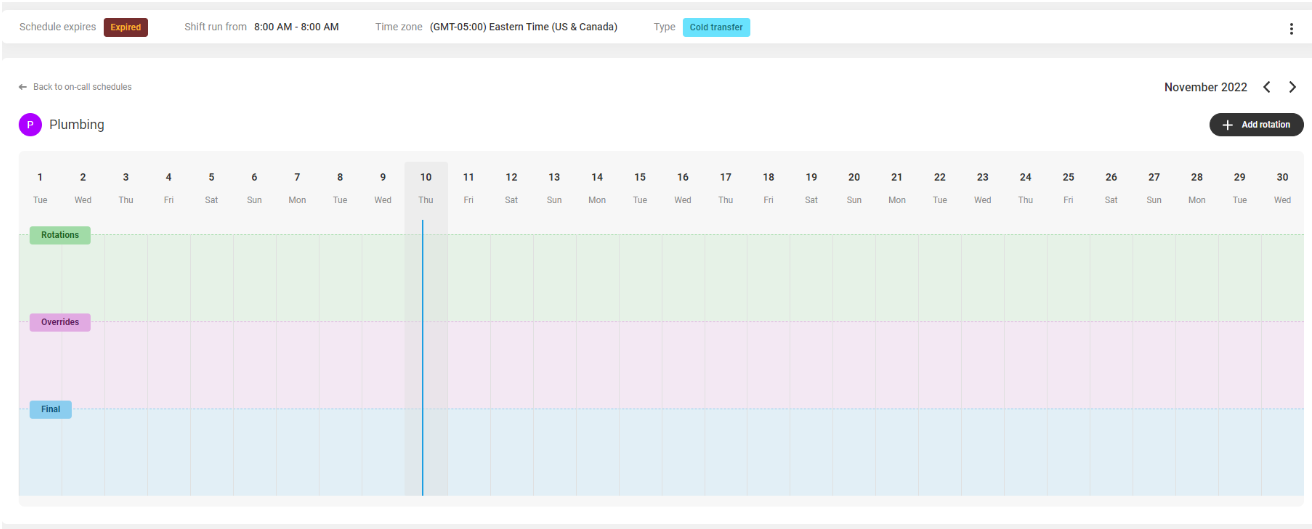
At the top of the next screen, you'll see the Schedule expires status, you'll see the Start / Stop Time (Shift runs from), the Time zone, and the schedule Type that you selected during setup.

3
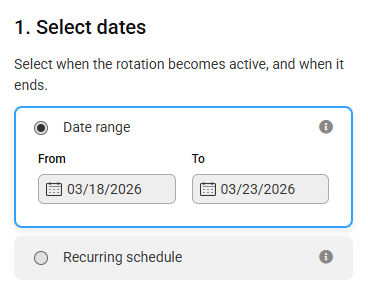
Just below this bar, you'll see some different tools to schedule your rotation, including the Date Range and Recurring Schedule. In this tutorial we will use the Date Range, but check out this article for more information on selecting dates.
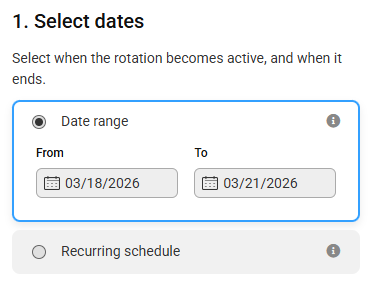
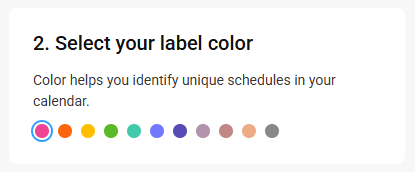
4
Next, you can choose a label color or you can leave it as is. Choosing different colors for each Group of on-call rotations may help you easily identify who is on-call and when.
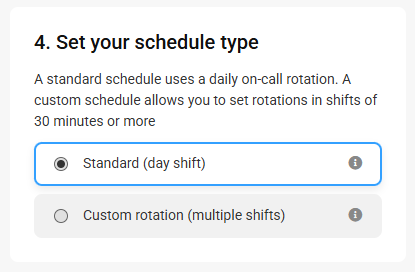
5
Next, you'll need to select your Schedule Type. In this example, we'll want the same person on-call throughout the 24-hour shift, so we'll choose Standard.
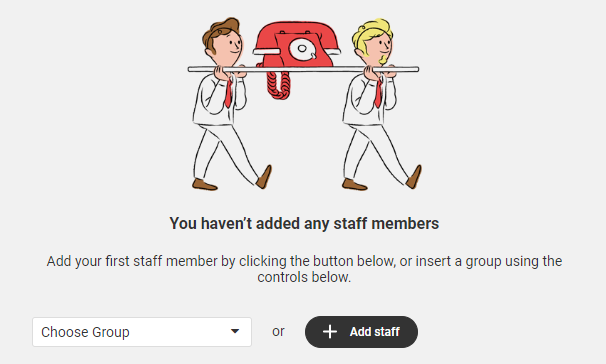
6
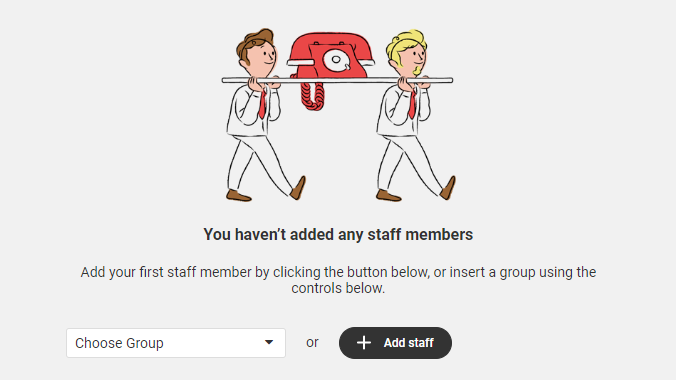
After choosing your Schedule Type, we can begin adding staff members. You can either choose a Group that you've already created, or you can manually add in your staff members via their Profiles.
7
When you are done, click Save. You will then be taken back to the calendar to get an overview of your schedule.
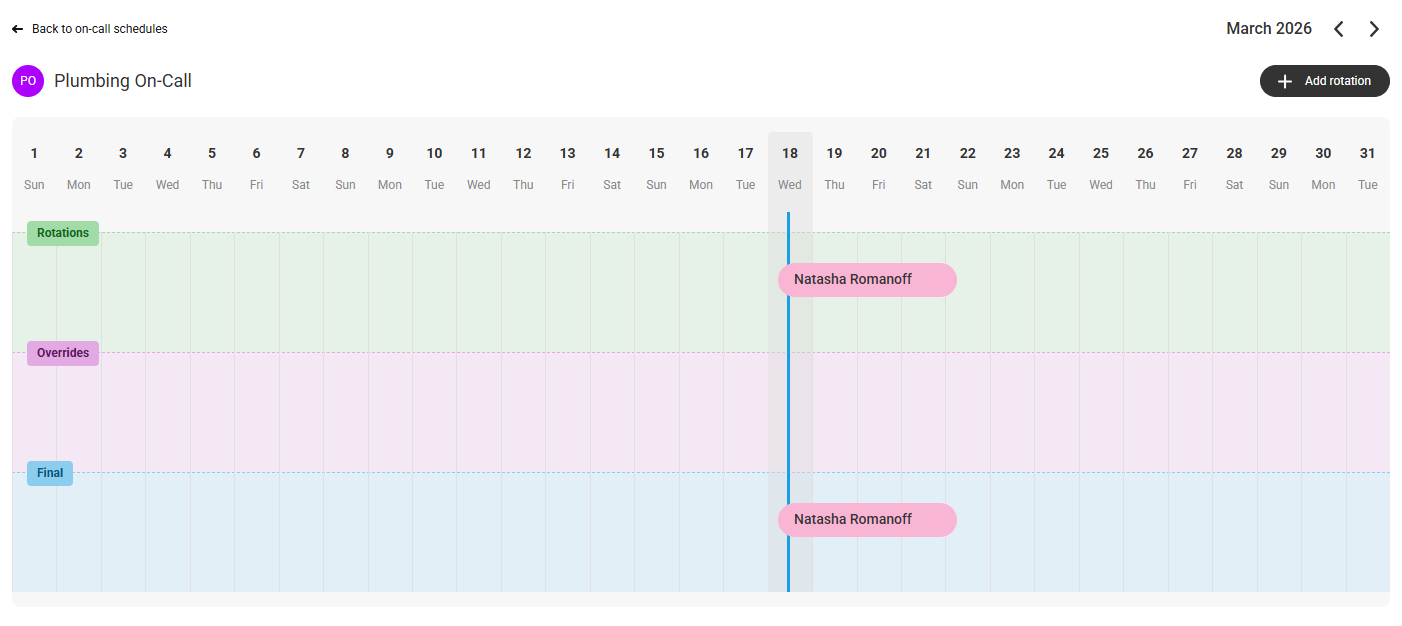
Note that if you need to override any dates with new information, use the Override section and update as necessary. Once completed, your schedule will look something like this:
If your schedule is expired, the system will automatically dial the phone number listed in your Company Settings.
Configuring custom calendar settings
Now that you've created the shell of your rotating schedule, you'll be taken to a new page where we can start making updates. On this page, you will see 3 sections, all of which make up one final schedule. Below is a break down of what each section represents.
- Rotations: This is your standard rotation.
- Overrides: If you want to make any updates to your regular on-call schedule, you will add the updates to the Overrides section to reflect the new changes.
- Final: This is your final schedule, comprising the data from both your Standard and Override schedules.
1
To add data to your on-call schedule, select Add rotation on the right-hand side of your screen.
2
At the top of the next screen, you'll see the Schedule expires status, you'll see the Start / Stop Time (Shift runs from), the Time zone, and the schedule Type that you selected during setup.

3
Just below this bar, you'll see some different options to set your schedule, including the Date Range and Recurring Schedule. In this tutorial we will use the Date Range, but check out this article for more information on selecting dates.
4
Next, you can select a label color or you can leave it as is. Choosing different colors for each Group of on-call rotations may help you easily identify who is on-call and when.
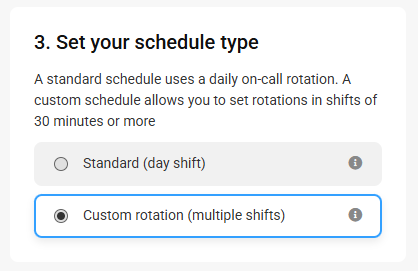
5
Next you'll need to select your Schedule Type. In this example, we want different members to rotate throughout the 24-hour period, so we'll choose Custom rotation.
6
After choosing your Schedule Type, we can begin adding staff members. You can either choose a Group that you've already created, or you can manually add in your staff members via their Profiles.
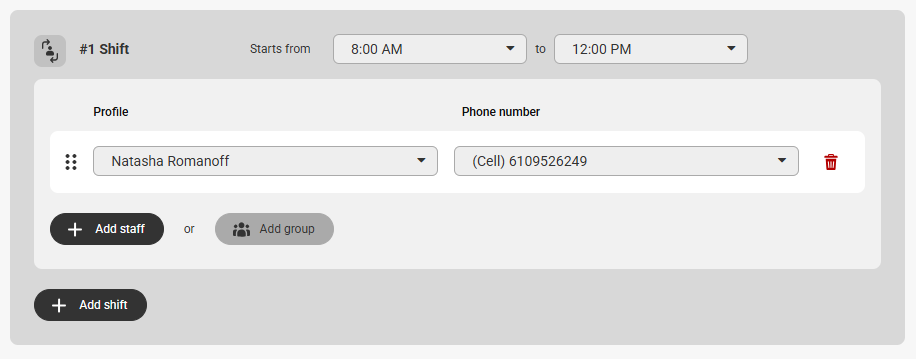
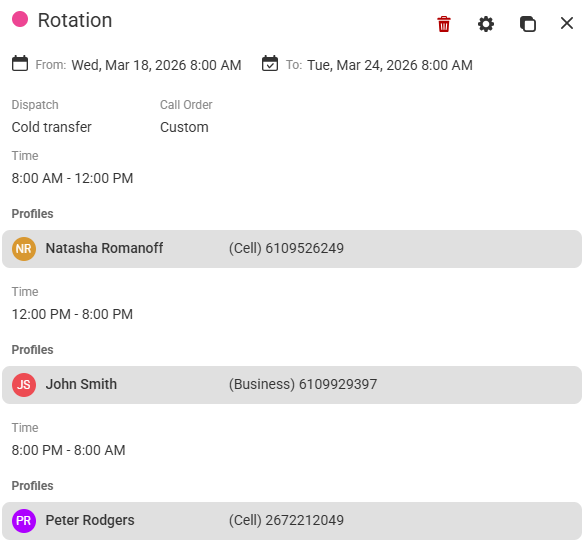
Since we selected the Custom rotation option, you'll notice the system automatically adds the first shift. Note that initially, the system will automatically set your From and To time to match your Start / Stop time. In this case, it will default to 8:00 AM to 8:00 AM.
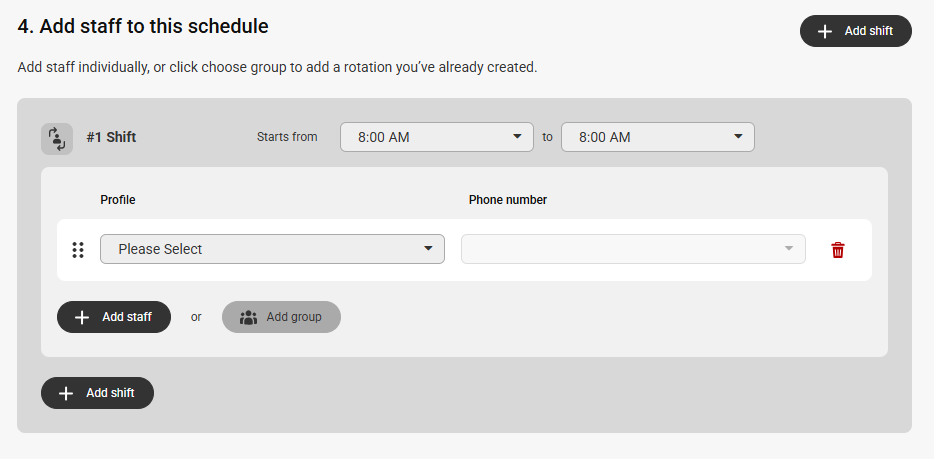
7
To update the time blocks, first edit the second time-slot drop down. Note that you will not be able to change the first time slot, as that will always reflect your Start / Stop time. In our example, we'll want Natasha to be on-call from 8:00 AM to 12:00 PM.
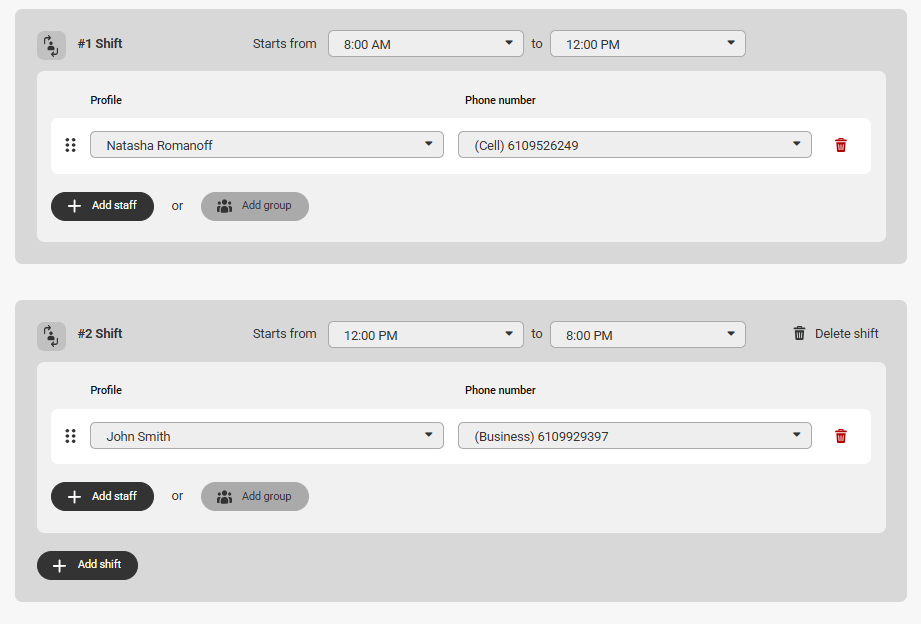
8
After adding your first time block, click Add shift to add your next on-call shift.
9
Continue adding your shifts until you've completed a full 24-hour rotation.
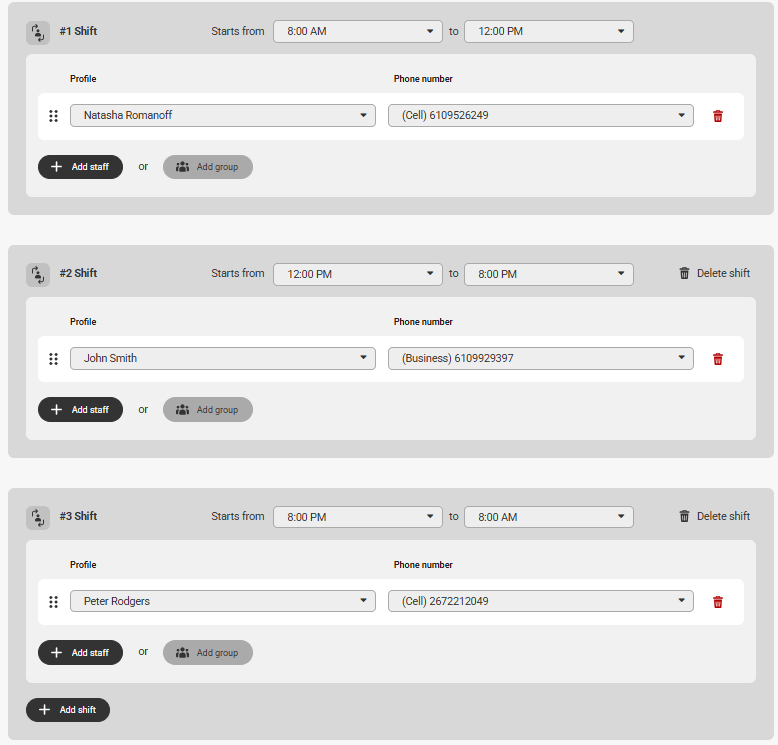
10
When you are finished creating all of your shifts click Save. You will then be taken back to the calendar to get an overview of your schedule.
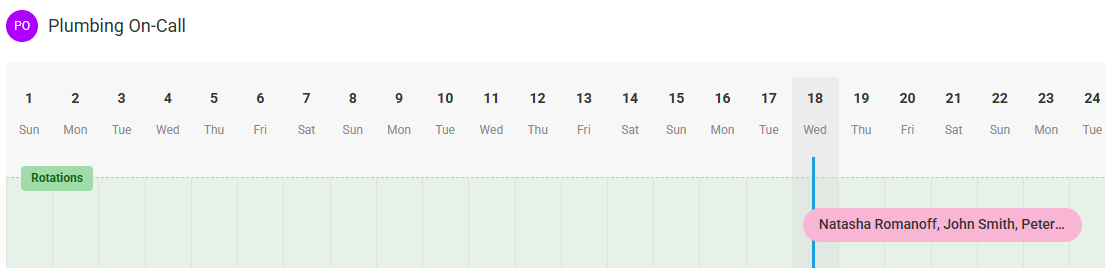 To view the specific time slots of your schedule, click on the rotation to see the overview as shown below
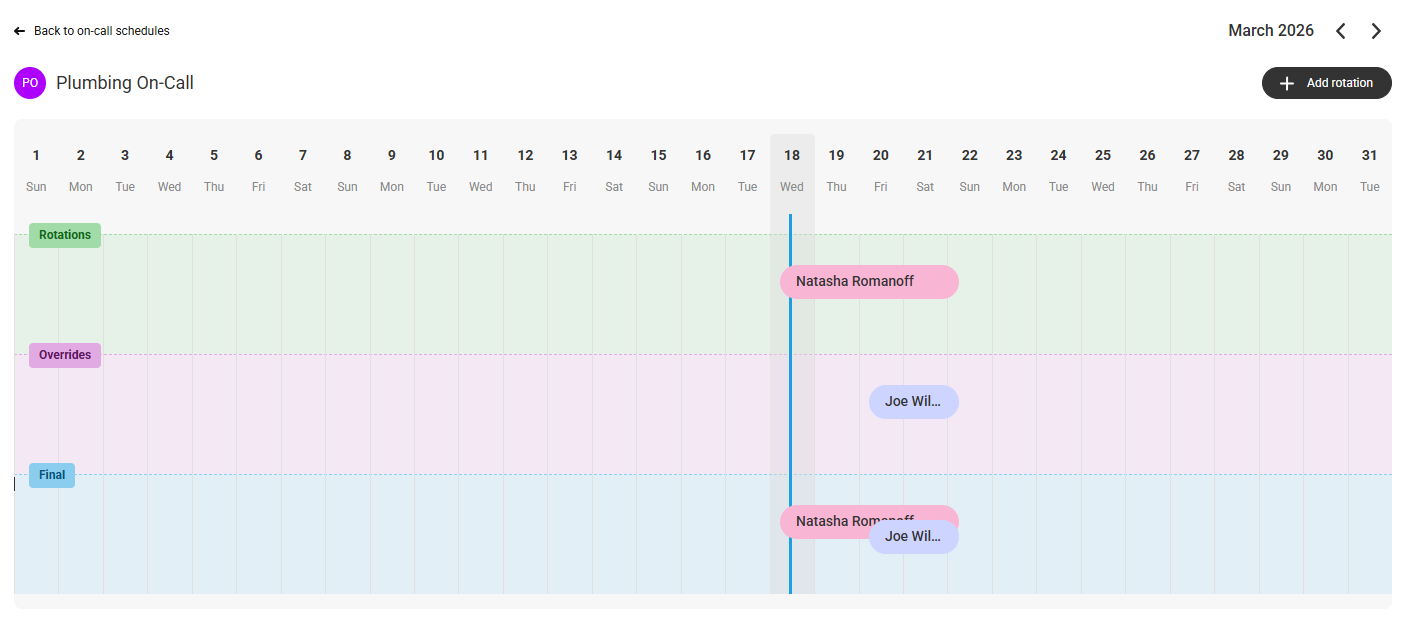
Note that if you need to override any dates with new information, use the Override section and update as necessary. Once completed, your schedule will look something like this:
If your schedule is expired, the system will automatically dial the phone number listed in your Company Settings.
Once your schedule has been built, you'll need to integrate it into your script. For instructions on how to do that, check out this article.


 To view the specific time slots of your schedule, click on the rotation to see the overview as shown below
