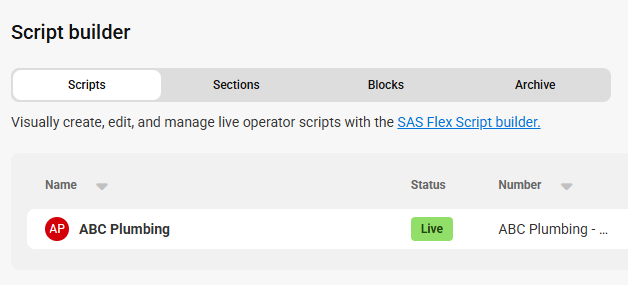
Adding Warm Transfers to Your SAS Flex Script Workflow
Adding a warm transfer option to your script is a perfect way to use a Specialty Answering Service agent as your personal virtual receptionist. During a warm transfer, the agent will place the caller on hold and attempt to transfer them through. If the recipient of the transfer is available, they can accept the call. Before the call gets transferred through, they will hear an automated message that says "We are now transferring the caller."
This tutorial will describe how to build a block into your script so that we are attempting to transfer callers to you 24 hours a day. We'll assume we already have a script created that gathers the caller's Name, Number, and what the call is Regarding. Let's add the Warm Transfer after the Regarding.
Transfers incur a $0.10/minute fee starting from when the patch is connected to when the call is disconnected.
In this article we'll discuss:
- Creating the Warm Transfer block: You'll be adding the Warm Transfer block to an existing script section.
- Creating new Closing Blocks: Once you incorporate a Warm Transfer into your script, we'll need to adjust the closing options accordingly.
- Adding the Warm Transfer block to your Script: Once the block is created, we will need to add it into the appropriate script section, or path.
- Adjusting your Script Workflow: Once your script sections have been updated, we'll need to re-adjust your script workflow.
If you are implementing a transfer in your script, it's a good idea to save your SAS forwarding number as a contact in your phone to ensure you don't miss any calls from our agents.
Creating the Warm Transfer Block


- Transfer to Profile number: If you select this option, you will also need to select the Profile in which you want the call to be transferred, as well as the number to transfer to. If you haven’t already, check out this article on how to add or edit a Profile.

- Transfer according to warm transfer schedule: If you select this option, you will also need to select the on-call schedule you want to use. If you haven’t already, check out this article for instructions on how to set up an on-call schedule.

- Transfer to Number: If you select this option, you'll need to manually type in the number you want us to transfer to. You can also type in the name of the intended transfer party so the agents know who they are dialing.


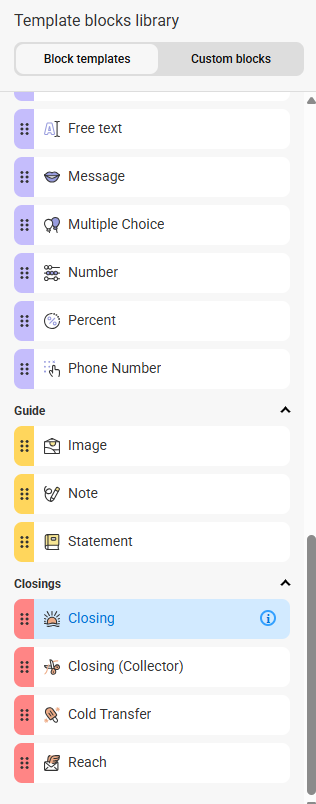
Creating New Closing Blocks
Once you have finished creating the Warm Transfer block, we'll need to re-configure the steps that follow this action. As we've shown above, the Warm Transfer block comes pre-programmed with the following logic options:
- Successfully Transferred Call
- Employee Refused the Transfer
- Caller Refused to be Transferred
- Unable to Transfer Caller
Each of these options needs to point to a subsequent block. You may want agents to continue gathering more information if they're unable to transfer. However, in this tutorial, we'll be ending the call with a Closing block after the Warm Transfer.
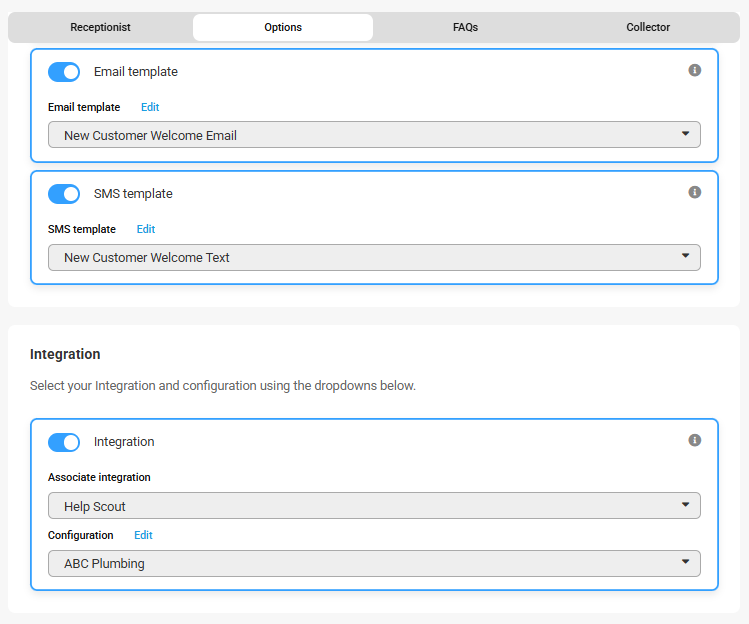
Within the Receptionist speech text box, you can remove the text since the agent will have already transferred the caller.


If you are utilizing the SAS Email App, the SAS SMS App, or one of our available App Integrations, toggle the appropriate option, then choose your respective template and/or configuration from the drop down.
Text to use for Employee Refused Transfer and No Answer: Thank you for your patience. Unfortunately no one is available at the moment, but I will pass your information along to have your call returned.


Text to use for Caller Refused Transfer: No problem. If you change your mind, don't hesitate to give us a call back.


If you want to save some time, you don't need to create an extra Closing block for the Employee Refused the Transfer option. You can simply link up that option to the Unable to Transfer block, since they're essentially the same.

Once all of your Closing blocks have been created, they'll need to be added to their own individual Closing Sections.
Adding the Warm Transfer Block to a Script Section
Once your Warm Transfer and subsequent script blocks have been created, we will need to add them to the appropriate script section.


Adjusting Your Script Workflow
Once you've finished updating/creating your Sections, it's time to re-adjust your script Workflow.