Configure Options in an SAS Flex Script Workflow
The Call Script Builder offers an array of advanced options so that call handling can be tailored to the needs of your business. For example, you may want the operators to provide directions to callers without having to go through your script, or you may want a specific part of your call handling to stand out to the agents.
In this tutorial, you will learn about various options, including:
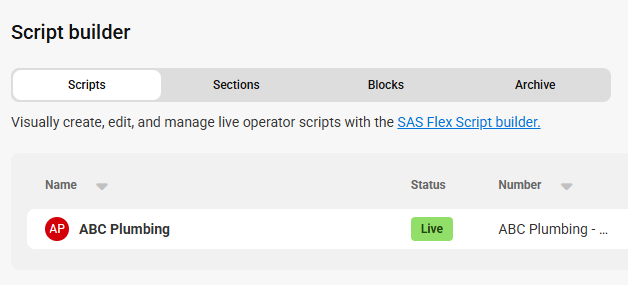
How to Access the Options Menu


Message Ticket
The Message Ticket option will document very basic information, and would be used by the agent when a caller's query does not fit into any of the existing path options. These calls will be listed as Message Ticket in your web portal.

Click the checkbox, then choose the script section you want to utilize as the Message Ticket. In our example, we created a section specifically for this, so we'll choose Message Ticket from the dropdown list.


When you are finished, click the Save Message Ticket options at the bottom of your page.

You can see a preview of this by clicking the Preview button from within the script workflow page.
Non-Message Calls
Non-Message Calls can be anything from an Information Only call to an Automated robo-dialer to a Wrong Number. Within this option, you can choose the Profile where notifications for Non-Message calls get sent.


Pinned Section
Pinned Sections allow you to add a shortcut to a specific closing section of your script. Once activated, agents will be able to click the section name from the left side of their screen to automatically pull up the call handling of that particular section. Using pinned sections would be best used in tandem with a Reach or a Cold Transfer schedule so urgent matters can be dispatched as quickly as possible.
Currently, Pinned Sections can only be attached to a Closing section. If no suitable Closing section exists in the script, one must be created.


You can see a preview of this by clicking the Preview button from within the script workflow page.
Wiki
The Wiki feature allows you to add more information about your company, including your business's name and pronunciation, as well as any staff members callers may ask about, and their roles.


You can see a preview of this by clicking the Preview button from within the script workflow page.
Quick Reference
While SAS agents can access your FAQs at any time during a call, you can include some of your more common FAQs in the Quick Reference / Quick FAQ option as well so that agents can reference them more easily.


You can see a preview of this by clicking the Preview button from within the script workflow page.
Business Profile
The Business Profile option will allow SAS agents to provide directions to your callers using our Google Map app. You will need to configure the Google Maps app before you can implement this option into your script.


You can see a preview of this by clicking the Preview button from within the script workflow page.
Business Hours
Once set, the Business Hours feature will allow agents to easily see if your business is currently open or closed.


If you use the 24/7/365 business hours option, the call widget will not display Open or Closed, since the business hours do not change.
Call Handling
Personalize your script by adding a service type that lets agents know how to represent your business. For example, you may want them to act as your answering service, your scheduling team, or your after-hours emergency line. In the Call Handling section, you can also select what Mood you want the operators to portray from a dropdown list. For example, an IT company may want their agents to "Be Knowledgeable."


You can see a preview of this by clicking the Preview button from within the script workflow page.
Internal Transfers
If you have more than one number with SAS, you can use the Internal Transfers option to give agents the ability to transfer the call internally to one of your other numbers. For example, if a caller accidentally presses 1 for English when they meant to press 2 for Spanish, the agent will be able to transfer them to the correct line.


Staff Directory
The Staff Directory option allows users to program specific person transfers or specific person message taking without having to build a Specific Person path within the script.


Take Message
If this option is chosen, agents will take a message for the specific person the caller has asked to speak with. You will need to choose a Closing section to associate this message with. You can either choose one that has already been created from the drop down list, or you can create a new Closing section by clicking Edit.

Transfer callers
If this option is chosen, agents will cold transfer calls to the specific person the caller has asked to speak with. You will need to choose a Profile and a number in which to cold transfer calls to. If the recipient is not available, callers will be able to leave a voicemail for a return call, if the user has voicemail configured on their side.

Take message before transfer
If this option is chosen, agents will take a message for the specific person the caller has asked to speak with, and then cold transfer the call to that person. If the recipient is not available, callers will be able to leave a voicemail for a return call, if the user has voicemail configured on their side. You will need to choose a Cold Transfer section to associate this message with. You can either choose one that has already been created from the drop down list, or you can create a new Cold Transfer section by clicking Edit.


You can also choose to add a link to the Staff Directory in the Greeting itself.

Apply a Template
If you don't feel like building your own script, no worries! You can apply a template instead. We have several template options, including Basic Message Taking, Emergency, Google Calendar, etc.


You can also click the blue highlighted block names within any section to edit a specific block. In the example below, clicking the highlighted last_name block would open the Name block, where you can adjust text and more.

If you have made changes to the workflow but have not yet saved them, you may see this pop-up reminder.

For further instructions on how to edit script sections, check out this article.