Using the DNIS System Variable to Route Calls
SAS offers a wide variety of system variables and features that can be used to easily route your calls one way or another. The DNIS variable offers users the freedom to filter multiple SAS Numbers through one script, while still allowing agents to handle all types of calls without having to ask callers unnecessary questions.
In this article we'll discuss:
What does DNIS stand for?
DNIS stands for Dialed Number Identification Service, and is used to tell our system which SAS number was dialed when a new call comes in.
Use cases for the DNIS system variable
Check out some of the use cases below to help determine if using the DNIS system variable will work for you and your business.
- Businesses with Multiple Locations or Departments: Businesses with multiple locations or departments may want to provide each department or location with their own SAS number that customers or employees can dial directly. Instead of having to configure separate scripts for each number, one script can be created in which all numbers are assigned. Using the DNIS variable in a Workflow (Path) block can automatically route the script without having to ask the caller which location or department they are calling for.
- Counseling Centers: Counseling centers may want to provide each of their therapists their own SAS number that patients can call directly. Instead of having to configure separate scripts for each number, one script can be created in which all numbers are assigned. Then, via a Workflow (Path) block, the script can route differently based on the DNIS variable that hit the system.
- Business with Multiple Products: Business that offer support for multiple products may want to assign each product with its own SAS number which customers can call directly. Instead of having to configure separate scripts for each number, one script can be created in which all numbers are assigned. Using the DNIS variable in a Workflow (Path) block can automatically route the script without having to ask the caller which product they are calling for.
Configuring the DNIS variable within the Workflow (Path) block
In order to route calls based on the DNIS, we'll need to configure a Workflow (Path) block. This will allow the script to route one way or another based on the specific SAS number that hit the system.
Before we get started, you'll want to make sure your SAS Numbers are named accordingly. This will help you identify them more easily. In our example, we'll be using the DNIS variable to determine which location the customer is calling from.


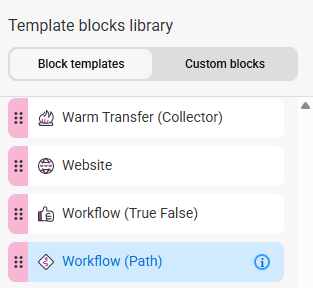


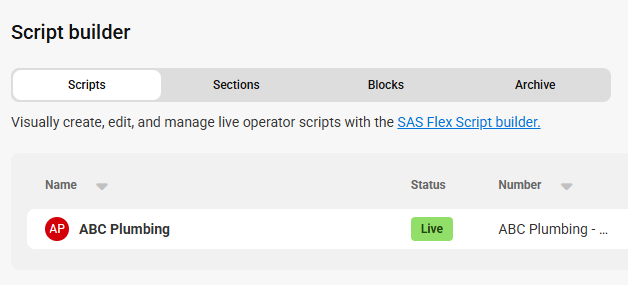
Adding the Workflow (Path) block to your Script
Once the Workflow (Path) block has been configured with the DNIS variables, it's time to implement it into your script.