How to Review Your IVR Workflow at a Glance
Whether you're making changes to your Advanced IVR or reviewing changes our support team made for you, knowing how to navigate the IVR builder is important. Below we'll go over the basics of understanding our IVR workflow builder!
In this article we'll discuss:
Understanding the Main IVR Page
1
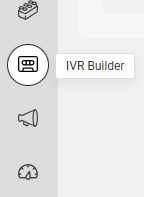
Select the IVR Builder icon on the left-hand navigation menu.
2
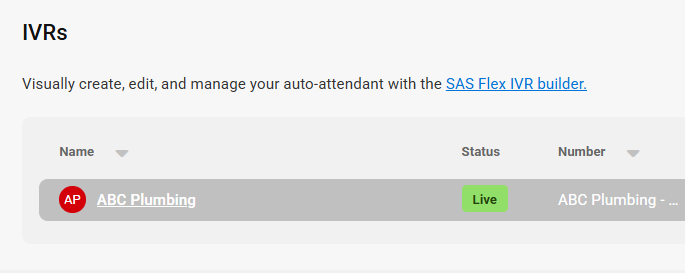
On the main IVR page, you'll see all active and inactive IVRs, including the status of the IVR, the number(s) currently assigned, and both the dates in which the IVR was created and when it was last modified.

3
Along the top banner, you can use the Show inactive only toggle to filter IVRs based on status, or Add a new IVR.

4
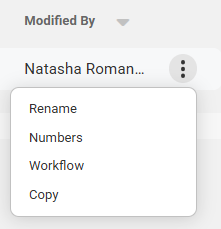
On the right-hand side of your screen, each IVR will show a 3-dot menu icon with additional settings;
- Rename: This option will allow you to rename the IVR.
- Numbers: This option will allow you to view and assign numbers to the IVR
- Workflow: This option will bring you to the IVR builder workflow, which we will be breaking down further in the section below.
- Copy: This option will make a copy of your script. In the event you want to make updates to your scripts, it's best to make a copy of it first.
Understanding the IVR Builder
1
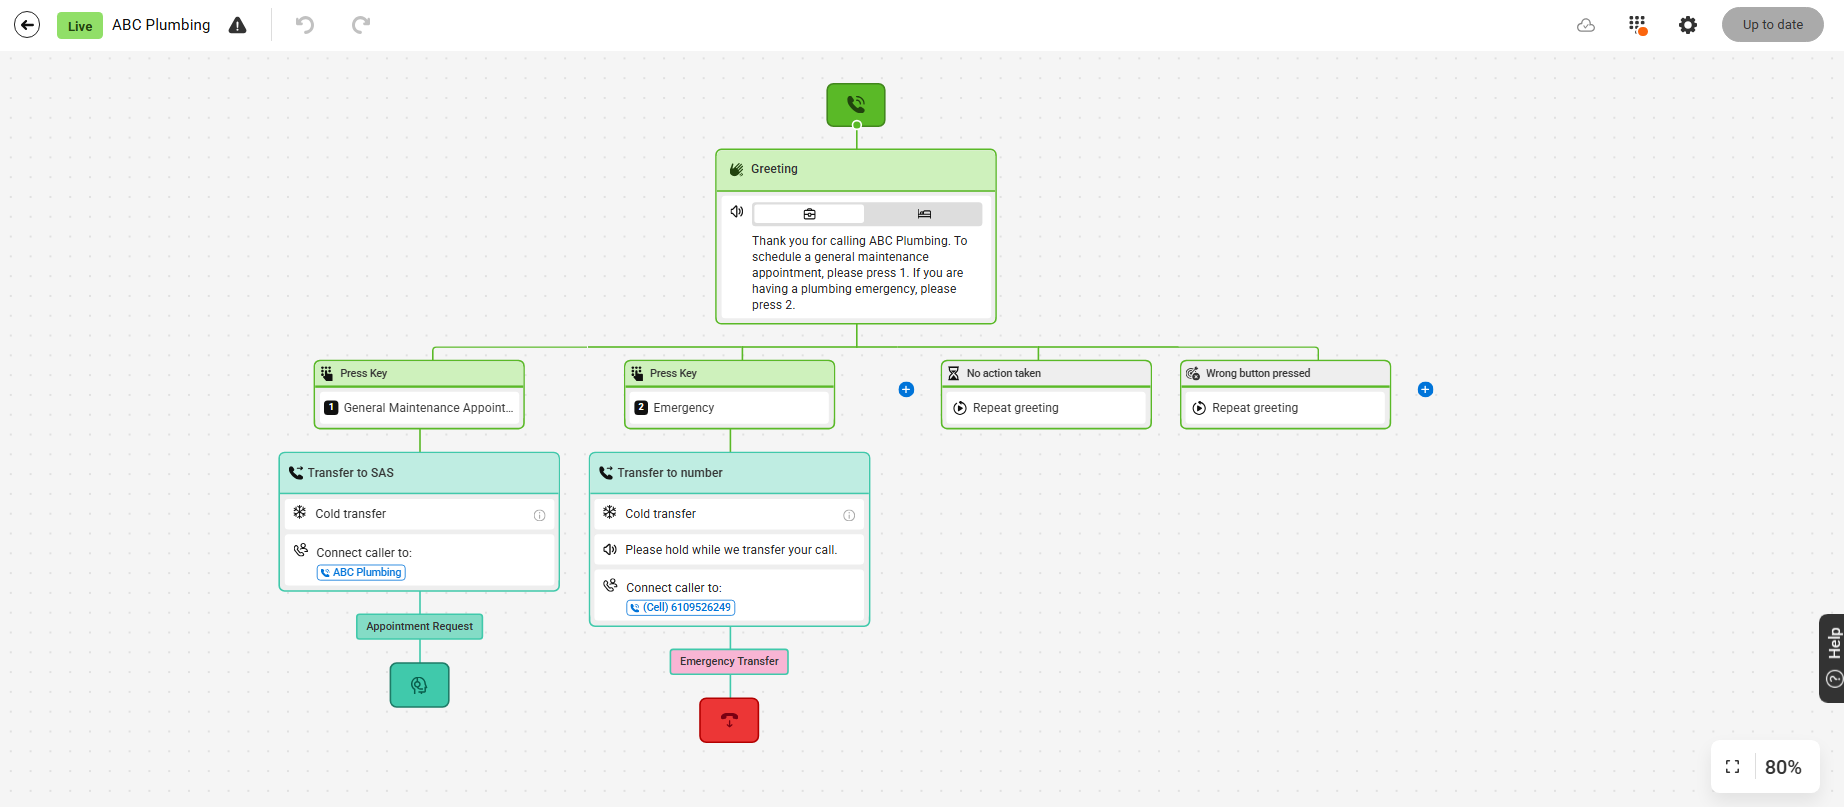
From the main IVR page, select the IVR you would like to view.
2
From this page you'll see an overview of your IVR flow, starting from when the call begins to when it ends. Each branch below the Greeting indicates a different path option that the caller has chosen to follow.
3
Use your mouse to zoom in or out. To move your screen side to side, click anywhere in the gray background grid and move your mouse accordingly.
4
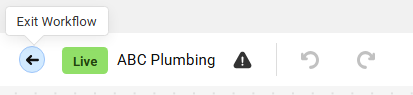
Along the top banner of the IVR workflow, you'll see several options. In the upper left-hand corner you can exit the workflow, see the status and name of your IVR, check for errors or undo/redo changes.
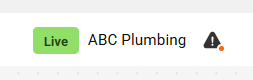
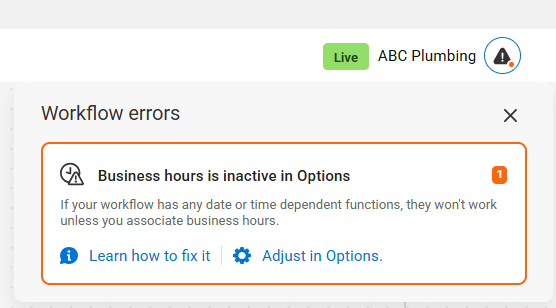
5
If there are any errors in your IVR, you'll see an alert within the triangle indicating that there are errors. Click the triangle to expand the error window to learn more.
6
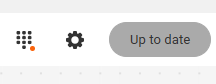
In the upper right-hand corner, you can do the following (from left to right):
7
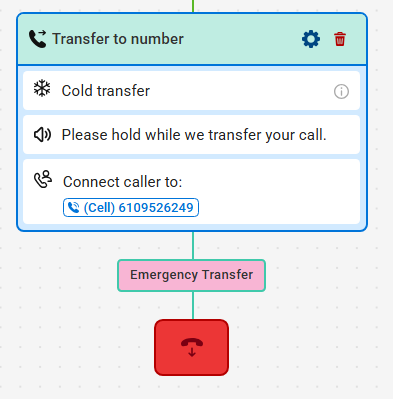
Each IVR branch will have a gear icon in the upper right-hand corner as well as a trashcan. Clicking the gear icon will allow you to edit the branch, while clicking the trashcan icon will delete the branch.
If you want to edit your IVR, check out our other help desk articles with more specific instructions to help guide you!


