Configuring a Closing Block
When building a script in SAS Flex, there are several options to choose from when deciding how to close out your script. In this article we'll show you how to configure a Closing script block.
In the Closing block, the CSR will say a short statement and disconnect the call. Closing blocks allow you to select the Call Result, or Outcome, which is how the call will be displayed in your call log. You can also choose to send where messages are sent after the call ends by selecting a Profile.
In this article we'll discuss:
All-Day Closings
All-day closings will display the same closing text to agents no matter what day or time a customer calls in.
1
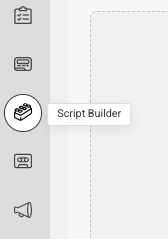
Select the Script Builder icon on the left-hand navigation menu.
2
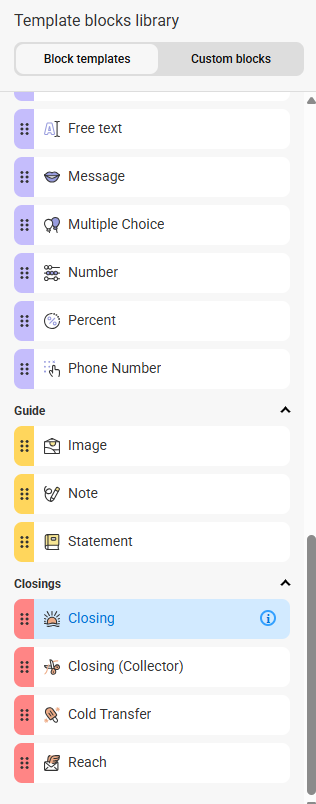
On the next page, click the Blocks tab, then select Add new block. From the Blocks list under Block Templates, locate and select the Closing block.
You will notice another Closing block labeled Closing (Collector). In this tutorial, we will be using the standard Closing block. For more information on when to use the Closing (Collector) option, check out this article.

3
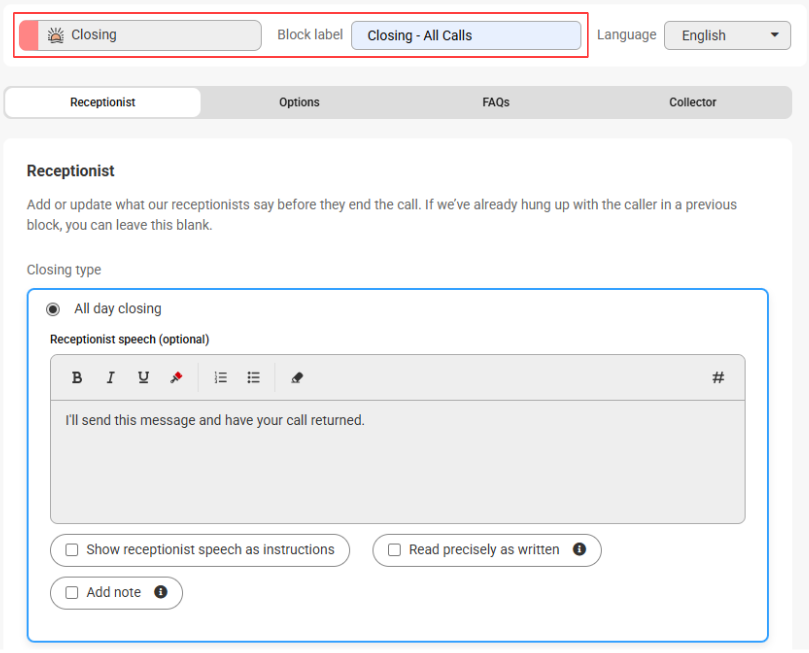
Once the block populates on your screen, you'll see the Block Type along the top of the block, and a space to add a Block Label next to it. Block Labels will help us identify the block within the system later on. We named ours Closing - All Calls.
4
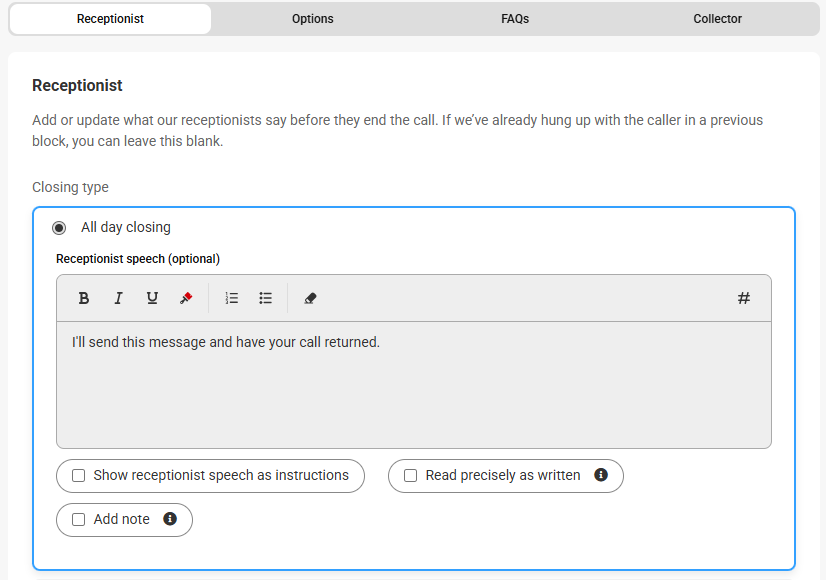
Under the Receptionist tab, we'll be using the All day closing option since we want the agents to use the same closing verbiage 24/7. If this option is chosen, standard text is pre-filled in the Operator Text. Feel free to customize this accordingly.
5
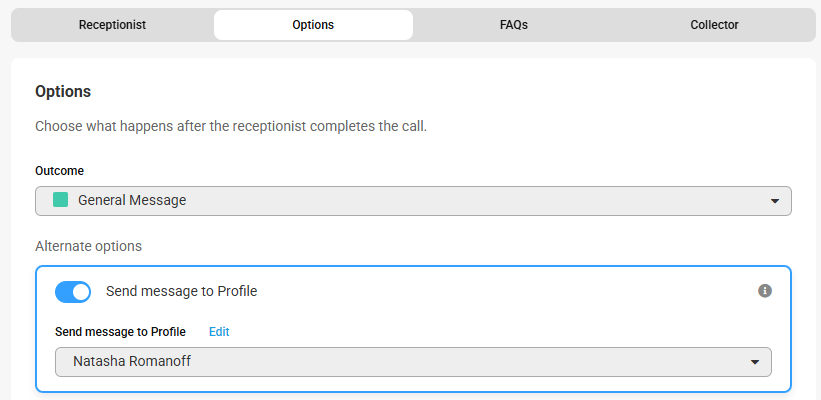
Under the Options tab, assign a Call Result to your Closing Block by choosing an Outcome. Then choose the Profile(s) you want messages to be sent to. You can select up to 10 Profiles per Closing Block.
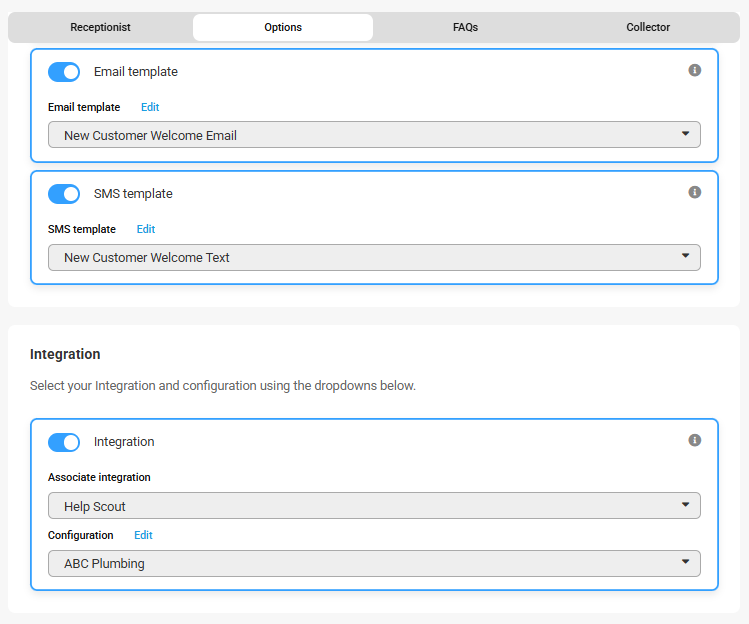
If you are utilizing the SAS Email App, the SAS SMS App, or one of our available App Integrations, toggle the appropriate option, then choose your respective template and/or configuration from the drop down.
6
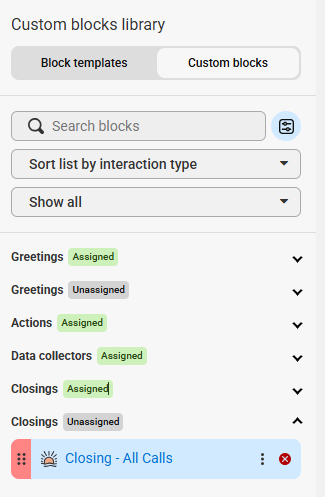
When you are finished, click Save. Once the block has been saved, it can be found under the Custom Blocks section of the Block Builder.
Once your Block has been created, you'll need to incorporate it into a Script Section. For more information on Script Sections, check out this article.
Business and After-Hours Closings
Business and after-hours closings will display different closing text to agents depending on what day or time a customer calls in.
1
Select the Script Builder icon on the left-hand navigation menu.
2
On the next page, click the Blocks tab, then select Add new block. From the Blocks list under Block Templates, locate and select the Closing block.
You will notice another Closing block labeled Closing (Collector). In this tutorial, we will be using the standard Closing block. For more information on when to use the Closing (Collector) option, check out this article.
3
Once the block populates on your screen, you'll see the Block Type along the top of the block, and a space to add a Block Label next to it. Block Labels will help us identify the block within the system later on. We named ours Closing - All Calls.
4
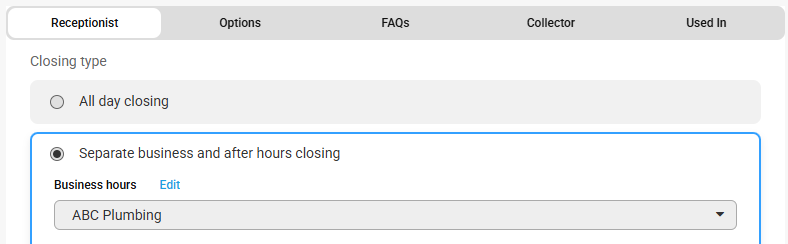
Now under the Receptionist tab, select the Separate business and after hours closing option. Then choose your Business Hours set from the drop down.
5
Next, fill in the operator text under the Business Hours closing section. In our example, we’ll be letting the caller know that we're sending their information along for a return call.

6
In the After Hours closing section, we'll add similar text, but we'll also include language letting the caller know that their call will be returned on the next business day.
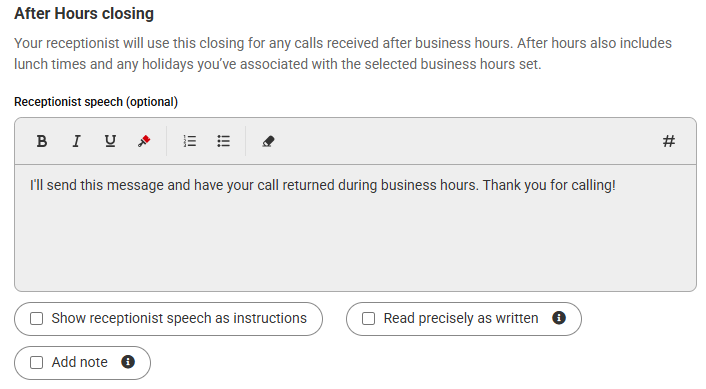
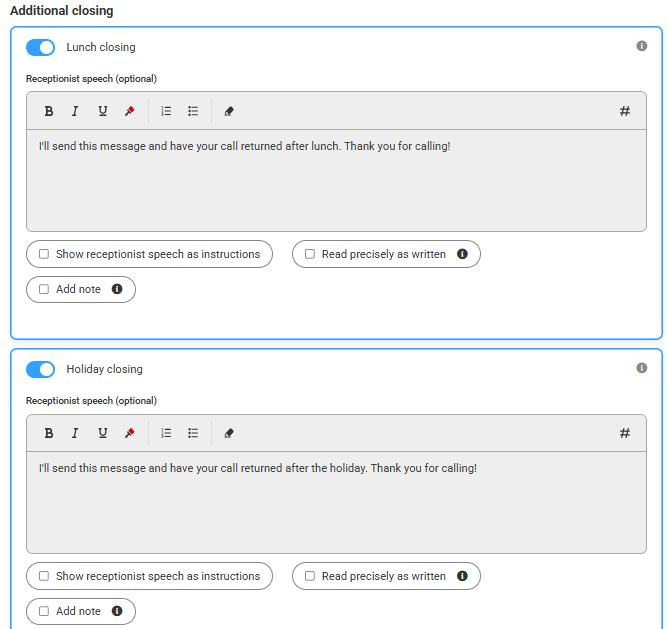
If you want the agents to say something different to callers when your office is closed for a holiday or during lunch, you can activate the Lunch closing and/or the Holiday closing and type in your respective text, as shown below.
7
Under the Options tab, assign a Call Result to your Closing Block by choosing an Outcome. Then choose the Profile(s) you want messages to be sent to. You can select up to 10 Profiles per Closing Block.
If you are utilizing the SAS Email App, the SAS SMS App, or one of our available App Integrations, toggle the appropriate option, then choose your respective template and/or configuration from the drop down.
8
When you are finished, click Save. Once the block has been saved, it can be found under the Custom Blocks section of the Block Builder.
Once your Block has been created, you'll need to incorporate it into a Script Section. For more information on Script Sections, check out this article.


