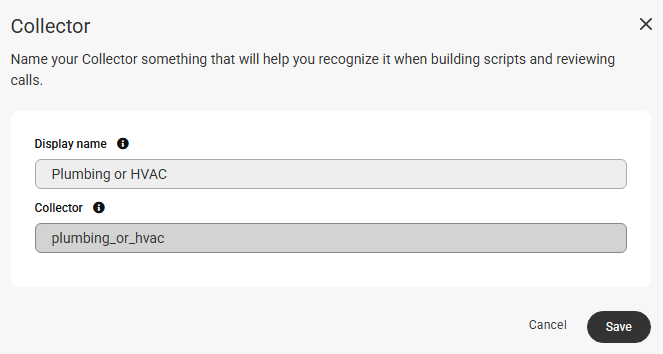
Adding Custom Collectors to Script Blocks
Collectors are variables within the scripting system that correspond to script Blocks. Collectors allow operators to gather information from your callers, which is then relayed back to you. Our scripting platform includes several pre-set Collectors such as {{first_name}} and {{email_address}}, but some Blocks will require you to create custom Collectors that are specific to your business.
In this article we'll discuss:
Adding Collectors in Settings

Adding Collectors while in Blocks
Editing or Removing Collectors


 >
>
Pre-Set Collectors
Below is a list of pre-set Collectors for specific script blocks. For those that are pre-set, you will only need to create a Block label.
- Address – comprised of 6 Collectors: {{address_street}}, {{address_street_2}}, {{address_city}}, {{address_state}}, {{address_zip}}, and {{address_country}}.
- Address (Service Area) – contains the same Collectors as Address and designed to be used in conjunction with the Google Maps integration.
- Closing {{closing}} – displays the Outcome of the call.
- Closing (Collector) {{closing_collector}} - automatically selects a Profile, Outcome and a Cold Transfer endpoint (optional) at closing based on a prior collector value.
- Cold Transfer {{cold_transfer}} – adds a Cold Transfer to your script (can be used with a Cold Transfer on-call schedule).
- Company Name {{company_name}} - Pulls the company name from the Wiki section of a script.
- Company Phonetic {{company_phonetic}} - Pulls the phonetic spelling of a company from the Wiki section of a script.
- Email {{email_address}} – gathers the customer’s email address.
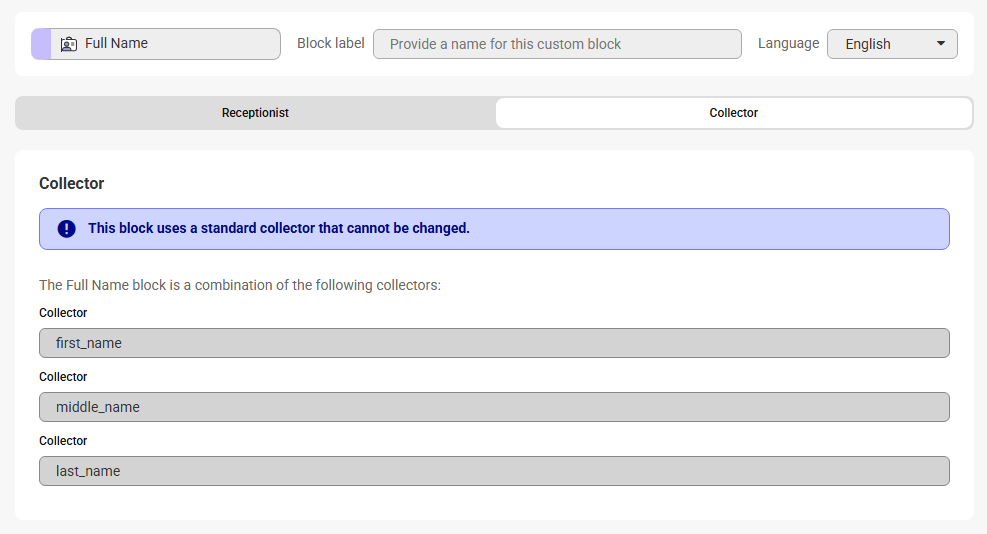
- Full Name – comprised of 3 Collectors: {{first_name}}, {{middle_name}}, and {{last_name}}.
- Google Calendar {{google_calendar}} – links your Google Calendar to your script (integrate your Google Calendar to use this).
- Google Docs {{google_doc}} – links your Google Doc to your script (integrate your Google Docs to use this).
- Greeting {{greeting}} – allows you to add an All Day greeting or Business / After Hours greetings to your script and presents operators with Logic options to determine how to proceed.
- Greeting (Compound) {{greeting_compound}} – allows you to add an All Day greeting or Business / After Hours greetings to your script (operators will follow one path and gather the same information regardless of time of day).
- Image {{image}} – allows you to add an image to your script for operators to reference during a call, e.g., an ad listing sale items and pricing.
- Lookup {{caller_lookup}} – gives operators access to look up the caller's information via our Salesforce integration or your SAS call log before selecting a Logic option to continue.
- Message {{ticket_message}} – gathers what the call is regarding.
- Non-Message {{non_message_call}} - gathers the type of non-message call that was saved.
- Note {{non_message_call}} – provides extra context, description, or instructions to operators.
- Page Break {{page_break}} – can be used at the end of a Section to separate it from the next set of questions.
- Phone Number – comprised of 6 Collectors: {{main_phone_number}}, {{home_phone_number}}, {{cell_phone_number}}, {{alt_phone_number}}, {{business_phone_number}}, and {{fax_number}}.
- Reach {{reach_attempt}} – adds an automated Reach On Call to your script (note that you must build a Reach schedule to use this).
- Staff Directory Name {{staff_directory_name}} - Pulls from the Staff Directory section of a script.
- Statement {{client_statement}} – allows operators to read a disclaimer or other informational statement without gathering data.
- Trigger {{trigger}} - allows operators to send data to or on behalf of the caller before the end of the workflow.
- Warm Transfer {{warm_transfer}} – adds a Warm Transfer to your script (can be used with a Warm Transfer on-call schedule).
- Website {{website_url}} – allows you to add a website to your script (note that websites must be approved before they can be accessed).
- Workflow (True False) {{workflow_collector}} – automatically moves operators through a script based on a comparison to previously entered data.
- Workflow (Path) {{workflow_path}} - automatically moves the operators through a script path based on a comparison to previously entered data.
- Workflow (Time) {{workflow_time}} – automatically moves operators through a script based on business-hours routing.
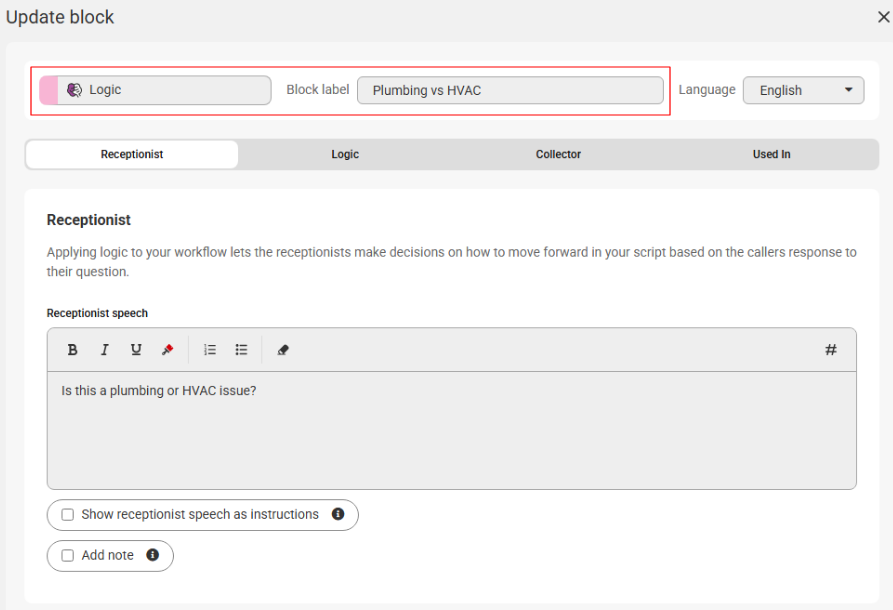
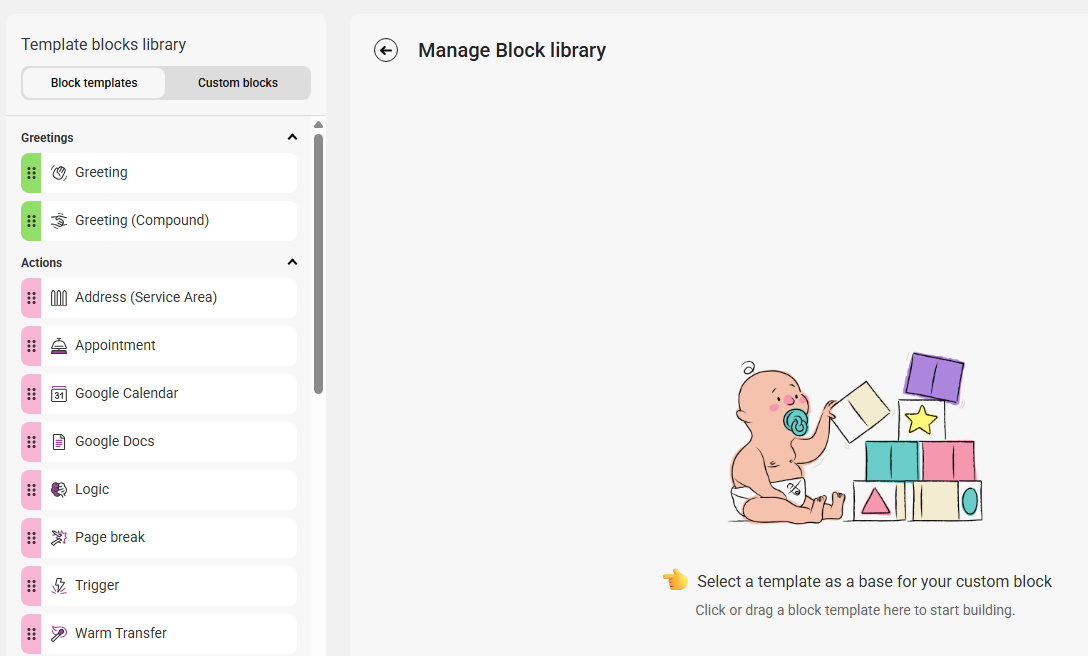
The following Blocks require custom Collectors.
- Appointment – allows you to add a calendar website to your script (note that websites must be approved before they can be accessed)
- Currency – allows operators to document a U.S. dollar amount
- Date/Time – allows operators to collect a specific date and time in MM/DD/YYYY and hh:mm am/pm format
- Dropdown – allows you to add a list of options from which operators can select one
- Free Text – allows you to add any custom question or text to your script, and allows the operators to document information in any format
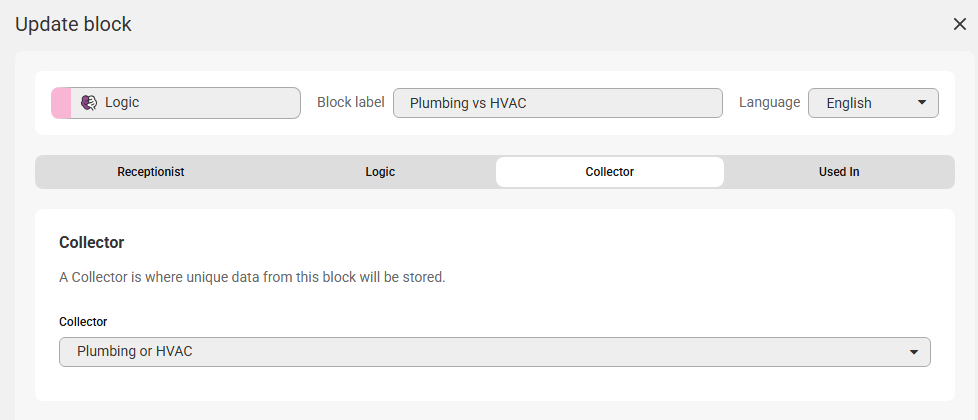
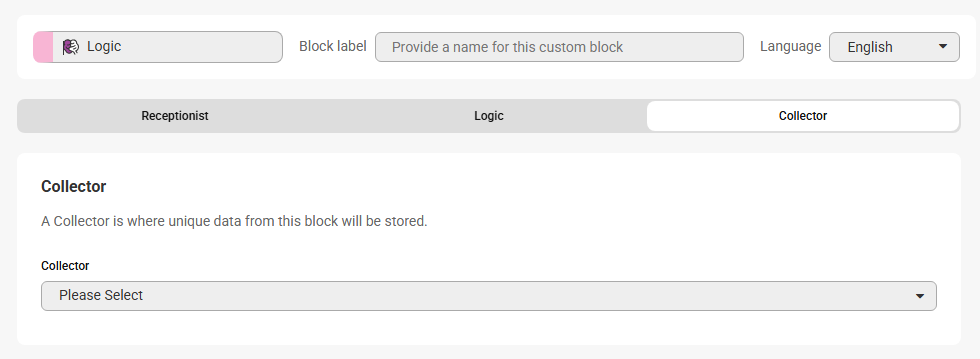
- Logic – allows the script to break off into two or more paths depending on a qualifying question
- Multiple Choice – allows you to add a list of options from which operators can select one or more
- Number – allows operators to document a numerical value
- Percent – allows operators to document a percentage value
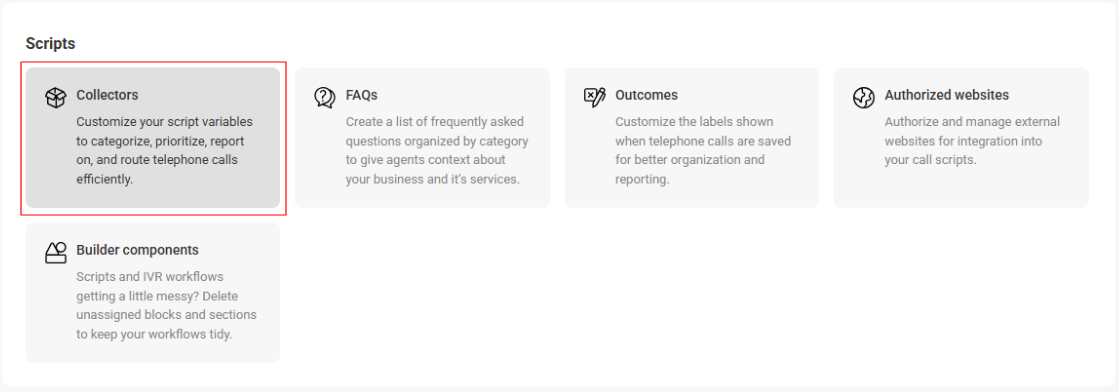
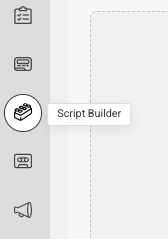
Where to find Collectors within the Script Builder
In order for operators to gather callers' information, you'll need to implement Collectors within your script.

Limitations with Collectors
Some limitations that come with Collectors include:
- You cannot use a custom Collector name more than once within your script.
- You cannot use the same custom Collector name for more than one Logic option.
- You cannot input more than one custom Collector within a single script Block.
- You cannot update a Collector name - only the Display Name.