How to Copy, Translate, and Route Your SAS Scripts to Spanish-Speaking Agents
Use this guide to translate a script into Spanish and set up call routing so callers can choose an English or Spanish operator. You’ll copy and translate your script in Script Builder, assign a number to it, and add a Simple IVR (phone menu) on your main line for “Press 1 for English, Press 2 para Español.”
In this article we'll discuss:
Copying and Translating Scripts
In this section we will show you how to copy your English scripts and easily translate them into Spanish.
1
Select the Script Builder icon on the left-hand navigation menu.
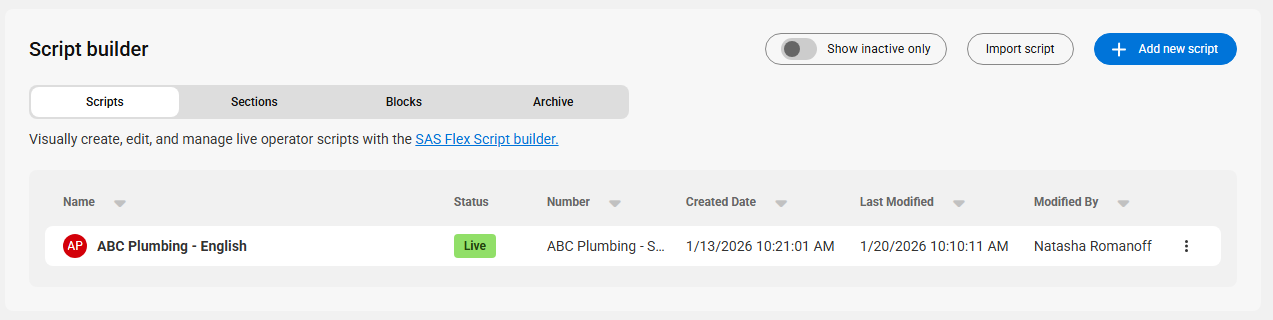
2
On the next page, you'll see your active script(s). Before we copy and translate our script, let's rename it make it more easily identifiable. To rename the script, click the 3-dot menu icon next to the script you want to rename, and select Rename.
We suggest renaming the script to Your Company Name - English

3
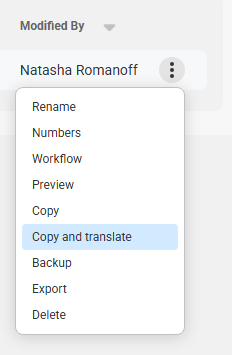
Click the 3-dot menu icon on the right-hand side of the script you would like to translate. Then select Copy and translate.
4
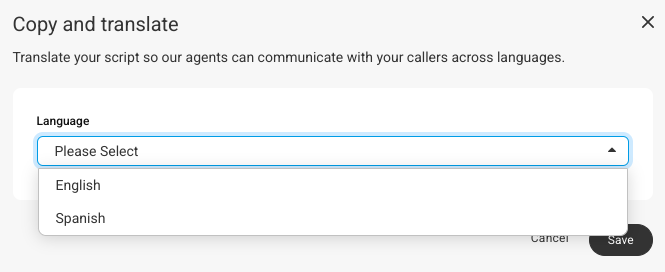
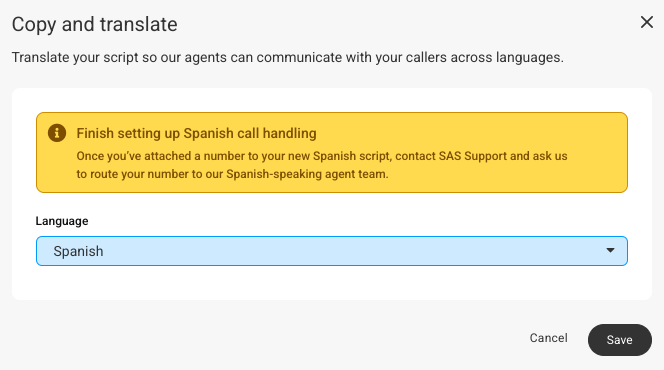
A pop-up will appear on your screen prompting you to choose a language to translate the script into. Select Spanish.
5
An alert will pop-up within this window reminding you to contact the SAS Support team so that we can route your number to our Spanish-speaking agent team. Click Save.
6
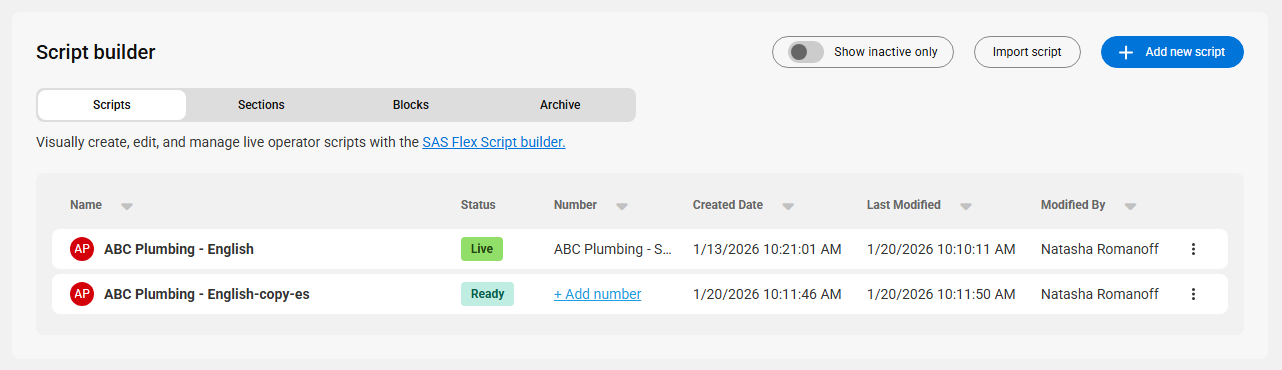
Upon clicking Save, you will be brought back to the main Scripts page, where you will see your newly copied and translated script.
7
Now let's rename our new script just like we did for the English script. Click the 3-dot menu icon next to the script you want to rename, and select Rename.
We suggest renaming the script to Your Company Name - Spanish

Setting up an English/Spanish IVR
Now that we've copied and translated our script into Spanish and renamed it so it's easily identifiable, let's add an up-front IVR that will prompt callers to press 1 for English or 2 for Spanish. This will ensure that all of your customers are being directed to and speaking with agents of their preferred language.
1
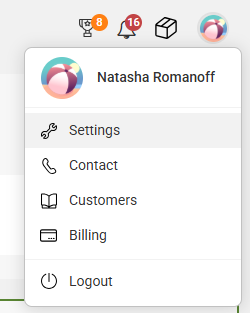
Go to the User icon in the upper right-hand corner, then click Settings.
2
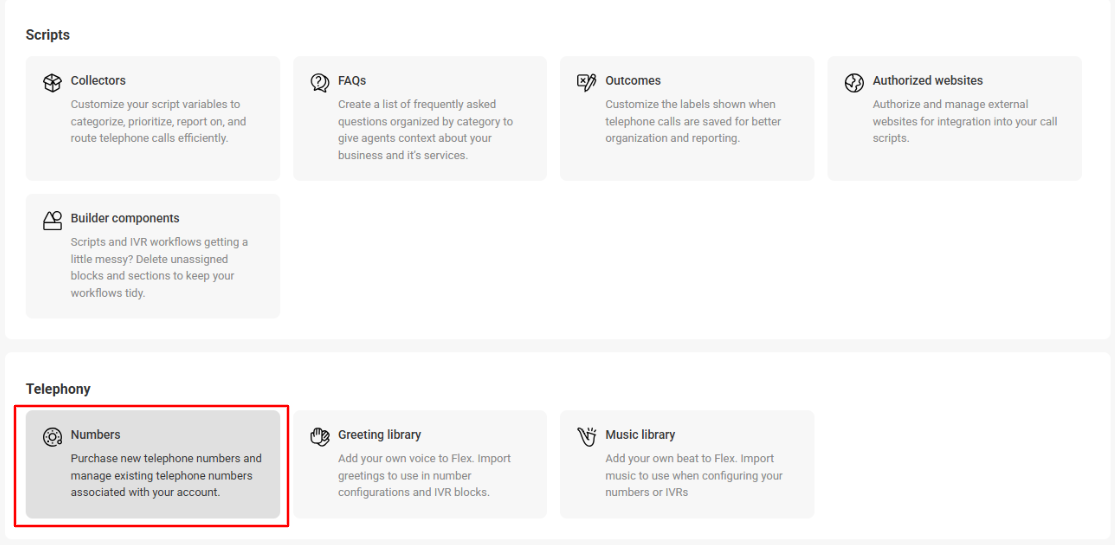
On the main settings page, scroll down to the Telephony section and select Numbers.
3
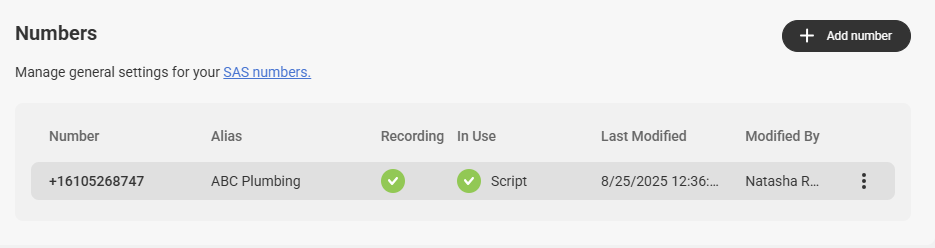
On the next page, you'll see your SAS number(s). If you only see one number listed, you'll need to purchase an additional line by clicking the Add number button. This additional line will be used for your Spanish script.
4
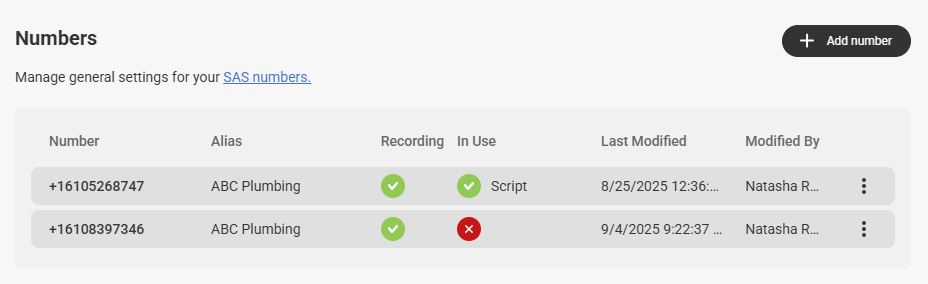
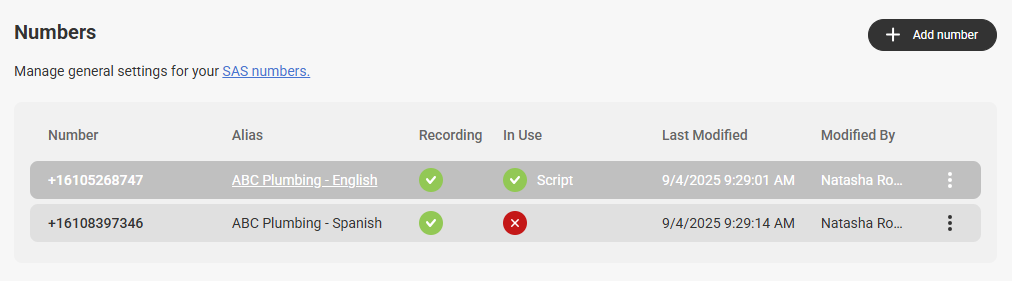
Once your additional line is purchased, you'll see it listed along with your original number.
5
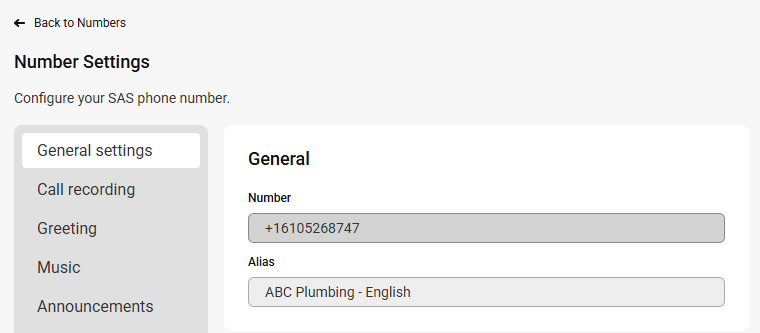
Just like we renamed our scripts, let's rename our numbers so that they're labeled English and Spanish, repsectively. To rename a number, select the number and then under the General Settings tab, add your new name within the Alias field. Then click Save.
6
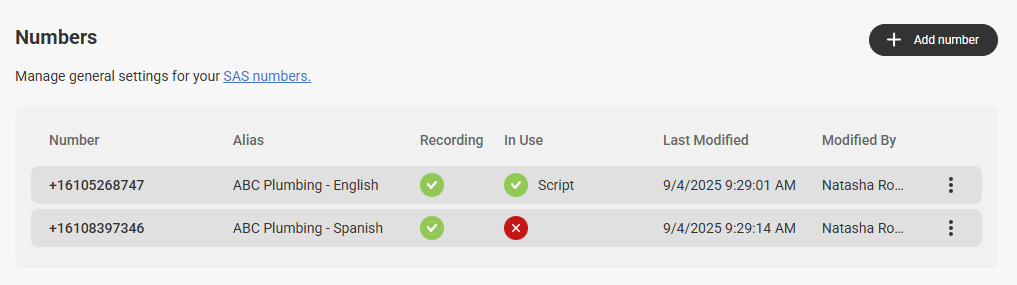
Repeat step 5 above for your Spanish number so that both numbers are labeled accordingly.
7
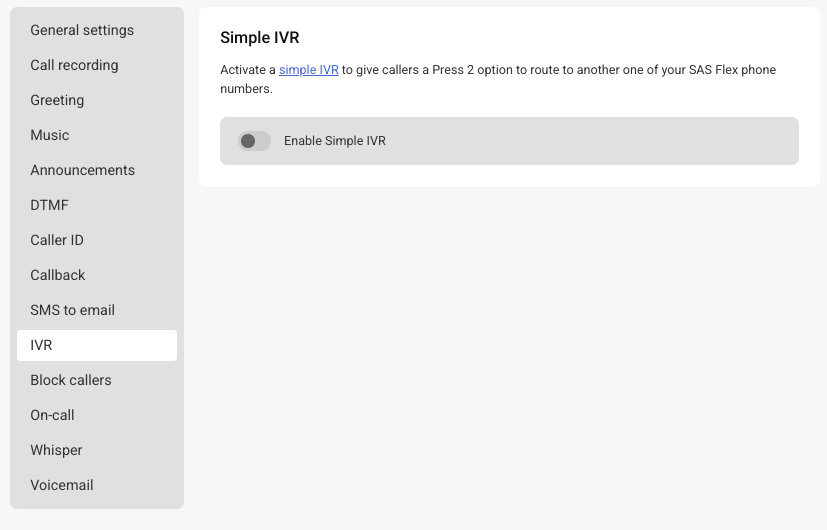
Now that our numbers are labeled, we can begin setting up our IVR. Select your English number, then select the IVR option from the Number Settings panel as shown below. Then use the Enable Simple IVR toggle.
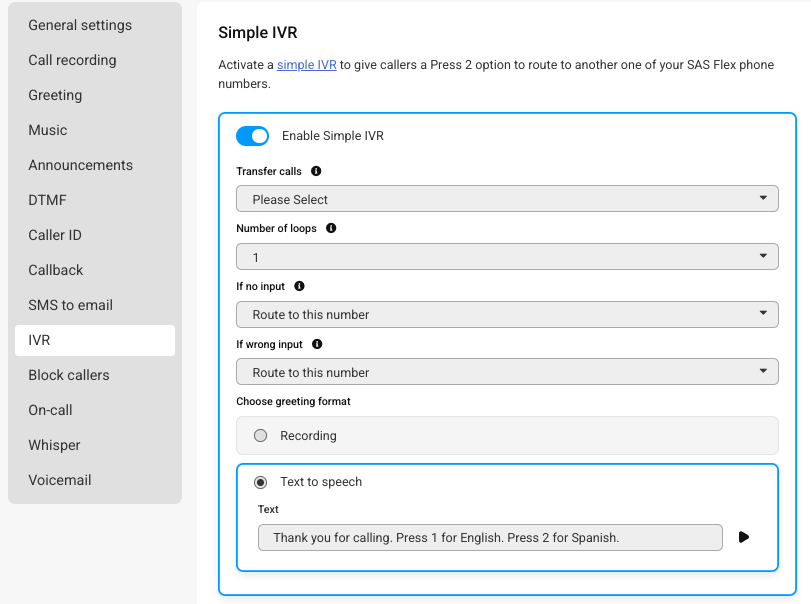
8
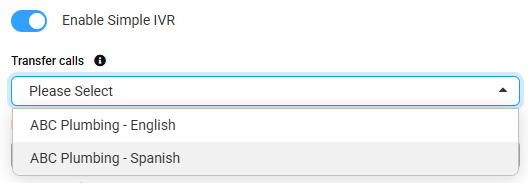
Once enabled, you'll need to choose where to transfer calls via the Transfer Calls dropdown. In this example, we'll choose our Spanish number.
The Press 1 option will automatically route to the main number that you are adjusting. Whichever number you select under Transfer Calls will be the Press 2 option. If you want the IVR to route calls to an outside number, you'll need to set up an Advanced IVR.
9
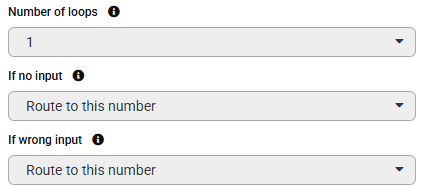
Next, you'll need to tell the system what to do if there is no input or a wrong input from the caller. We'll go over the options below.
- Number of Loops: This represents the number of times the IVR greeting will play if there is no selection from the caller.
- If no input: If the caller does not input a selection, this setting will tell the system what to do. The Route to this number option will route calls to the number you've enabled the IVR on, the Route to number in Transfer Calls dropdown option will route calls to the number you've selected in the Transfer Calls drop down above, and the Disconnect option will disconnect the call.
- If wrong input: If the caller inputs the wrong selection, this setting will tell the sytem what to do. The Route to this number option will route calls to the number you've enabled the IVR on, the Route to number in Transfer Calls dropdown option will route calls to the number you've selected in the Transfer Calls drop down above, and the Disconnect option will disconnect the call.
10
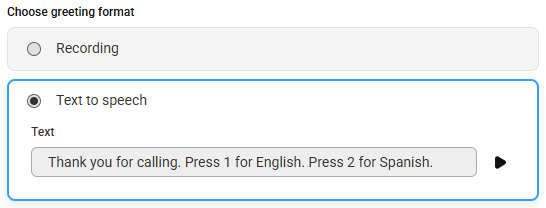
Finally, select a recorded greeting that prompts callers to press 1 for English or 2 for Spanish, or enter in your greeting using the Text to Speech option. Feel free to copy and paste the standard text below, or download a pre-recorded greeting here.
Thank you for calling. Press 1 for English. Press 2 for Spanish.
11
When you are finished, click Save in the bottom right-hand corner. There are a few more steps we need to complete before we can begin taking calls. We'll cover those in the next sections.
Adjusting Number Settings
Once your English/Spanish IVR has been built, we'll need to remove any default greetings that are attached to your numbers, as well as updating some settings for your Spanish number. Let's get started!
1
On the main Numbers page, select your English-labeled number.
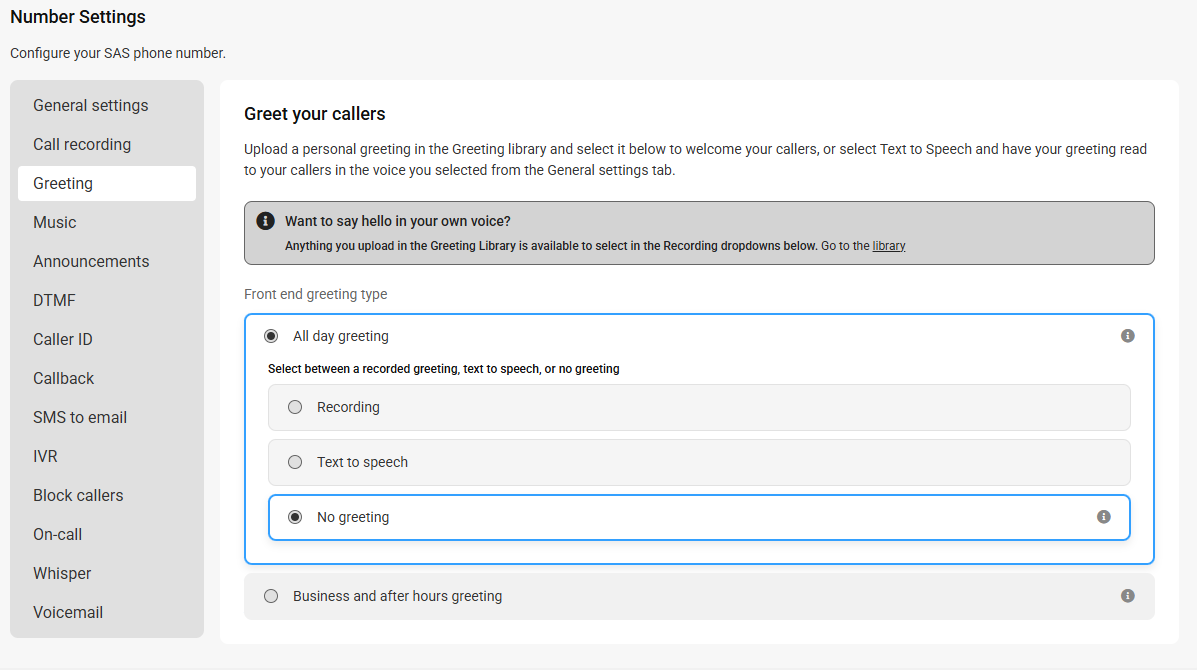
2
Since we already have a greeting on the line in terms of the IVR, an additional greeting is not needed. On the next page, click on the Greeting tab, then select the No Greeting option. When you are done, click Save.
3
Now we're going to do the same for your Spanish number. Back on the main Numbers page, select your Spanish-labeled number.
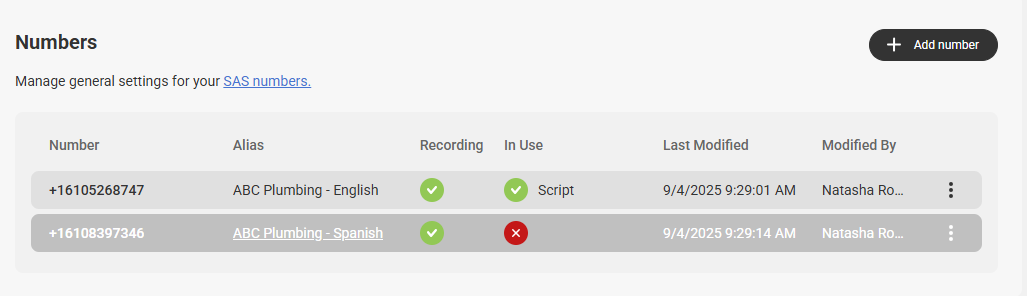
4
On the next page, click on the Greeting tab, then select the No Greeting option. When you are done, click Save.
5
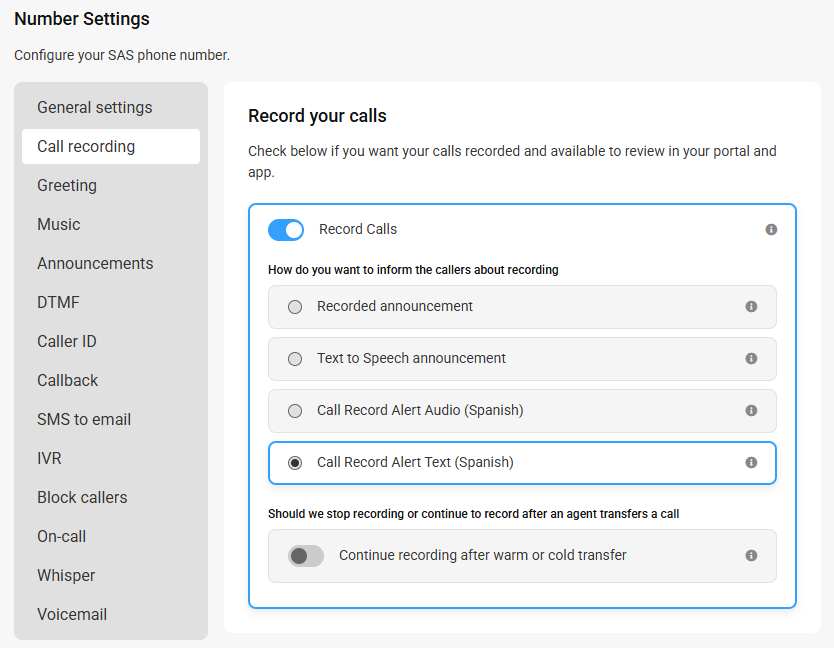
While still in the Number settings for your Spanish number, click on the Call recording tab, and select either of the Spanish call record alert options. The Audio-labeled option will tell callers the call will be recorded in a human voice, and the Text-labeled option will tell callers the call will be recorded in a Text to Speech voice.
When you are done, click Save.
Assigning Numbers to Scripts
Once your IVR is created and number settings have been configured accordingly, you'll need to assign your new Spanish number to your new Spanish script. Let's get started!
1
Click on the Script Builder icon on the left-hand navigation panel.
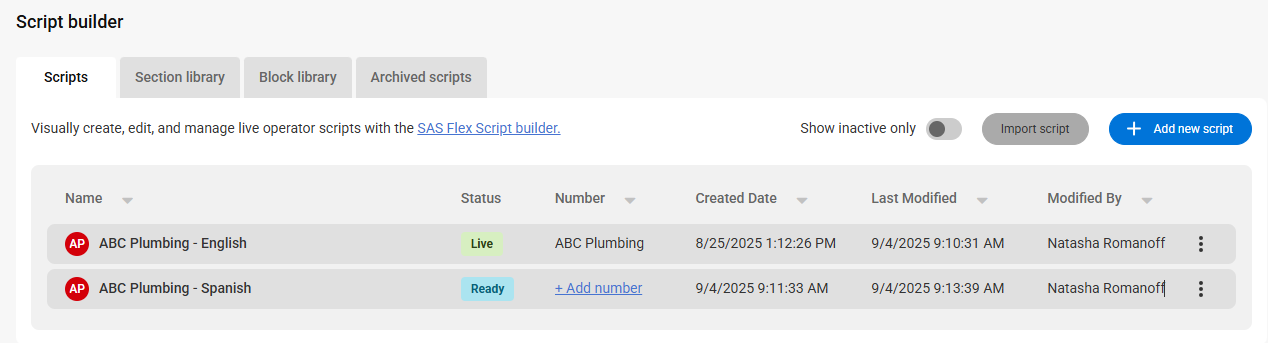
2
On the next page, you'll see your scripts. A number should already be assigned to your English-labeled script. To assign your new Spanish number to your Spanish script, click the Add number hyperlink in the Numbers column as shown below.
3
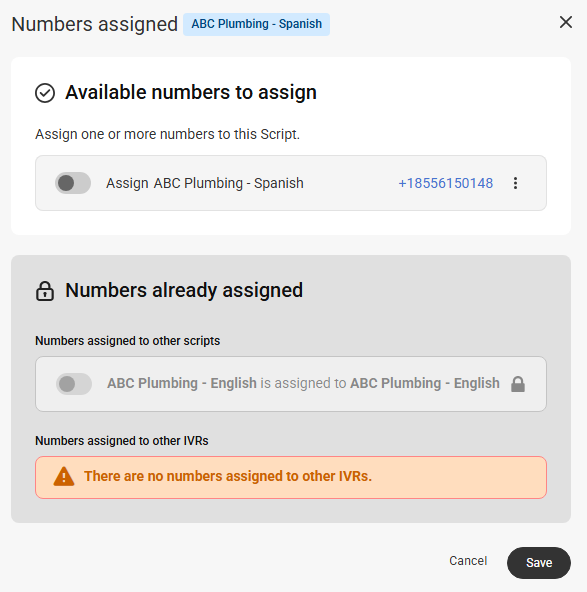
In the pop-up window, use the toggle to assign your Spanish number to your Spanish script. Then click Save.
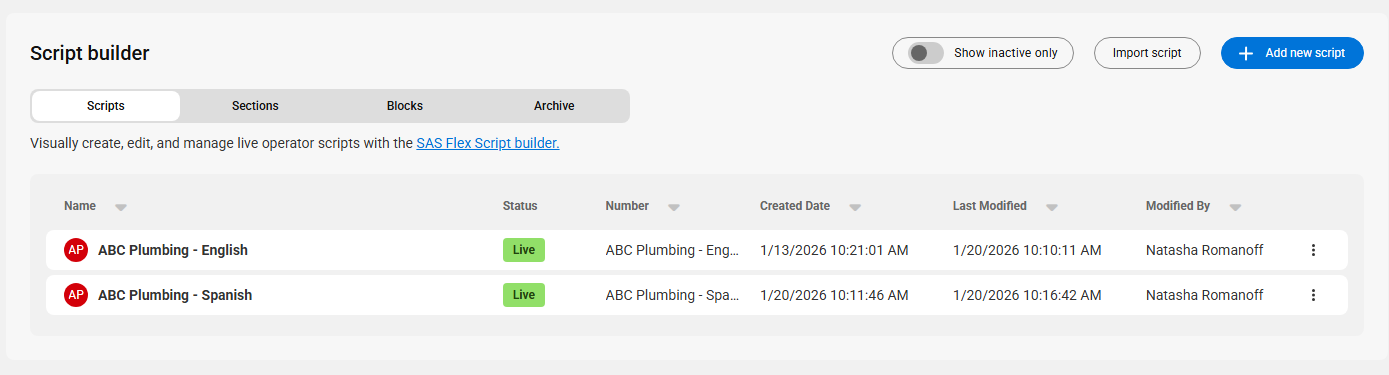
Once the number has been assigned, your screen should look similar to the image below. Both scripts will now show as being Live.
4
The last step is to reach out to our Customer Service team to ensure Spanish calls are set to the proper agent distribution. Otherwise, all calls will continue going to English speaking agents.
Once our team confirms the proper distribution has been set, you can test to make sure everything is working properly by calling your English-labeled number directly and following the prompts.


