Setting up Voicemail with an Advanced IVR
For clients who want to give their callers the option to leave a voicemail instead of connecting with an agent, a Voicemail block can be added within an advanced IVR. Voicemail recordings will be sent to the email addresses of your choosing, but you can also listen to them within the IVR log of your online portal.
Note that for medical accounts, the Voicemail option will not be available in order to maintain HIPAA compliance.
In this article we'll discuss:
Updating the Main IVR Greeting
All IVRs must start with a Greeting. This will be considered your "main menu" and will provide callers with subsequent options. In this example, we'll update our main IVR greeting to include a Logic Option which if pressed, will result in callers leaving a voicemail.
1
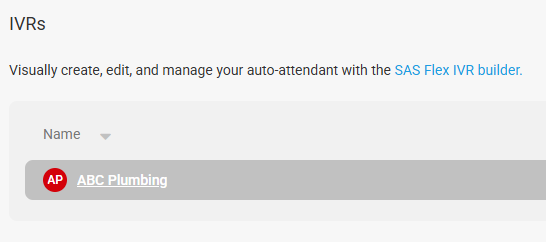
Select the IVR Builder icon on the left-hand navigation menu, then select the IVR you wish to update.
2
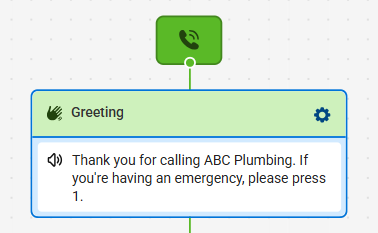
On the next page, click on your Greeting block, as shown below.
3
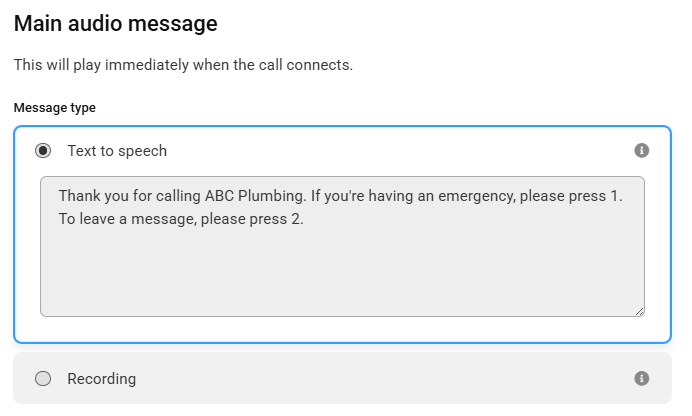
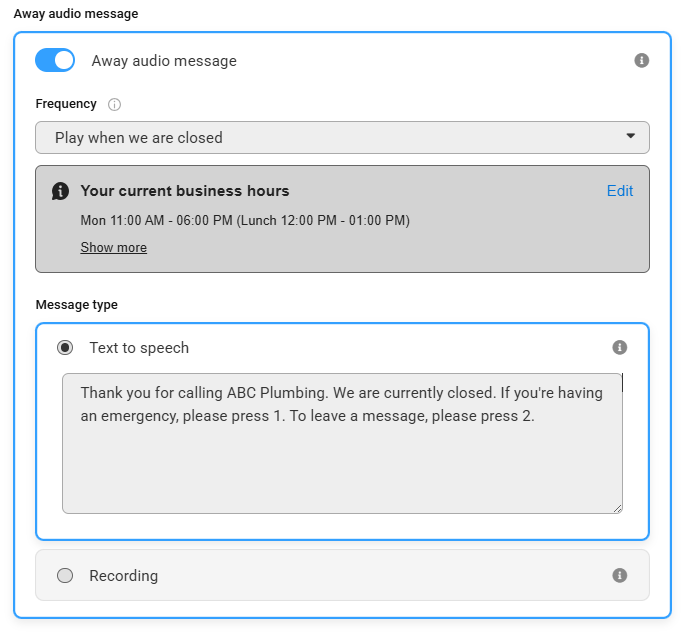
In the panel that appears on the right-hand side of your screen, you'll need to update the prompt language. If you are using a Recorded audio file, you will need to re-record and re-upload the file with the new prompt language. If you are using the Text to Speech option, you can just update the text as shown below.
In our example, we'll be adding a Press 2 option for callers looking to leave a voicemail.
If you want a different message to play when you are closed for after hours or holidays, use the Away audio message toggle, then choose Play when we are closed from the Frequency dropdown and add your respective greeting.
In order for the IVR to be able to change based off your business hours or after hours, you'll want to make sure you have already created a business hours set and a holiday set. Additionally, you'll want to make sure your business hours set is selected under the Options gear within the IVR workflow.
4
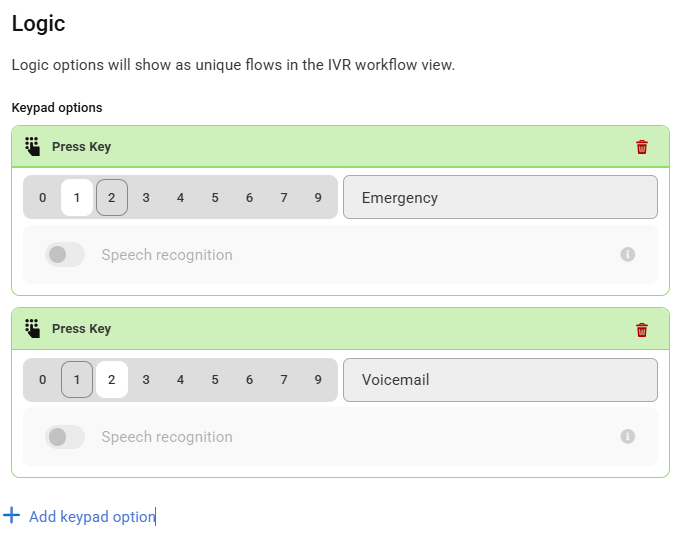
Next, under the Logic section, we'll need to add our new Logic Option. Click Add keypad option, select your numerical keypad option, then type in the respective title. In this case we want callers to press 2 to leave a voicemail.
5
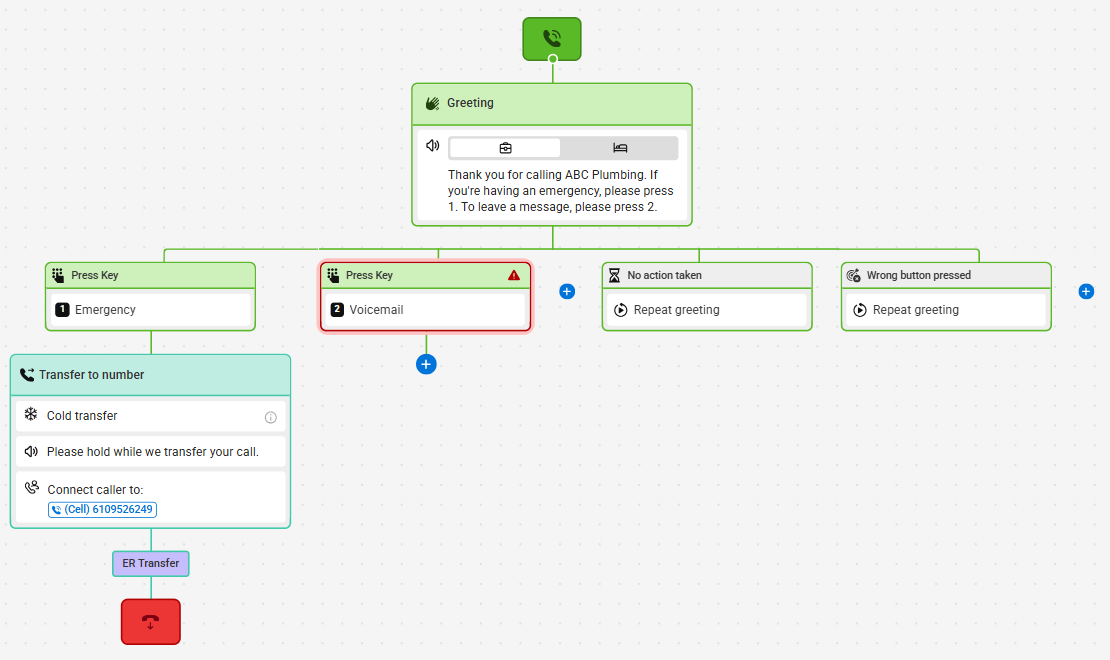
When you are finished, click Save. Your new workflow should look something like the image below.
Creating and Adding a Voicemail Option
1
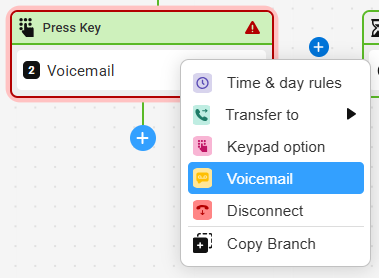
From the main IVR workflow, click the + node beneath the section you want to result in a Voicemail. Then, select Voicemail.
2
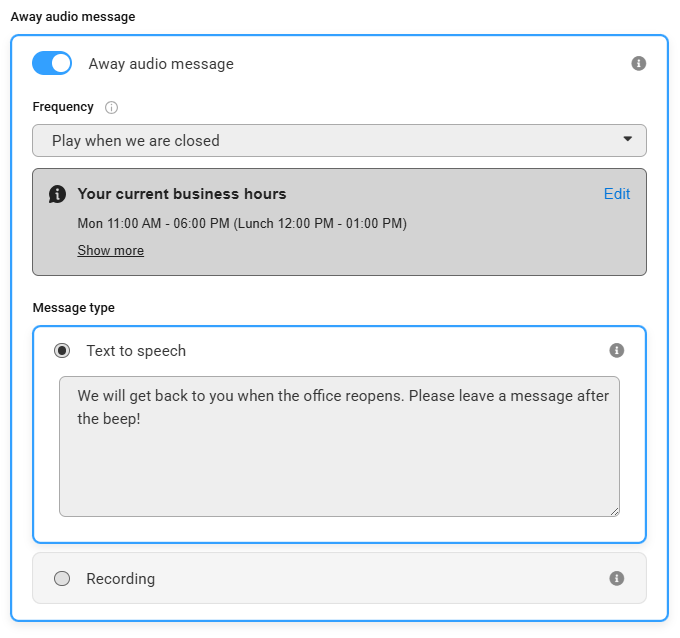
On the panel that appears on the right-hand side of your screen, you can choose your Recorded greeting from the Recording dropdown, or type in your greeting to use our Text to Speech option.

If you want a different message to play when you are closed for after hours or holidays, use the Away audio message toggle, then choose Play when we are closed from the Frequency dropdown and add your respective greeting.
In order for the IVR to be able to change based off your business hours or after hours, you'll want to make sure you have already created a business hours set and a holiday set. Additionally, you'll want to make sure your business hours set is selected under the Options gear within the IVR workflow.
3
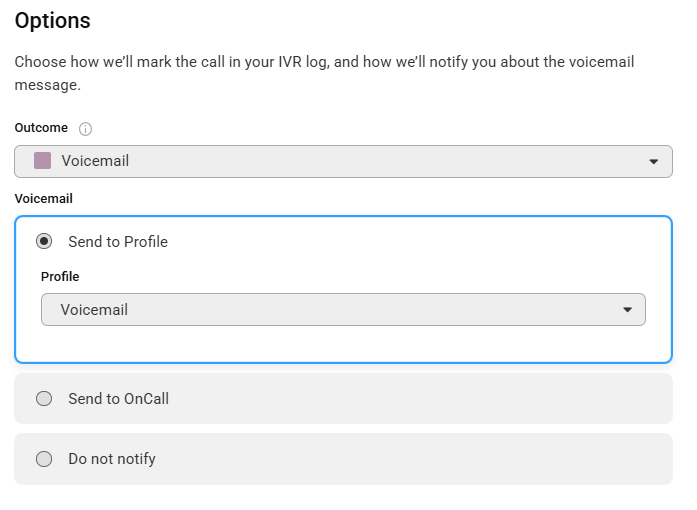
Under the Options section, choose an Outcome, then choose where you want the voicemail to be sent. You can choose to send it to Profile(s), send to an On-call schedule, or choose to not be notified.
Voicemail messages will come from notifications@sasdesk.com, but can also be listened to via the IVR log. If you choose the Send to On-call option, you can only choose an on-call schedule that uses a Recording or Serial Recording Reach Message. The recipient will receive a phone call in which they'll have to press 1 to accept the message to listen to the voicemail.
4
Click Save. You'll be taken back to your IVR Workflow, which should look something like the image below. When you are satisfied with your IVR, click the Publish button in the top right-hand corner to publish your changes.


