Setting up Caller ID Routing in an Advanced IVR
For clients who want their IVR to change based on who is calling, a Caller ID Routing option can be added within an advanced IVR, which will automatically route callers one way or another based on the Caller ID.
In this article we'll discuss:
Updating the Main IVR Greeting
All IVRs must start with a Greeting. This will be considered your "main menu" and will provide callers with subsequent options. In this example, we'll update our main IVR greeting to include a Logic Option which if pressed, will flow through to a Caller ID routing step.
1
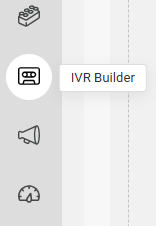
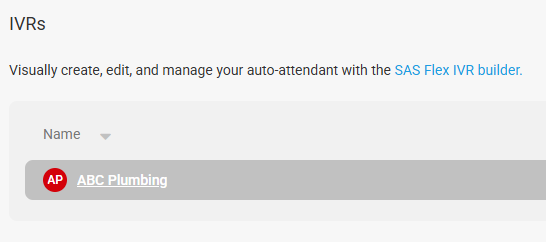
Select the IVR Builder icon on the left-hand navigation menu, then select the IVR you wish to update.
2
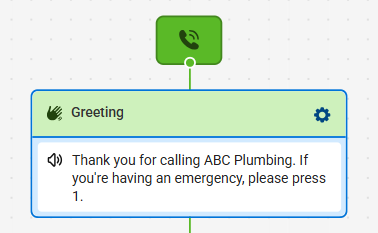
On the next page, click on your Greeting block, as shown below.
3
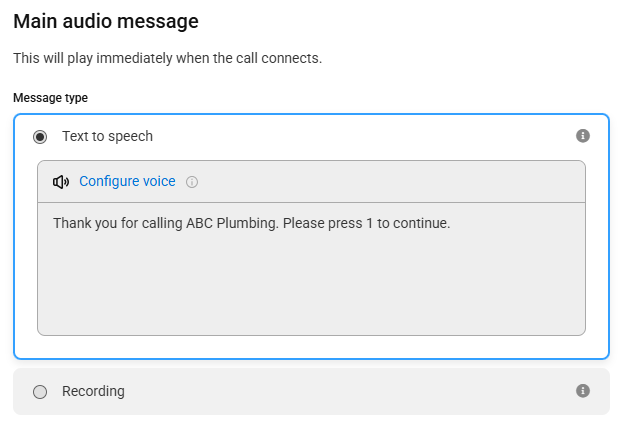
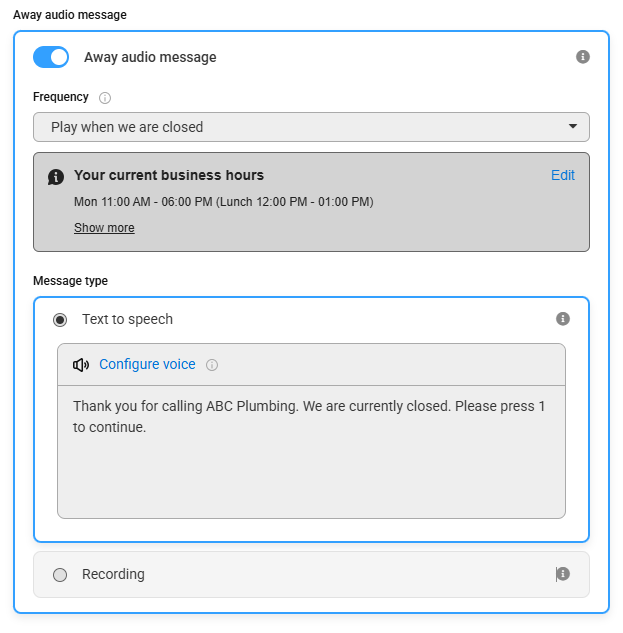
In the panel that appears on the right-hand side of your screen, you'll need to update the prompt language. If you are using a Recorded audio file, you will need to re-record and re-upload the file with the new prompt language. If you are using the Text to Speech option, you can just update the text as shown below.
In our example, we'll update the greeting so that all callers have to press 1 to continue.
If you want a different message to play when you are closed for after hours or holidays, use the Away audio message toggle, then choose Play when we are closed from the Frequency dropdown and add your respective greeting.
In order for the IVR to be able to change based off your business hours or after hours, you'll want to make sure you have already created a business hours set and a holiday set. Additionally, you'll want to make sure your business hours set is selected under the Options gear within the IVR workflow.
4
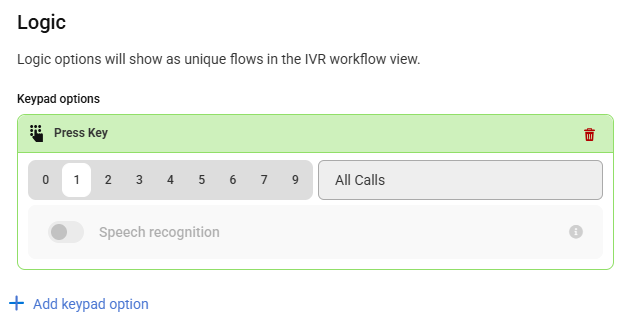
Next, under the Logic section, we'll need to update our Logic Option. Select your numerical keypad option, then type in the respective title. In this case we want callers to press 1 for All Calls.
5
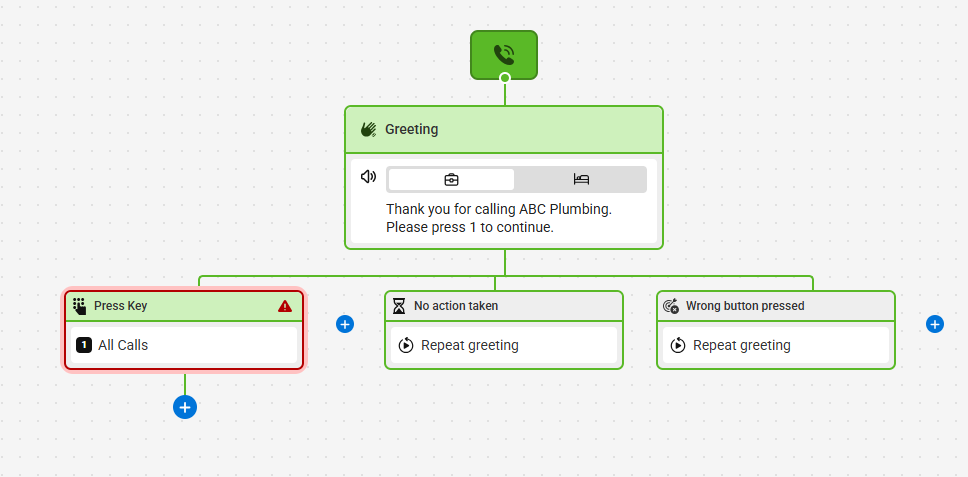
When you are finished, click Save. Your new workflow should look something like the image below.
Creating and Adding Caller ID Routing
1
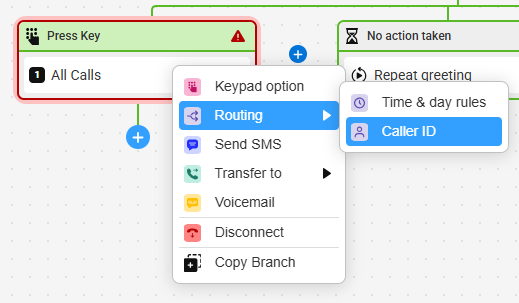
From the main IVR workflow, click the + node beneath the section you want to result in Caller ID Routing. Then, select Routing > Caller ID.
2
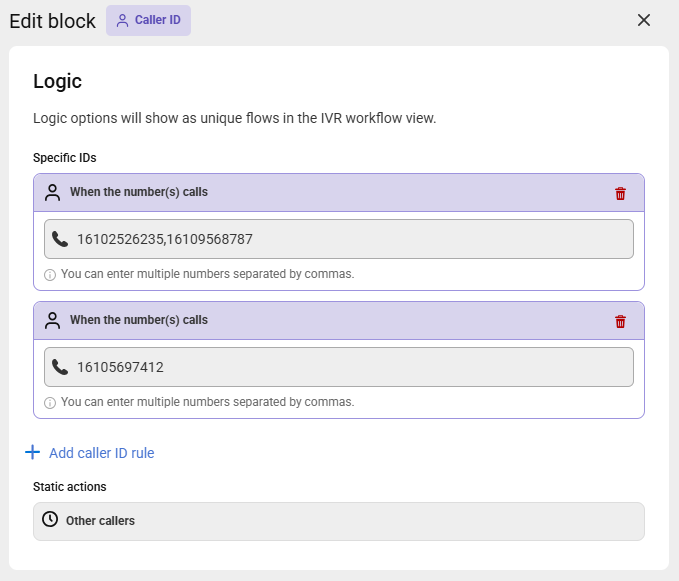
In the panel that appears on the right-hand side of your screen, enter in the aplicable phone number(s) you want the system to check for.
If you want multiple phone numbers to be handled the same, enter each on the same line separated by a comma. If you want different phone numbers handled differently, click Add caller ID rule to add additional phone number rules. When you are finished, click Save in the bottom right-hand corner.
3
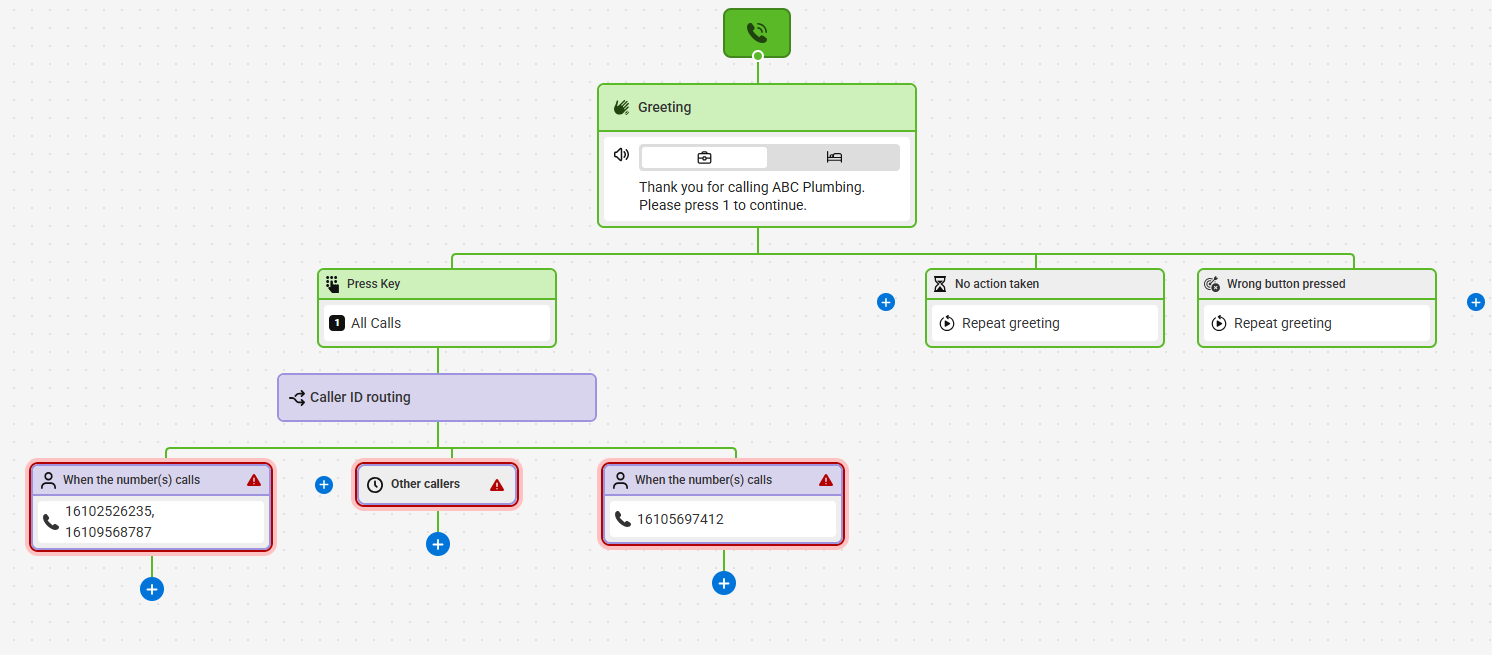
Upon clicking Save, you'll be taken back to your IVR workflow which should look something like the image below.
4
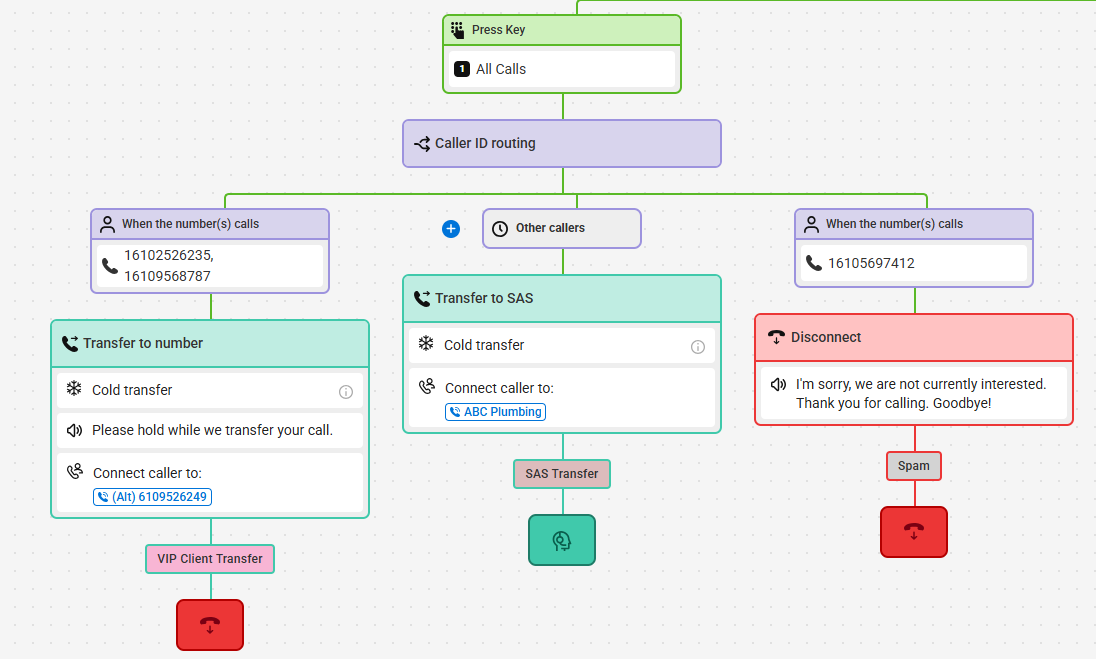
Next we need to build out the rest of our workflow. In our example, we've added 2 phone numbers that belong to VIP clients, and another phone number that belongs to a spam caller. We'll have our VIP clients result in a direct transfer, and the spam call result in a disconnect. All other calls can route to an SAS agent.
5
When you are finished updating your workflow, click Publish in the upper right-hand corner.

