How to Configure a Greeting Block
A Greeting block is the block used to start off your script, and will be what the agents use to greet customers when they call. Logic Options should be used in your Greeting if you want the operators to follow one path or another right from the start of the call.
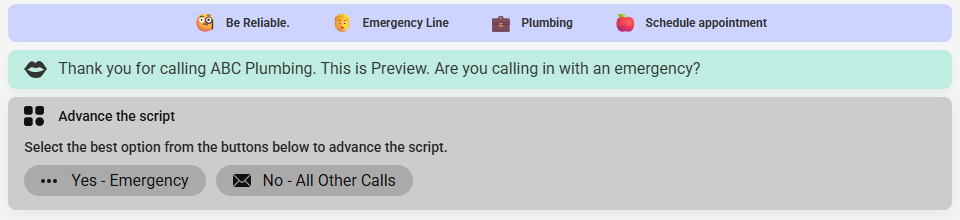
For example, an HVAC company may want agents to ask callers right away if they're having an emergency. If they are, the script may direct the agent to warm transfer the caller to an on-call technician. If the caller is not having an emergency, the script may direct the agent to gather basic information for a return call. If you want all calls handled the same way no matter what the reason for the call, then you don't need to include a Logic Option in your Greeting.
In this article we'll discuss:
Whether you choose an All-Day Greeting type or a Business and After-Hours Greeting type, the logic options you program in will remain the same. If you want to present the agent with different options based off on business hours or after hours, you will need to incorporate a Workflow (Date Time) block.
Configuring an All-Day Greeting
All-day greetings will display the same greeting text to agents no matter what day or time a customer calls in.
1
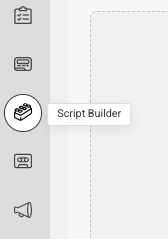
Select the Script Builder icon on the left-hand navigation menu.
2
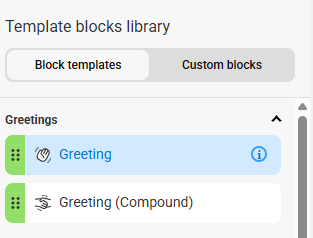
On the next page, click the Blocks tab, then select Add new block. From the Blocks list under Block Templates, locate and select the Greeting block.
You will notice another Greeting block labeled Greeting (Compound). In this tutorial, we will be using the standard Greeting block. For more information on when to use the Greeting (Compound) option, check out this article for a breakdown of script blocks and their functions.

3
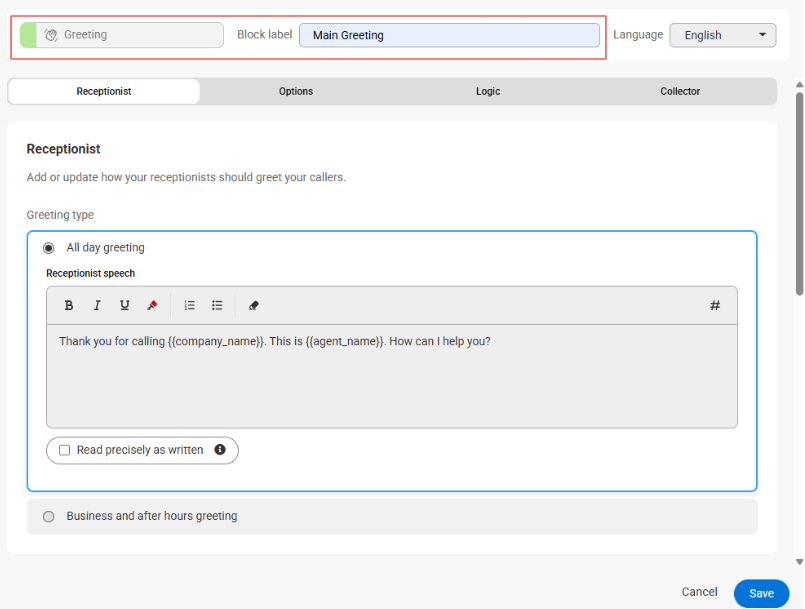
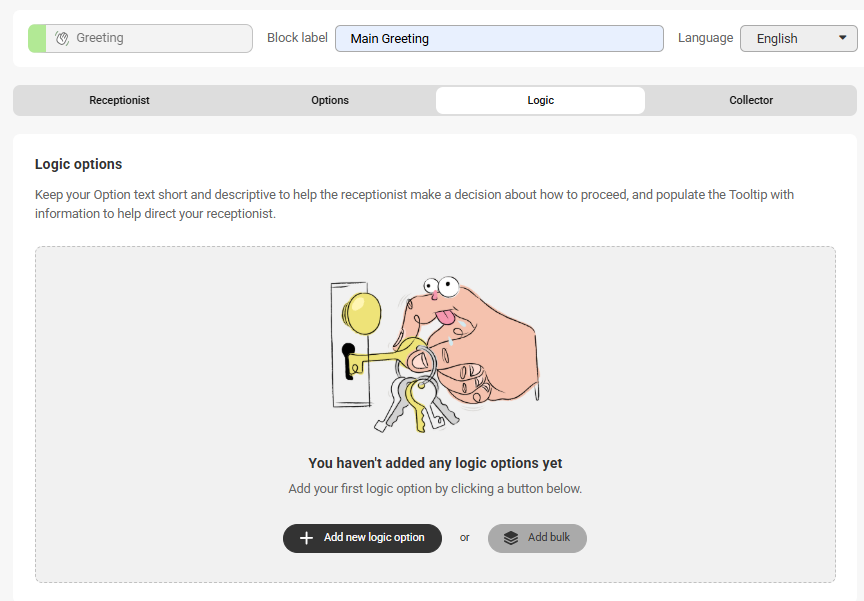
Once the block populates on your screen, you'll see the Block Type along the top of the block, and a space to add a Block Label next to it. Block Labels will help us identify the block within the system later on. We named ours Main Greeting.
4
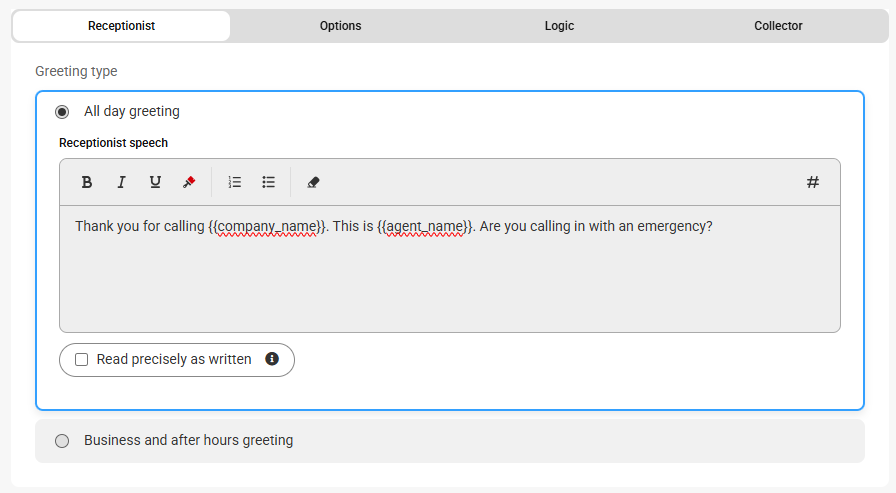
Now under the Receptionist tab, you will need to fill in the operator text, or what you want the operator to say to your callers. In our example, we’ll be asking the caller if they're calling in with an emergency.
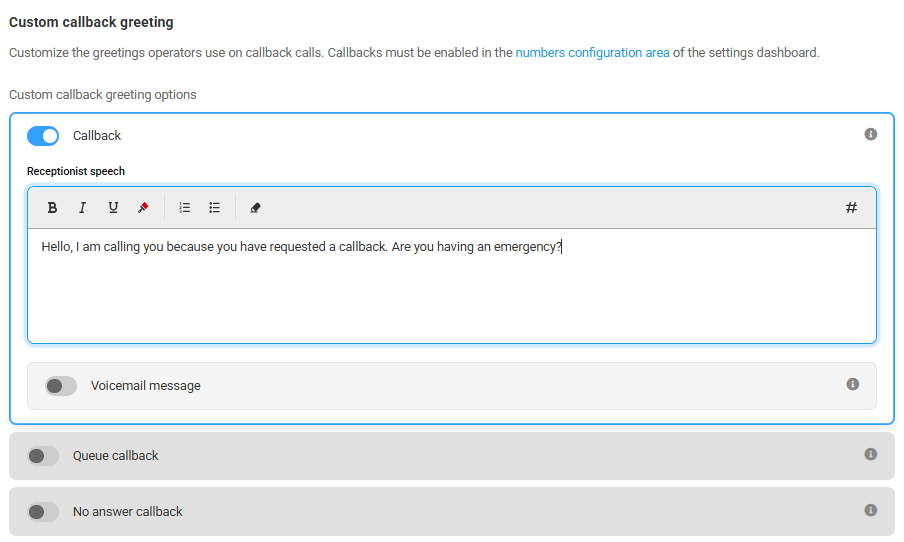
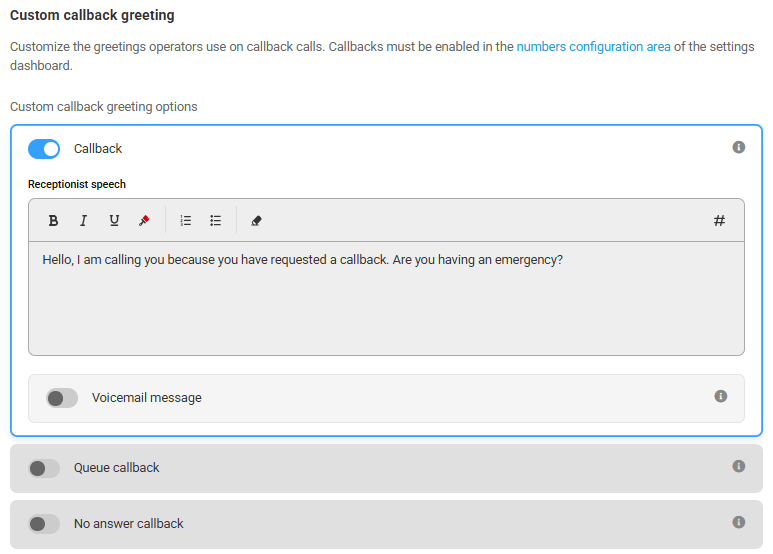
If you are using any of our call back features, you can also customize the greeting the operators will use when they call your customers back.
5
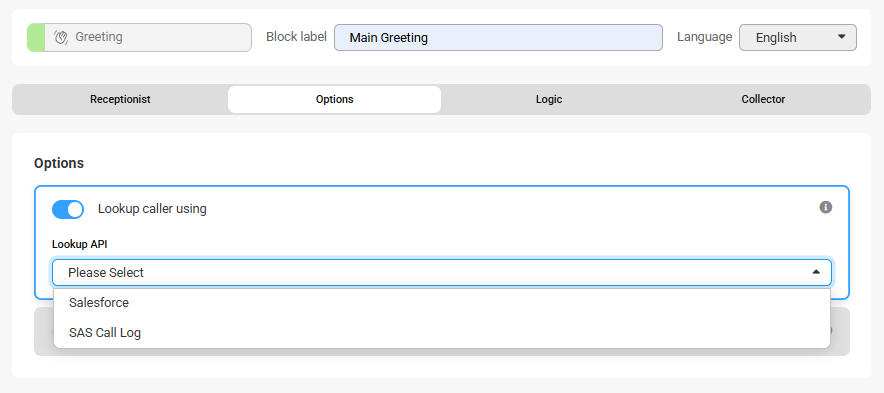
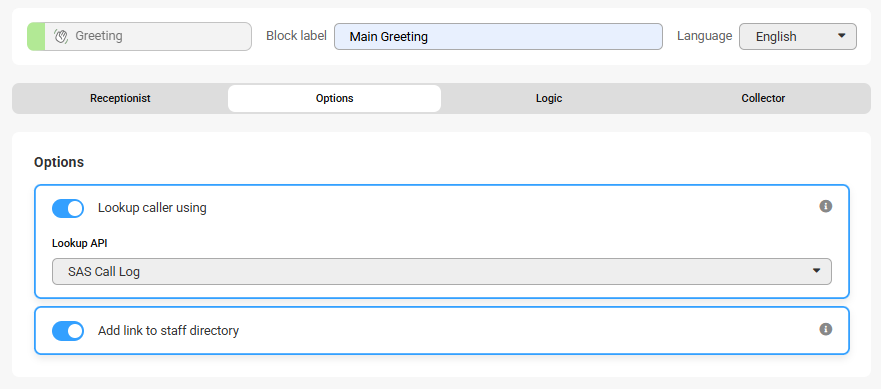
Under the Options tab, you can choose to activate the Customer Lookup feature which will pre-populate script blocks with customer information that has already been saved. You can also choose to add a link to the Staff Directory if you have one configured.
 6
Under the Logic tab, click Add new logic option in the center of your screen to begin adding your options. Remember, logic options are what agents will click on to progress through the script.
6
Under the Logic tab, click Add new logic option in the center of your screen to begin adding your options. Remember, logic options are what agents will click on to progress through the script.
7
Under the Logic label heading, add the list of items that agents will select from. In our example, we will add Yes - Calling with Emergency and No - All Other Calls, along with Tooltips and Icons that agents will see when handling calls.
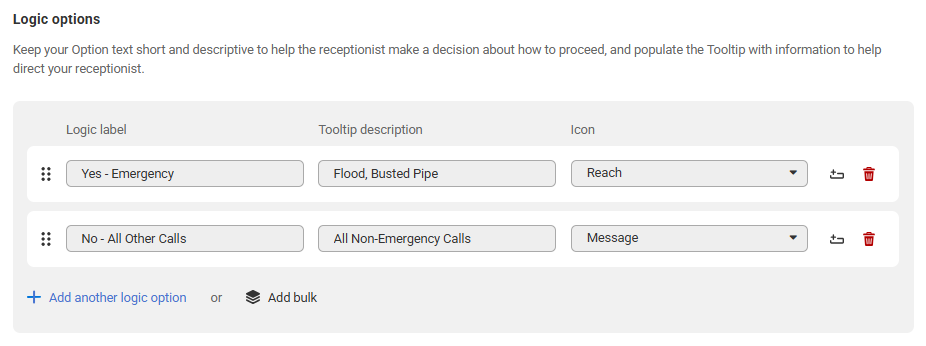
Though Tooltips and Icons are optional, it can be useful to provide the agents with any necessary clarification.
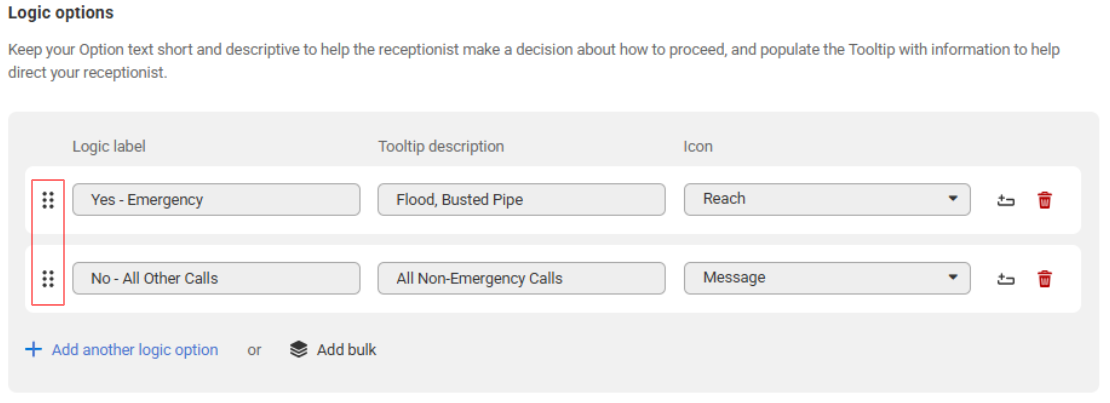
If you want to change the order of your options, simply hover over the 6-dot icon on the left, and drag and drop the options into place.
8
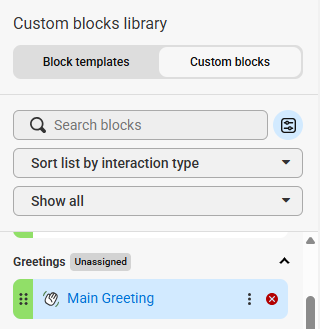
Finally, click Save. Once the block has been saved, it can be found under the Custom Blocks section of the Block Builder.
Once you've created your Greeting block, you'll need to configure the rest of your script blocks and their respective sections. For more information, check out these articles:
Configuring a Business and After Hours Greeting
Business and after-hours greetings will display different greeting text to agents depending on what day and time a customer calls in.
1
Select the Script Builder icon on the left-hand navigation menu.
2
On the next page, click the Blocks tab, then select Add new block. From the Blocks list under Block Templates, locate and select the Greeting block.
You will notice another Greeting block labeled Greeting (Compound). In this tutorial, we will be using the standard Greeting block. For more information on when to use the Greeting (Compound) option, check out this article for a breakdown of script blocks and their functions.
3
Once the block populates on your screen, you'll see the Block Type along the top of the block, and a space to add a Block Label next to it. Block Labels will help us identify the block within the system later on. We named ours Main Greeting.
4
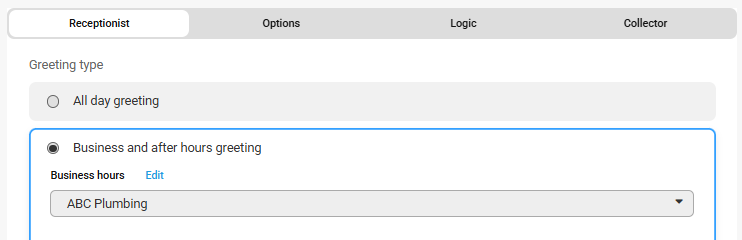
Now under the Receptionist tab, select the Business and after hours greeting option. Then choose your Business Hours set from the drop down.
5
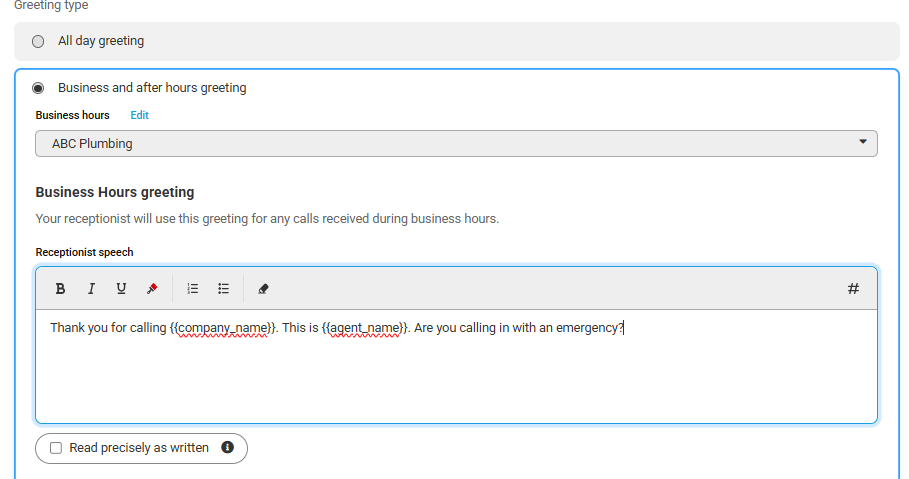
Next, fill in the operator text under the Business Hours greeting section. In our example, we’ll be asking the caller if they're calling in with an emergency.
6
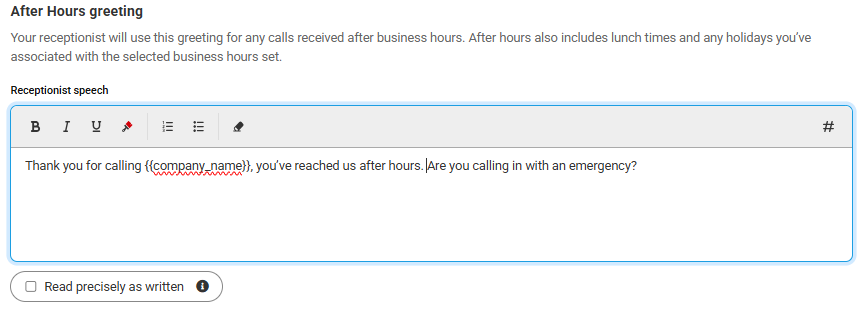
In the After Hours greeting section, we'll add similar text, but we'll also include language letting the caller know that it's currently after hours.
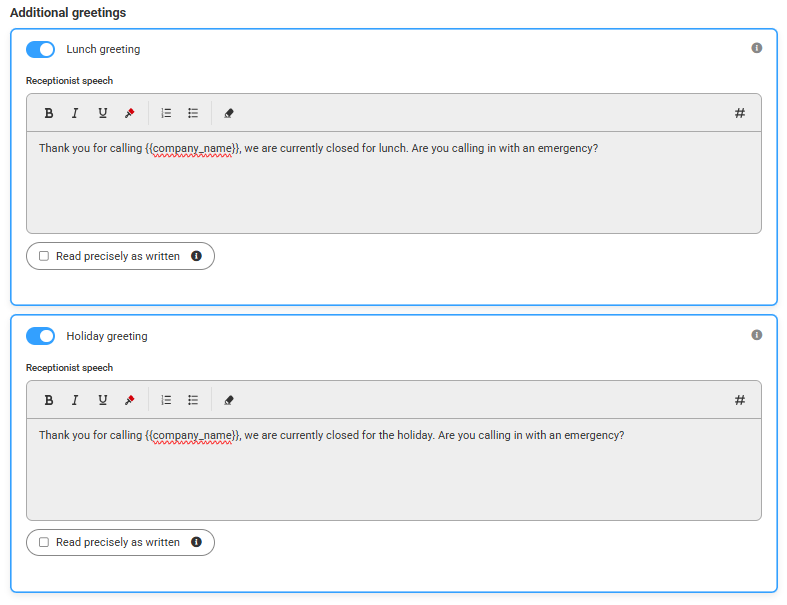
If you want the agents to say something different to callers when your office is closed for a holiday or during lunch, you can activate the Lunch greeting and/or the Holiday greeting and type in your respective text, as shown below.
 If you are using any of our call back features, you can also customize the greeting the operators will use when they call your customers back.
7
Under the Options tab, you can choose to activate the Customer Lookup feature which will pre-populate script blocks with customer information that has already been saved. You can also choose to add a link to the Staff Directory if you have one configured.
8
Under the Logic tab, click Add new logic option in the center of your screen to begin adding your options. Remember, logic options are what agents will click on to progress through the script.
9
Under the Logic label heading, add the list of items that agents will select from. In our example, we will add Yes - Calling with Emergency and No - All Other Calls, along with Tooltips and Icons that agents will see when handling calls.
Though Tooltips and Icons are optional, it can be useful to provide the agents with any necessary clarification.
If you want to change the order of your options, simply hover over the 6-dot icon on the left, and drag and drop the options into place.
10
Finally, click Save. Once the block has been saved, it can be found under the Custom Blocks section of the Block Builder.
Once you've created your Greeting block, you'll need to configure the rest of your script blocks and their respective sections. For more information, check out these articles:


 If you are using any of our call back features, you can also customize the greeting the operators will use when they call your customers back.